Last updated on January 21st, 2026 at 08:11 am
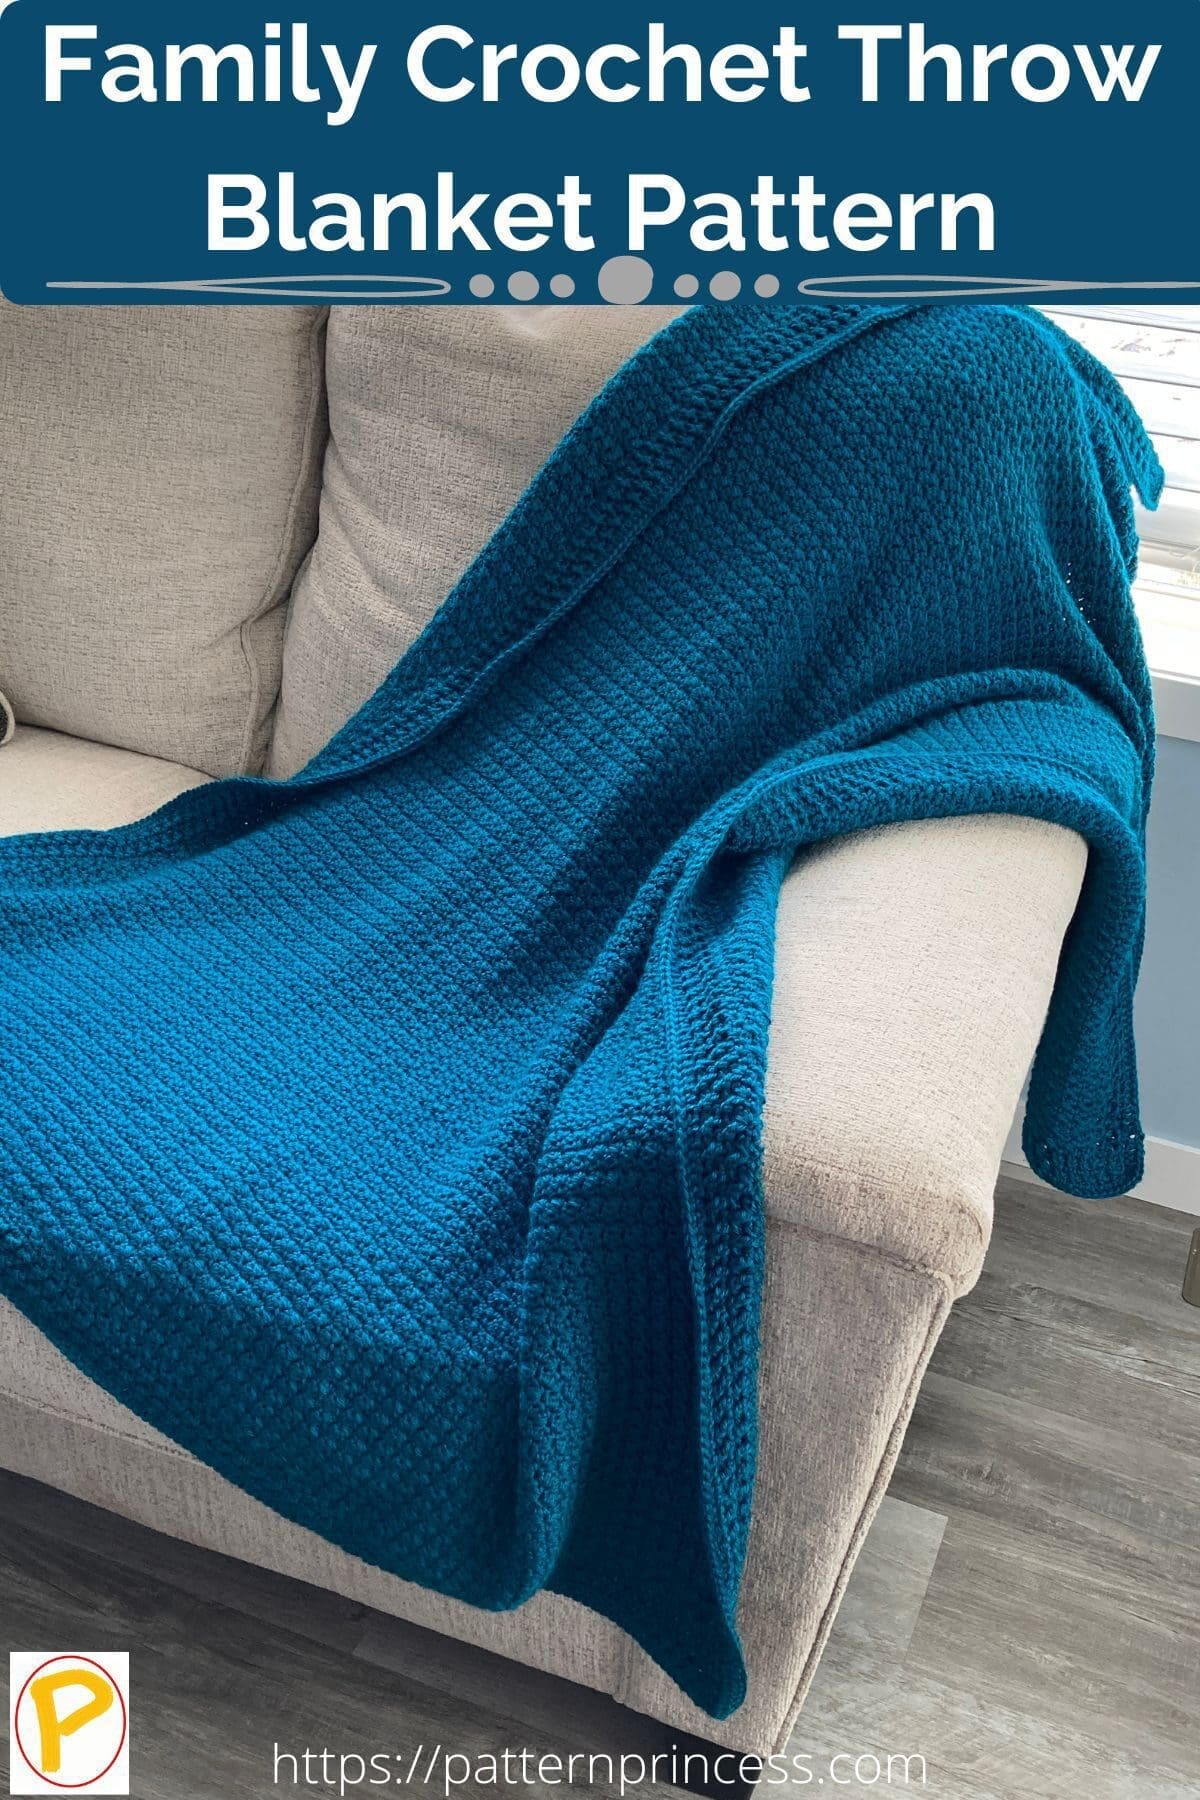
This family crochet throw blanket pattern is perfect for the whole family to snuggle under while enjoying your favorite TV shows and movies on the sofa. Creating beautiful and textured blankets is one of my favorite ways to relax and craft something meaningful.
This latest project uses a modified seed stitch, alternating single crochet and double crochet in the same stitch, to give it a subtle, eye-catching texture.
For this particular project, I chose the rich, calming hue of teal solid color in Caron Simply Soft yarn, but you can imagine how beautiful it would look in other medium-weight yarns. Use a yarn that you love.
FREE Crochet Pattern + Video Support!
Get the complete Family Crochet Throw Blanket pattern with an easy-to-follow video tutorial. Videos for crochet stitch support and the border. Links located below the written pattern. Perfect for advanced beginners who love cozy projects.
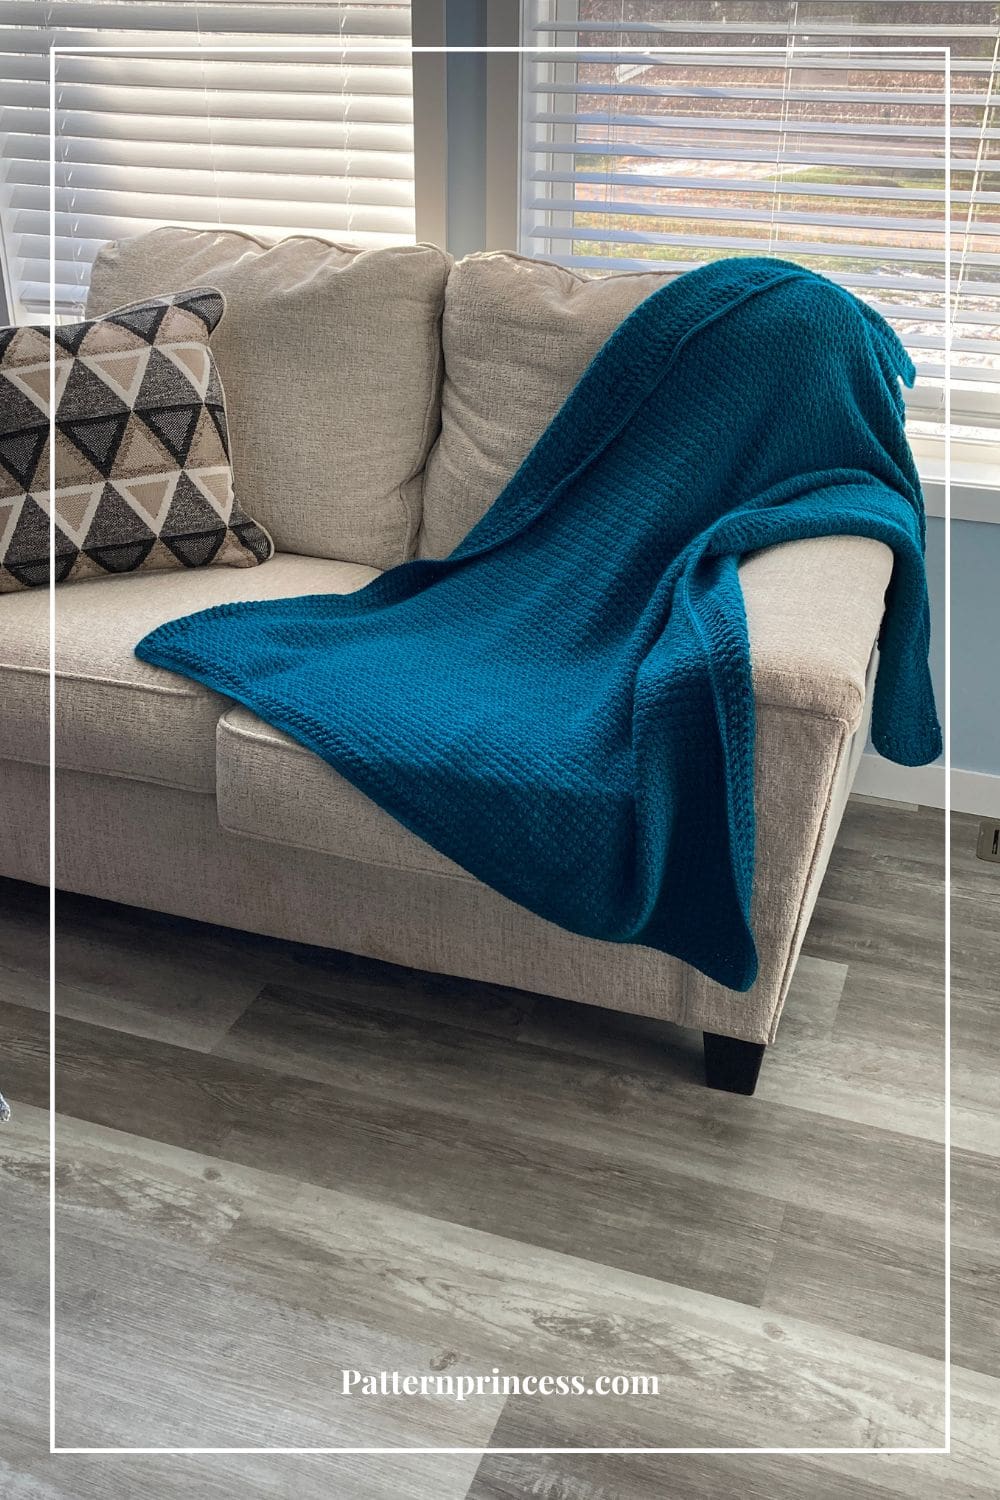
The finished blanket is soft, stylish, and perfect for cuddling or gifting. This teal color looks nice with the home décor of my daughter’s home. She has light blue walls with white trim. The furnishings are dark brown and off-white farmhouse style.
???? Why We Love This Crochet Throw Pattern
- Perfect for Family Snuggles — This throw is sized for cozy nights on the couch with loved ones.
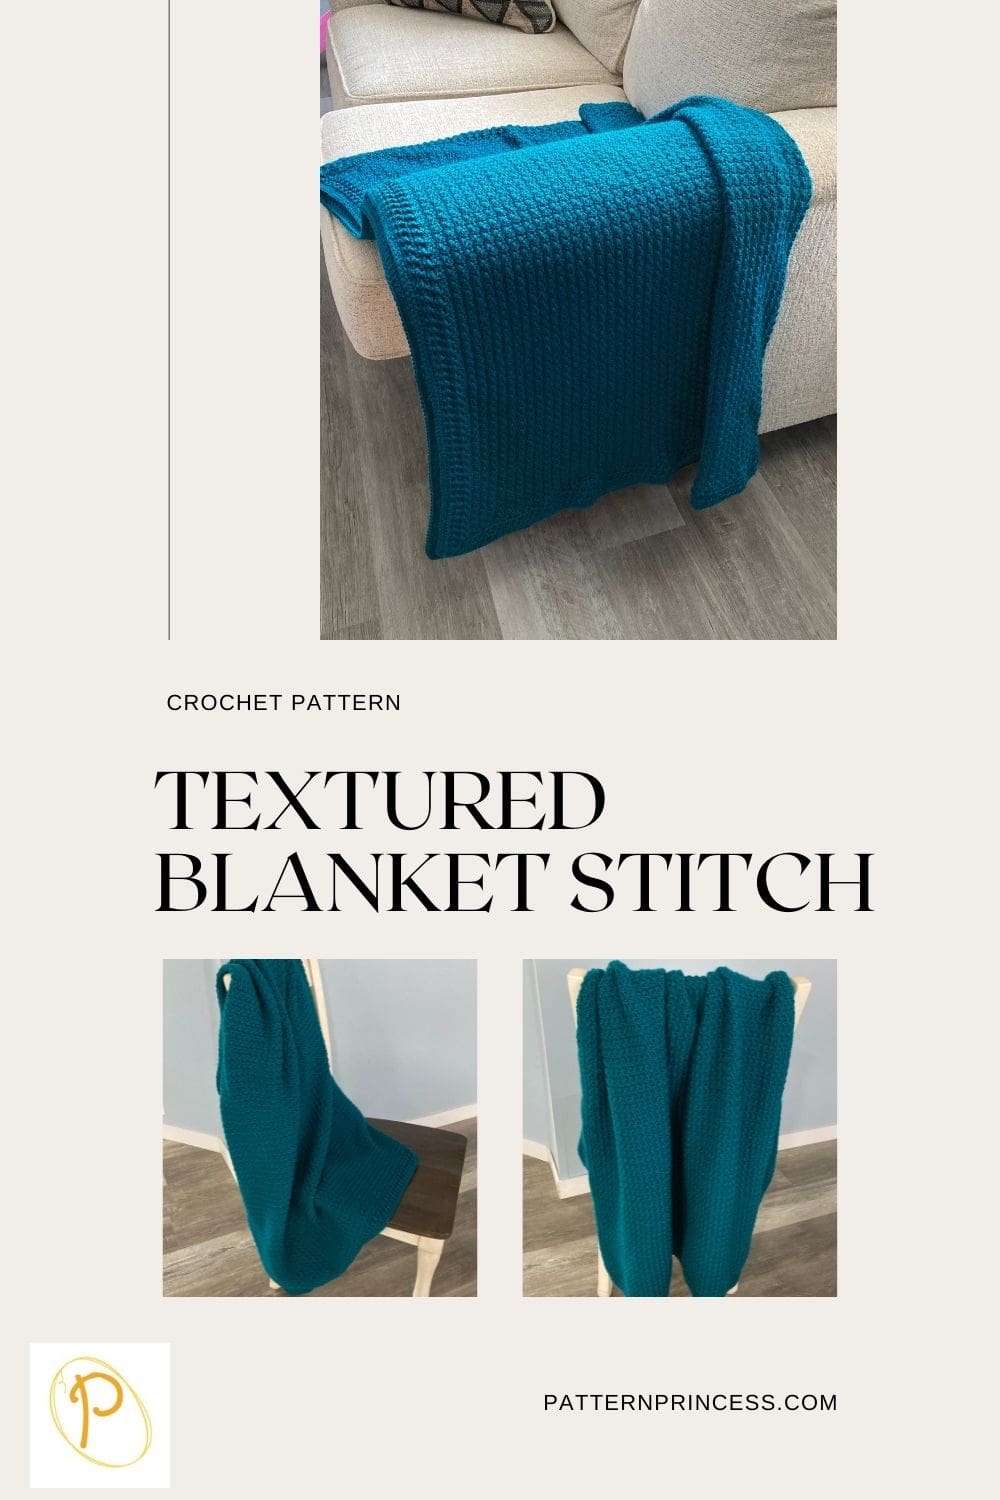
- Textured & Stylish — The modified seed-style stitch gives subtle texture that looks great in any home décor.
- Beginner-Friendly but Interesting — Alternating single crochet and double crochet gives beginners confidence while learning new stitch combinations.
- Completely Customizable — You can easily make the blanket larger or smaller just by modifying the starting chain, so it’s perfect for gifts or blankets of any size.
Easy Crochet Pattern for an Advanced Beginner
This pattern is perfect for creating a cozy and comforting throw blanket for your loved ones. Have fun with this, it is a blanket that you can make over and over.
The Afghan stitches are simple and repeated, so it is perfect for any level of crochet.
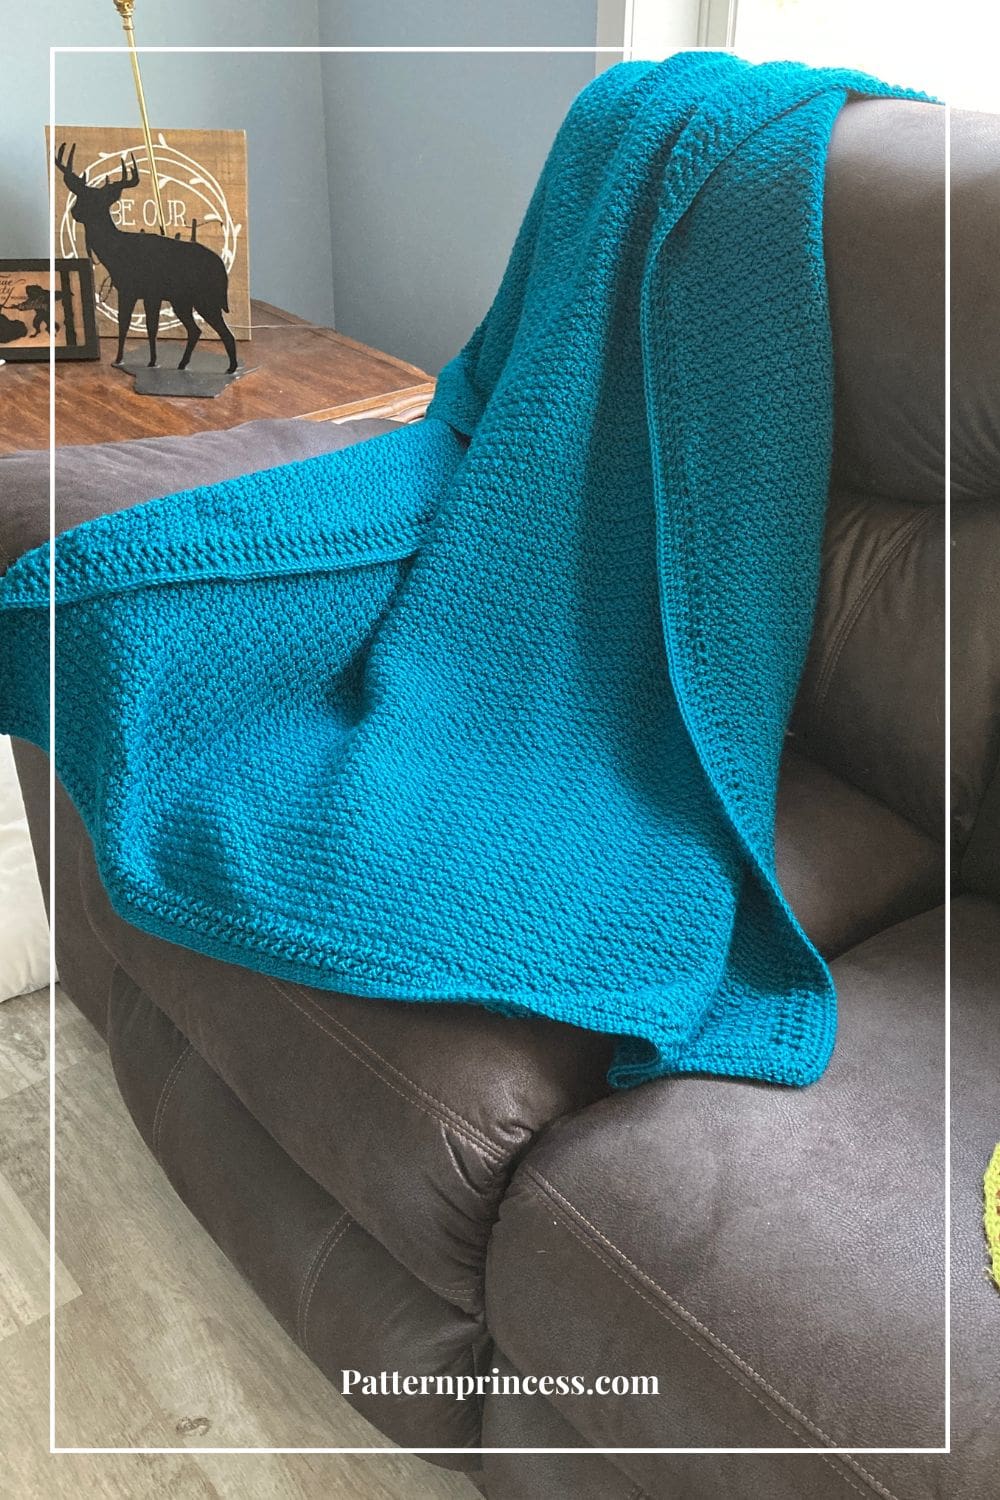
The blanket itself is made using a single crochet and double crochet in the same stitch, which is great for a confident beginner. However, the crochet border requires a bit more skill as it has double crochet rows alternating with rows of front post single crochet and back post single crochet stitches, which is a bit harder to do for a beginner.
Easy to Change the Size of the Throw
Make this throw to any desired dimensions. Just start with a beginning chain in multiples of 2 and crochet as many rows as you like.
Pattern Tips & Variations
- Use chunky yarn We made this throw blanket with a medium weight yarn. But for a faster project use bulky yarn and get this throw done in a weekend.
- Striped version: Switch colors every 10–15 rows for a modern twist or use a variegated yarn.
- Border Variations: We added a textured border using front-post and back-post stitches. However, you can keep this beginner friendly by just doing a few rounds of single crochet or double crochet stitches
- Gift Version: Make a matching set of baby blanket + throw.
Directions: Family Crochet Throw Blanket Pattern
Skill Level
Advanced Beginner
Gauge
12 stitches every for 4 inches
Size
45 inches wide X 55 inches long.
The size can be changed by increasing or decreasing the beginning chain stitches in multiples of 2.
MaterialsL What You’ll Need
Pagoda Caron Simply Soft, 9 skeins or 2,835 yards. Medium weight yarn.
If you can’t find the yarn locally, you can purchase it online. Savings Center – Pattern Princess
Size H Crochet Hook, 5.0 MM
Yarn Needle
Scissors
Abbreviations
- BPSC = Back Post Single Crochet
- CH = Chain
- DC = Double Crochet
- FPSC = Front Post Single Crochet
- SC = Single Crochet
- SK = Skip
- SL ST = Slip Stitch
- SP = Space
- ST = Stitch
- STs = Stitches
- [ ] = Repeat Between
Pattern Notes
Pattern is written in standard American crochet terms.
5 skeins of yarn were used for the blanket, 1 ½ skeins of yarn were used for the crochet border.
Turn your work after reach row. The crochet border is not turned after each round.
Our variation. For this pattern, we started with a row of single crochet so there are no extra large holes from the skipped chain stitches of the seed stitch when adding the border.
Special Stitches
BPSC = Back Post Single Crochet
The back post stitches appear to recede on the side of the crocheted fabric that is facing you.
- Insert the hook from back to front between the posts of the first and second double crochet of the row below.
- Then insert the hook from the front to the back front between the posts of the second and third stitches. (The hook should now be positioned horizontally in front of the crochet stitch that you are working around).
- Yarn over, pull the yarn over the post of the stitch.
- There should now be 2 loops on the hook. Yarn over, pull the yarn through 2 loops on the hook.
FPSC = Front Post Single Crochet
When you work front post stitches, you will insert your hook from the front of your work to the back. Insert your hook the front to the back, so that the post you want to crochet around is in front of your hook.
- Insert the hook from front to back between the posts of the first and second double crochet of the row below.
- Then insert the hook from the back to the front between the posts of the second and third stitches. (The hook should now be positioned horizontally in the back of the post that you are working around).
- Yarn over, pull the yarn around the post of the stitch. There should now be 2 loops on the hook.
- Yarn over, pull the yarn through 2 loops on the hook.
Seed Stitch
The crochet seed stitch is a simple and versatile technique that creates a beautiful, textured pattern. It’s achieved by alternating single crochet (sc) and double crochet (dc) stitches across your row. On the next row, you work the opposite stitch into each stitch from the previous row—for example, placing a single crochet into a double crochet and vice versa. This creates a subtle, bumpy texture that’s visually interesting and easy to make. It’s a fantastic stitch for blankets, scarves, and other projects where texture takes center stage.
Crochet Pattern: Step-by-Step Instructions
Begin
150 Chain Stitches
Row 1
In the 2nd CH from the hook, work a SC and in each ST across. Turn.
Row 2
CH 1 (Does not count as a ST). (1 SC, 1 DC in the same ST). [SK 1 ST, 1 SC and 1 DC in the next ST]. Repeat across between the [ ] and end with a SC and DC in the last ST. Turn.
Row 3
CH 1 (Does not count as a ST). (1 SC, 1 DC) in the previous row SC SP. [SK the DC ST. In the next SC work (1 SC, 1 DC)]. Repeat across between the [ ] and end with a SC and DC in the last ST. Turn.
Rows 4-178
Repeat Row 3.
Crochet Border
Weave in yarn ends and remove the excess yarn before crocheting the border.
Round 1
Join the new skein of yarn in any corner. CH 3 (Counts as a DC). DC in each ST around with 3 DC in each corner ST. End with a SL ST into the top CH of the beginning CH 3 of the round. Note: I worked 2 DC for each row on the sides.
Round 2
CH 1 (Counts as a SC). [BPSC in the next ST, FPSC in the next ST]. Repeat between [ ] around working 3 SC in each corner ST. End with a SL ST into the beginning CH ST of the round.
Round 3
CH 3 (Counts as a DC). DC in each ST around working 3 DC in each corner ST. End with a SL ST into the top CH of the beginning CH 3 of the round.
Round 4
CH 1 (Counts as a SC). [BPSC in the next ST, FPSC in the next ST]. Repeat between [ ] around working 3 SC in each corner ST. End with a SL ST into the beginning CH ST of the round.
Note: work the same ST that was worked in round 2 below. You are adding two stitches to each side as you work the rounds when you work the 3 STs in each corner. Therefore, to get started with the stitches on the side make sure that you refer to the BPSC and FPSC rows below for placement of your stitches.
Round 5
CH 3 (Counts as a DC). DC in each ST around working 3 DC in each corner ST. End with a SL ST into the top CH of the beginning CH 3 of the round.
Finishing
Weave in yarn ends and remove the excess yarn.
Video Tutorial

You can find Victoria crocheting, quilting, and creating recipes. She has cooked in restaurants for over 20 years, including many larger parties. She learned to crochet when she was just 11 years old and has been crocheting ever since; over 50 years now. Over 40 years ago, she loved her first class in sewing and continues to hone her skills in quilting. Many have enjoyed the handmade gifts over the years. In her professional career, she has worked in management in a wide variety of businesses including higher education as a dean of a division. All the while attending college part-time to achieve her doctorate in higher education with an emphasis in e-learning.
Love your websites. I would love to receive your daily or weekly emails. I couldn’t find a place to sign up. My name is tammy P and email is plumleyt1@gmail.com thanks
Hello,
Thank you for your kind words and support.
When you scroll down the page on any blog post, you will see a newsletter sign up form that will pop up within the content.
Vicky