Last updated on July 4th, 2024 at 11:43 pm
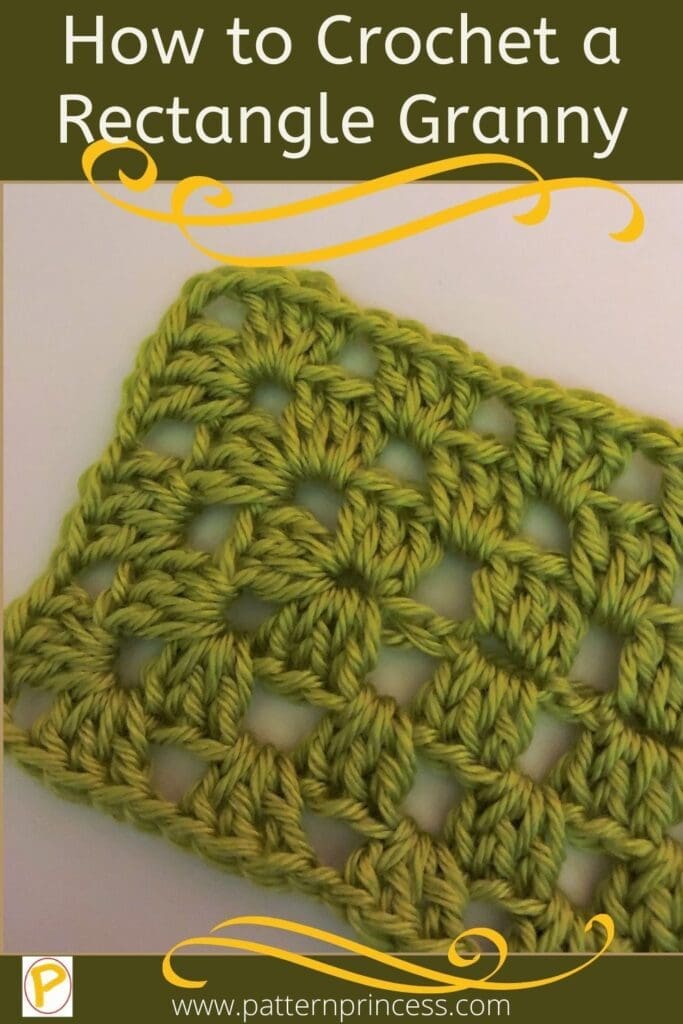
Learning how to crochet a rectangle granny has been on my bucket list for quite a while now. Once I got started, I quickly realized how easy this crochet technique is.
The granny rectangle is a simple variation of the classic granny square. Even if you are a beginner at crochet, this is appropriate for a beginner. This pattern can be used to make crochet rectangle tablecloth patterns or something as large as a big blanket.
In the world of crochet, few patterns exude timeless charm and versatility quite like the beloved granny square. But what if we told you that the granny square’s cousin, the rectangle granny, holds just as much creative potential and offers a fresh twist on the classic?
If you’re a crochet enthusiast eager to explore new horizons, you’re in for a treat! Welcome to our comprehensive guide on how to crochet a rectangle granny.
Crochet Pattern Development
The Crochet Rectangles has always eluded me until recently. In my quest to learn how to start the rectangle shape for the granny, I watched tutorials and scoured the web, but there wasn’t one method that was clear to me how to work this pattern.
I tried a few to get an idea of how to work this pattern. Then I made a few slight variations so one side of the rectangle would look just like the other side and make this crochet pattern an easy one to get started with and work the rounds as you grow your project.
Adapt This Pattern for Your Project Size
Once you learn how to work this pattern, it will be easy to adapt it for the project size you are working on. This same technique can be used for something as small as a bookmark, doily, or as large as a blanket. Sometimes it can be hard to determine the beginning number of foundation chain stitches for afghan patterns. One nice resource that I found for determining the length of the starting chain is from The Crochet Crowd. Their article also explains that a twin bed will require a longer starting chain than a queen size as the queen size is closer to being a square blanket than a rectangle.
If you are wondering what size to crochet a blanket from a baby blanket to a queen size bed blanket, I have put together Crochet Guidelines for Standard Bed and Blanket Size.
What to Use This Rectangle Pattern for?
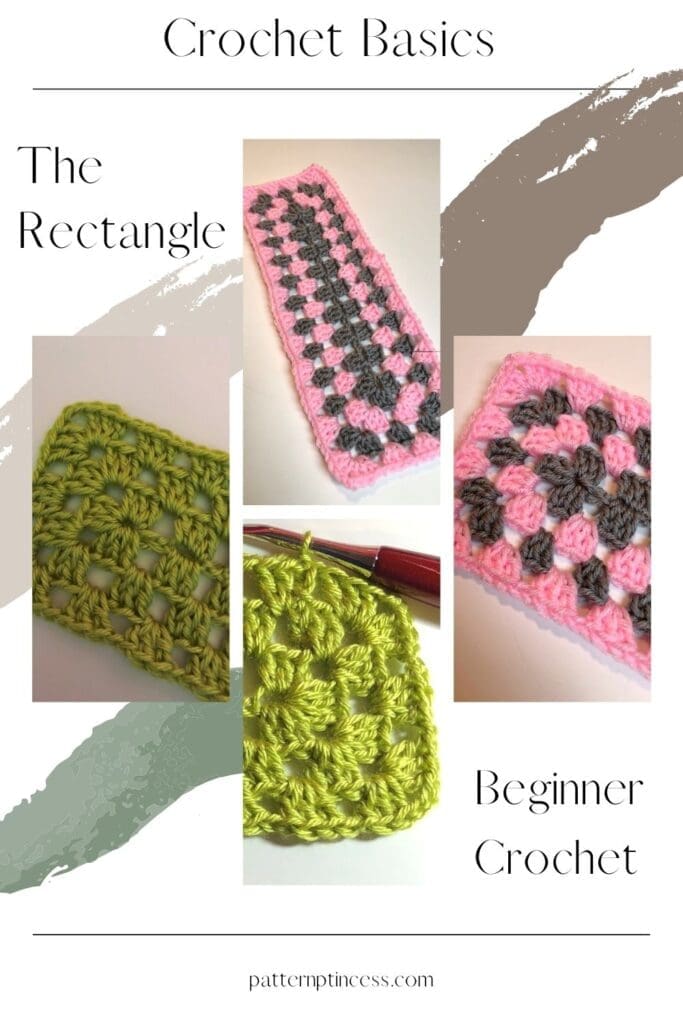
Granny squares have long been celebrated for their charm and adaptability, but the rectangle granny opens up a world of possibilities that can transform your projects.
From cozy throw blankets, rectangular afghans, and stylish scarves to chic market totes, the flexibility of the rectangle granny pattern knows no bounds. Plus, with our free pattern and step-by-step instructions, you’ll be well-equipped to embark on your crochet journey with confidence.
Basic Granny Rectangle Pattern
This pattern is for the basic or classic granny rectangle pattern. Once you get past rows two and three, except for the number of stitches being worked between the corners, this is very similar to the granny square pattern. The only thing that is different is the length of the width.
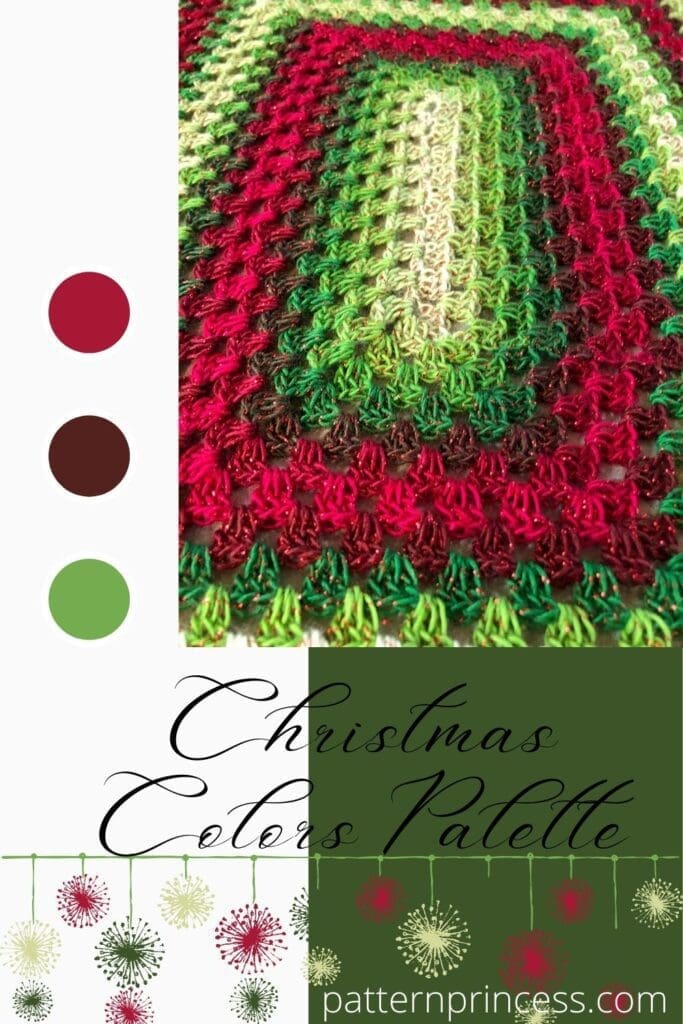
This crochet stitch will work well with a wide variety of yarn weights. Now that I know how to work this easy pattern, I can figure out so many new patterns. I am working on another free crochet pattern for a Christmas rectangle granny tablecloth. That will be available soon.
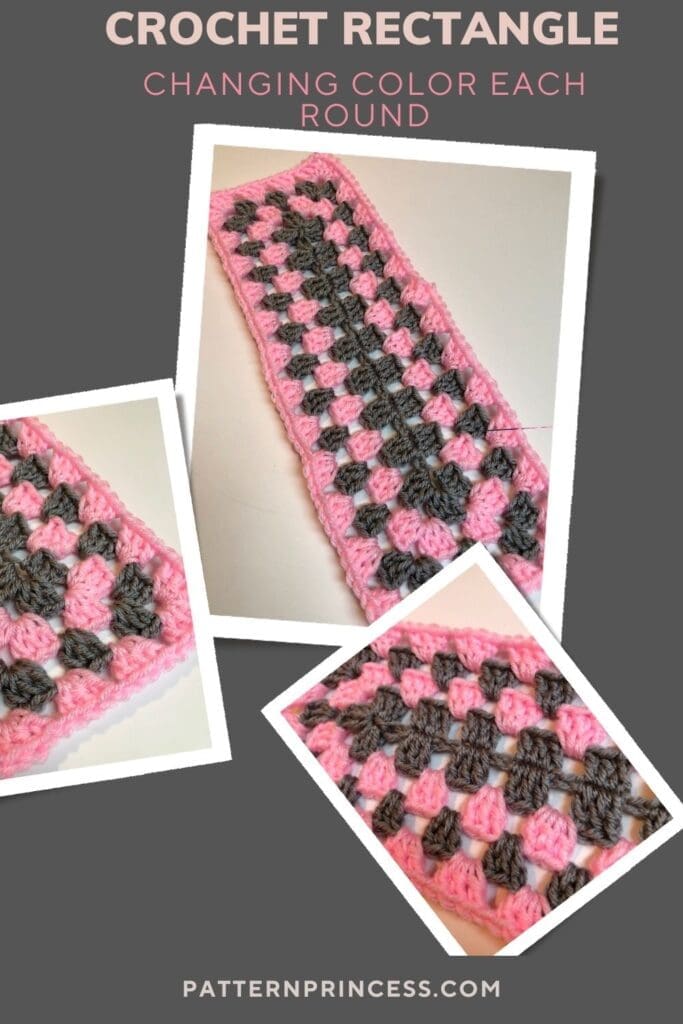
I used a solid color yarn for the sample today; however, just like the basic granny, the new color can be changed to a new yarn color as often as you like.
Make Rectangle Motifs and Joining
Just as you would with granny squares, you can crochet various sizes of granny rectangles and join them to make handmade blankets.
The pattern will allow crocheters to use any yarn weight or hook size desired. The project is very versatile, so feel free to experiment with your own choices of yarn and hook size.
I chose to start making small rectangles such as this rectangle tablecloth. However, my to do list includes an afghan pattern in worsted weight yarn.
Crochet Videos for Crocheting a Rectangle
You will find the links below the written pattern on how to crochet a rectangle for both a left and right hand crocheter.
Crochet Pattern: How to Crochet a Rectangle Granny
Skill Level
Beginner
Gauge
Today I used a worsted yarn, the gauge will depend on the size of yarn and hook size you choose for your project.
Change the rectangle length by working your starting chain stitches in multiples of 3 plus 1.
Materials
I have used this pattern with a fingering yarn and a medium weight yarn. They both work well for this crochet stitch
Crochet Hook the appropriate size for the yarn used
Yarn Needle
Scissors
Measuring Tape
Abbreviations
CH = Chain
DC = Double Crochet
SK = Skip
SL ST = Slip Stitch
SP = Space
ST = Stitch
STs = Stitches
[ ] = Repeat Between
Crochet Pattern Notes
The length of the starting chain will determine how long the final project ends up being.
The greater number of starting chains will result in a longer and narrower final product. Whereas less starting chains will result in a squarer pattern.
The crochet pattern is worked in the round.
The first round is the foundation row and once started, the pattern is a repeat of rows 2 and 3 until you reach your desired size.
The sample has a beginning chain stitch count of 28 crochet chain stitches. Remember, you can change the number of beginning chain stitches using the multiples of 3 + 1.
Granny Cluster, or shell: A granny cluster is a term for a special crochet stitch that consists of a set of 3 double crochet stitches, all worked into one stitch or space. The clusters are then separated from one another with chain stitches. You can find a photo tutorial on how to crochet the granny square, which will be helpful if you are a beginner at crochet.
The granny clusters should line up with each other on the top and bottom of the rounds in the same chain space.
In this sample, each round will increase by 4 granny clusters.
In the corner space, I worked a chain 2. You can work a chain 3 or other length in the corner stitch depending on the look you are going for with your crochet rectangle.
Pattern is written in US terms.
Crochet Pattern Directions
Begin
Chain 28
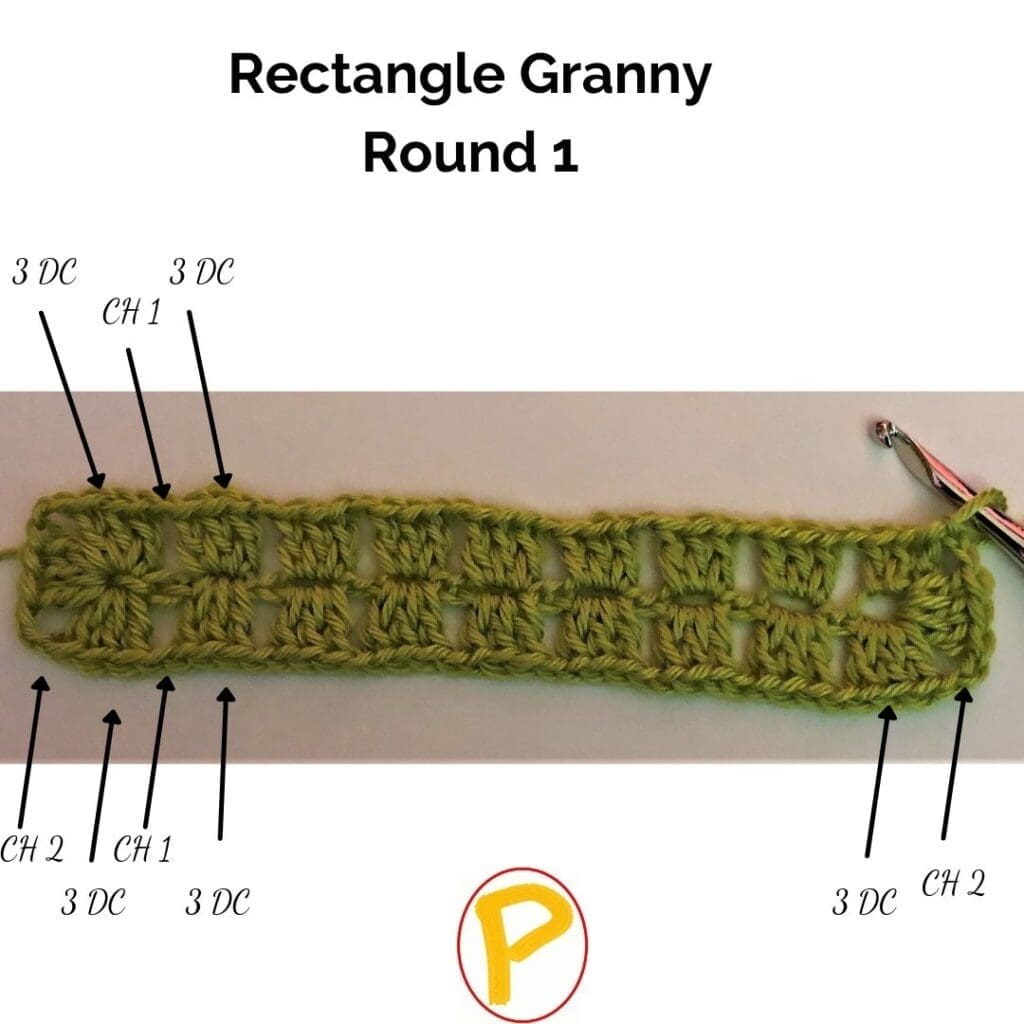
Round 1
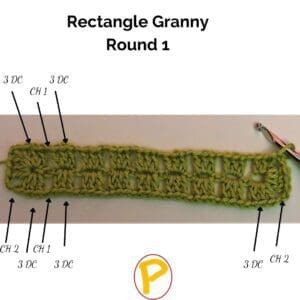
In the 4th CH from the Hook, work 2 DC. (Counts as 3 DC with the skipped Chains). [CH 1, SK 2 STs, 3 DC in next ST]. Repeat across between [ ]. In the last CH ST work (3 DC, CH 2, 3 DC, CH 2, 3DC).
Continue working on the underside.
[CH 1, SK 2 STs, 3 DC in next ST]. Repeat across between [ ]. In the last ST work (3 DC, CH 2, 3 DC, CH 2, 2DC). Join with a SL ST to the top CH of the beginning CH. (20 granny clusters)
Round 2
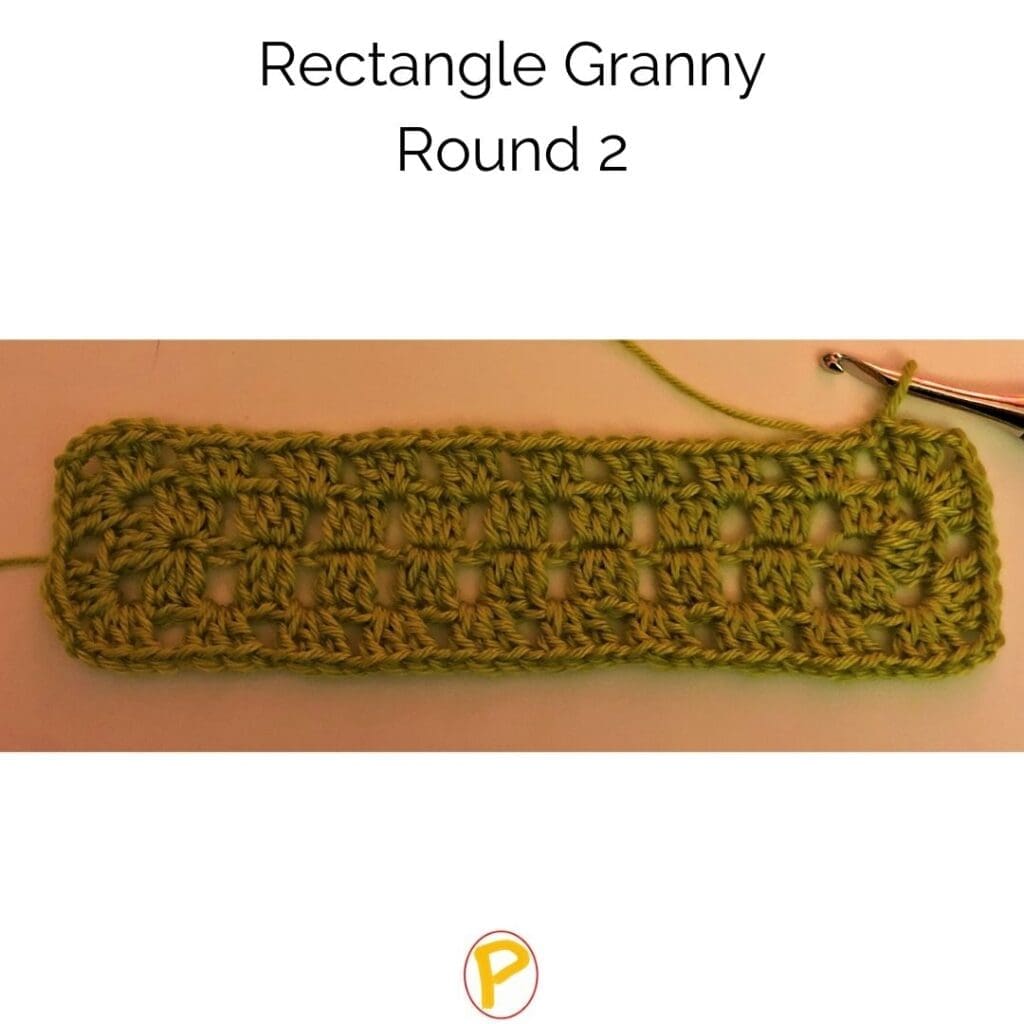
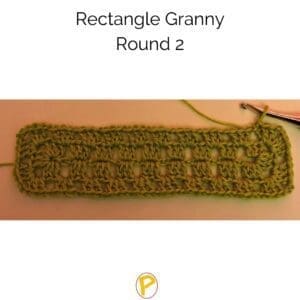
CH 4 (Counts as DC, CH 1). [3 DC in the CH 1 SP, CH 1]. Repeat across between [ ] to the first corner CH 2 SP. In the CH 2 SP work (3 DC, CH 2, 3 DC). CH 1. In the next CH 2 SP work (3 DC, CH 2, 3 DC). Continue to the underside CH 1 [3 DC in the CH 1 SP, CH 1]. Repeat across between [ ]. In the CH 2 corner SP work (3 DC, CH 2, 3 DC). CH 1. In the next CH 2 SP work (3 DC, CH 2, 2 DC). Join with a SL ST into the 3rd CH of the initial CH 4. (24 granny clusters)
Round 3
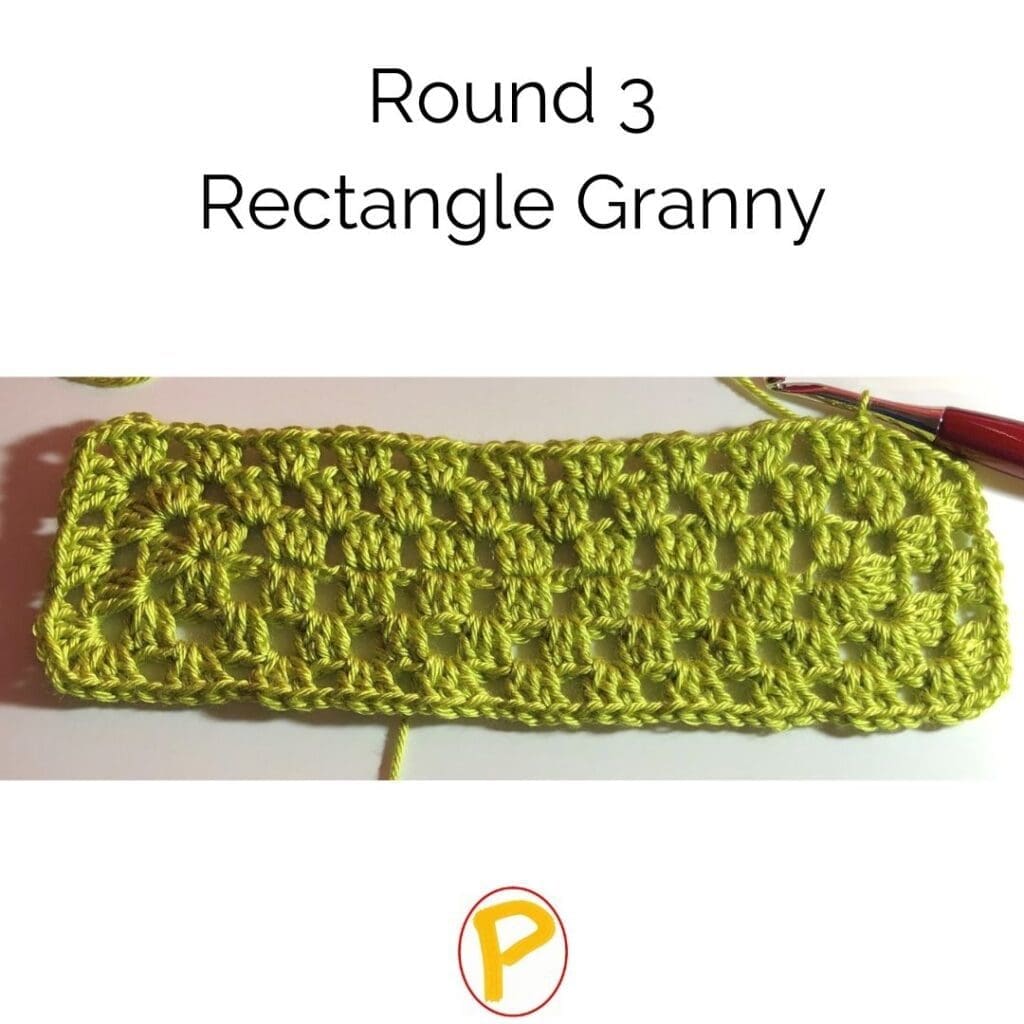
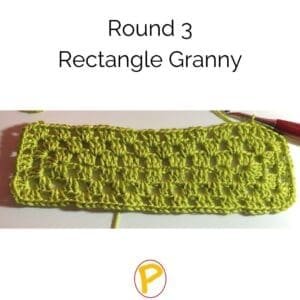
CH 3 (Counts as DC). 2 DC in the same CH 1 SP. CH 1 [3 DC in CH 1 SP, CH 1]. Repeat across between [ ] to the first corner CH 2 SP. In the CH 2 SP work (3 DC, CH 2, 3 DC). CH 1. Work 3 DC in the CH 1 SP. CH 1. In the next CH 2 SP work (3 DC, CH 2, 3 DC). Continue to the underside CH 1 [3 DC in the CH 1 SP, CH 1]. Repeat across between [ ]. In the CH 2 corner SP work (3 DC, CH 2, 3 DC). CH 1. Work 3 DC in the CH 1 SP. CH 1. In the next CH 2 SP work (3 DC, CH 2, 3 DC) CH 1. Join with a SL ST into the top CH of the initial CH 3. (28 granny clusters)
Rounds 4 and beyond
Repeat rounds 2 and 3 until you reach your desired size.
Finishing
Leave about a 12-inch yarn tail. Weave in yarn ends and remove excess yarn.
How to Crochet a Rectangle Granny
Equipment
- Crochet Hook: Choose a size that matches your yarn weight.
- Scissors:
- Tapestry Needle
Materials
- Yarn. I have used this pattern with a fingering yarn and a medium weight yarn. They both work well for this crochet stitch.
Instructions
Begin
- Chain 28Yarn.
Round 1
- In the 4th CH from the Hook, work 2 DC. (Counts as 3 DC with the skipped Chains). [CH 1, SK 2 STs, 3 DC in next ST]. Repeat across between [ ]. In the last ST work (3 DC, CH 2, 3 DC, CH 2, 3DC).
- Continue working on the underside.
- [CH 1, SK 2 STs, 3 DC in next ST]. Repeat across between [ ]. In the last ST work (3 DC, CH 2, 3 DC, CH 2, 2DC). Join with a SL ST to the top CH of the beginning CH. (20 granny clusters)

Round 2
- CH 4 (Counts as DC, CH 1). [3 DC in the CH 1 SP, CH 1]. Repeat across between [ ] to the first corner CH 2 SP. In the CH 2 SP work (3 DC, CH 2, 3 DC). CH 1. In the next CH 2 SP work (3 DC, CH 2, 3 DC). Continue to the underside CH 1 [3 DC in the CH 1 SP, CH 1]. Repeat across between [ ]. In the CH 2 corner SP work (3 DC, CH 2, 3 DC). CH 1. In the next CH 2 SP work (3 DC, CH 2, 2 DC). Join with a SL ST into the 3rd CH of the initial CH 4. (24 granny clusters)

Round 3
- CH 3 (Counts as DC). 2 DC in the same CH 1 SP. CH 1 [3 DC in CH 1 SP, CH 1]. Repeat across between [ ] to the first corner CH 2 SP. In the CH 2 SP work (3 DC, CH 2, 3 DC). CH 1. Work 3 DC in the CH 1 SP. CH 1. In the next CH 2 SP work (3 DC, CH 2, 3 DC). Continue to the underside CH 1 [3 DC in the CH 1 SP, CH 1]. Repeat across between [ ]. In the CH 2 corner SP work (3 DC, CH 2, 3 DC). CH 1. Work 3 DC in the CH 1 SP. CH 1. In the next CH 2 SP work (3 DC, CH 2, 3 DC) CH 1. Join with a SL ST into the top CH of the initial CH 3. (28 granny clusters)

Rounds 4 and beyond
- Repeat rounds 2 and 3 until you reach your desired size.
Finishing
- Leave about a 12-inch yarn tail. Weave in yarn ends and remove excess yarn.
Notes
Skill Level
BeginnerGauge
Today I used a worsted yarn, the gauge will depend on the size of yarn and hook size you choose for your project. Change the rectangle length by working your starting chain stitches in multiples of 3 plus 1.Abbreviations
- CH = Chain
- DC = Double Crochet
- SK = Skip
- SL ST = Slip Stitch
- SP = Space
- ST = Stitch
- STs = Stitches
- [ ] = Repeat Between
Crochet Pattern Notes
The length of the starting chain will determine how long the final project ends up being. The greater number of starting chains will result in a longer and narrower final product. Whereas less starting chains will result in a squarer pattern. The crochet pattern is worked in the round. Once started, the pattern is a repeat of rows 2 and 3 until you reach your desired size. The sample has a beginning chain stitch count of 28 crochet chain stitches. Remember, you can change the number of beginning chain stitches using the multiples of 3 + 1. Granny Cluster, or shell: A granny cluster is a term for a special crochet stitch that consists of a set of 3 double crochet stitches, all worked into one stitch or space. The clusters are then separated from one another with chain stitches. You can find a photo tutorial on how to crochet the granny square, which will be helpful if you are a beginner at crochet. The granny clusters should line up with each other on the top and bottom of the rounds. In this sample, each round will increase by 4 granny clusters. In the corner space, I worked a chain 2. You can work a chain 3 or other length in the corner stitch depending on the look you are going for with your crochet rectangle.Video Tutorial Links
Left hand crochet: https://youtu.be/gwTX_F5REqs Right hand crochet: https://youtu.be/-6-e4inZYMIIf you like the look of granny squares, I have quite a few with various colors that are easy and fun crochet projects to make.
You can find other crochet blanket patterns that are free patterns on the website.
YouTube Crochet Video Tutorial for Left Hand and Right Hand Crocheters on the Rectangle Granny
Left hand crochet
right hand crochet
If you love free crochet patterns, here are a few more for you to consider for your next project.

You can find Victoria crocheting, quilting, and creating recipes. She has cooked in restaurants for over 20 years, including many larger parties. She learned to crochet when she was just 11 years old and has been crocheting ever since; over 50 years now. Over 40 years ago, she loved her first class in sewing and continues to hone her skills in quilting. Many have enjoyed the handmade gifts over the years. In her professional career, she has worked in management in a wide variety of businesses including higher education as a dean of a division. All the while attending college part-time to achieve her doctorate in higher education with an emphasis in e-learning.

once you get the first round done, this works up quickly