Last updated on July 4th, 2024 at 11:34 pm
Here you will find both the written pattern and video tutorials for how to crochet the granny spike stitch. Crocheting is a fun and creative hobby that allows you to make beautiful items with your own two hands.
It’s a popular stitch that can add texture and visual interest to your projects. Awesome for blankets, scarves, pillow covers, and anything else you can think of.
In the video I take you through, step by step how this stitch combines the classic granny stitch with spikes of longer stitches, creating a unique and eye-catching design.
Post contains affiliate links, and we earn commissions if you shop through the links on this page. For more information, please read the disclosure section under the About Us page.
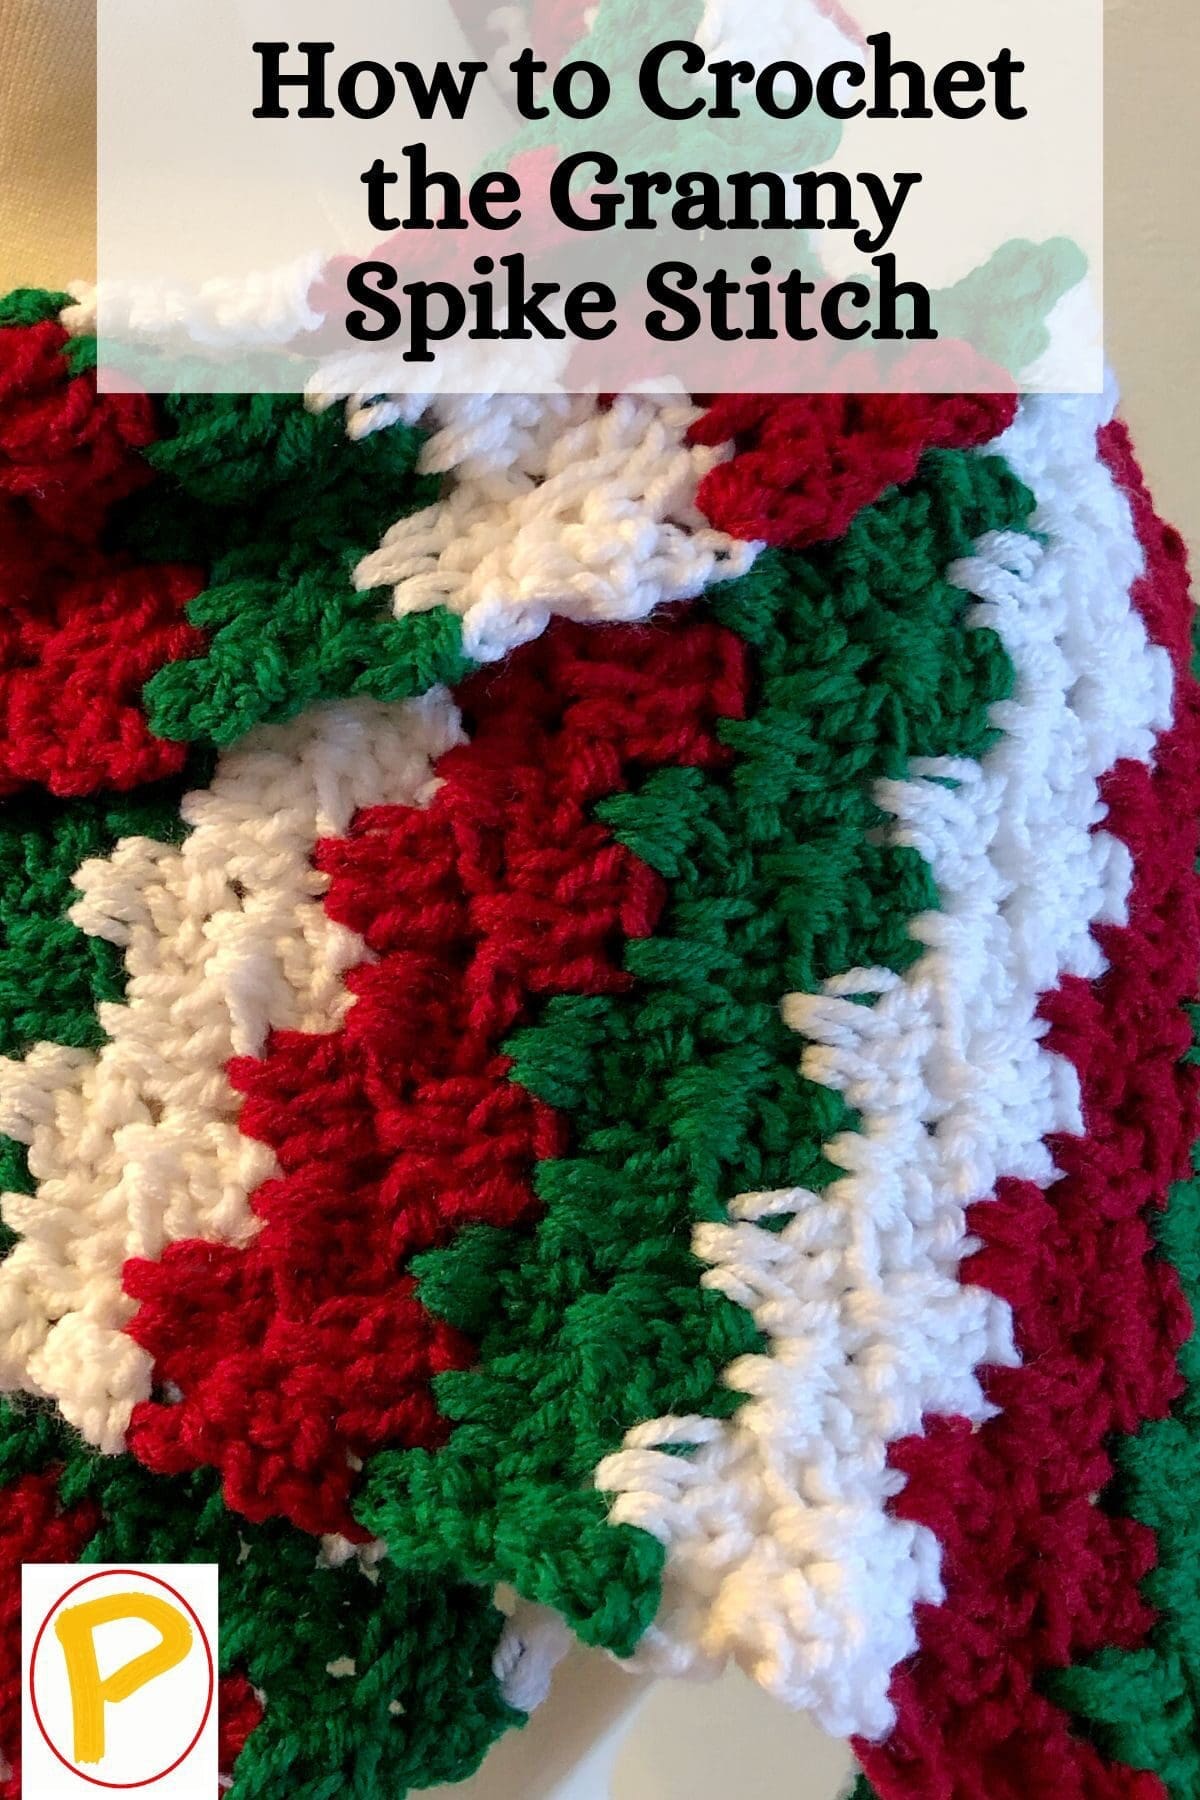
Learn How to Crochet the Granny Spike Stitch Tutorial
Learn how to crochet the granny spike stitch with this easy tutorial.
To get started with crocheting the granny spike stitch, you’ll need some basic supplies, including a crochet hook and yarn in your desired color. It’s also helpful to have some experience with basic crochet stitches, such as the chain stitch and double crochet stitch. Once you have your supplies and skills in place, you can begin working on your granny spike stitch project.
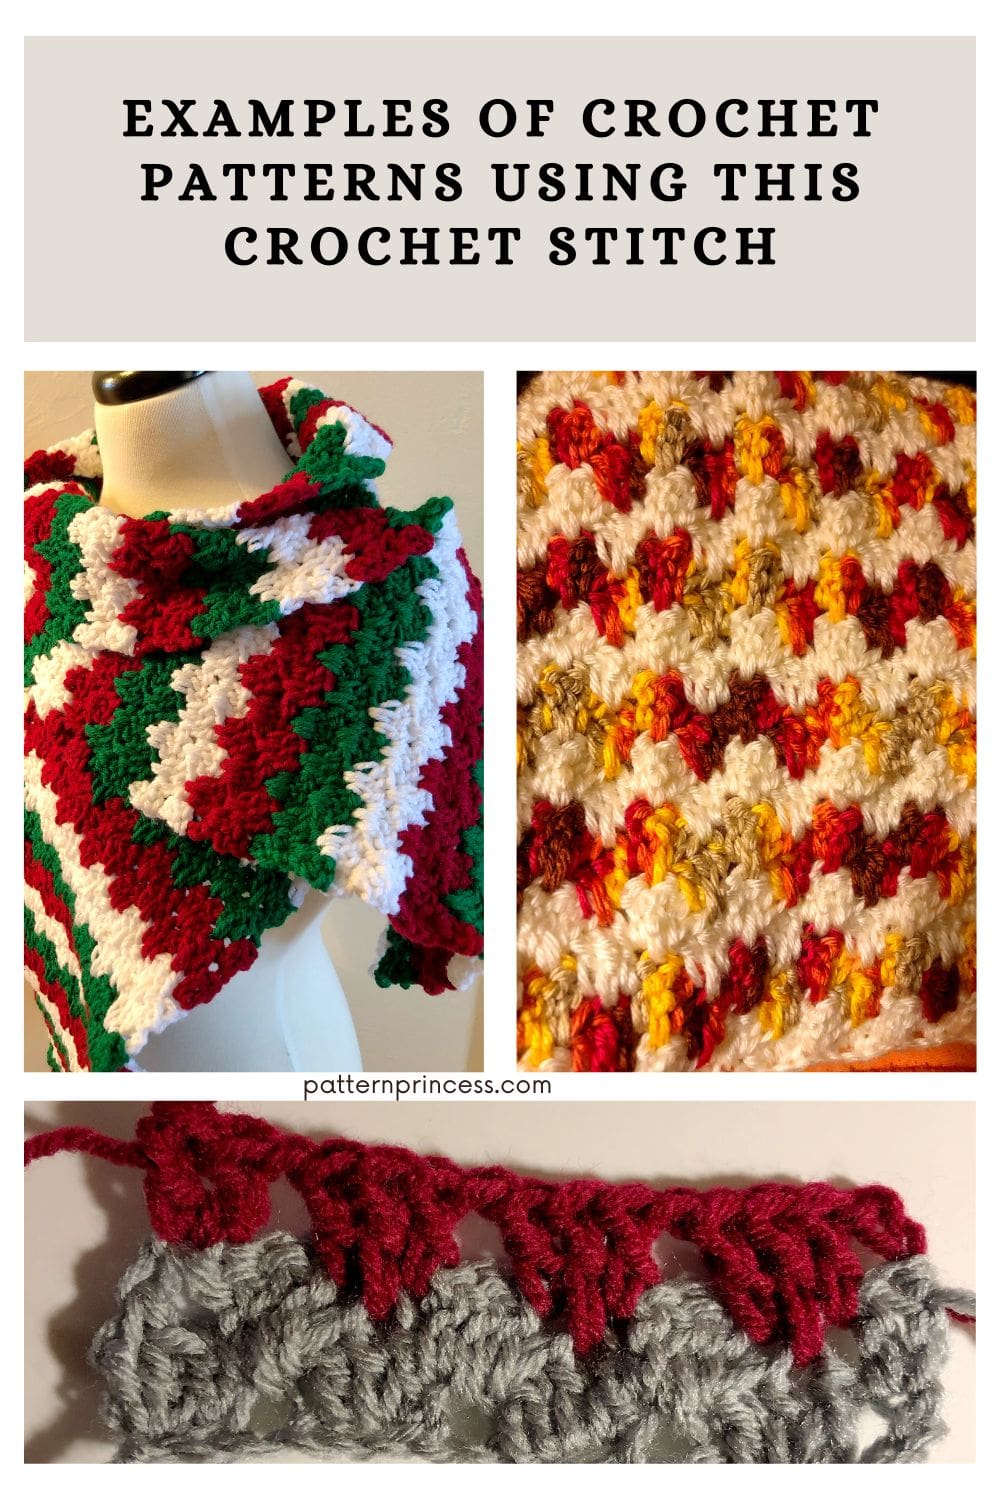
Examples of Crochet Patterns using this Crochet Stitch
It’s a popular stitch that can add texture and visual interest to your projects. Awesome for blankets, scarves, pillow covers, and anything else you can think of.
Embrace Autumn Crochet Pillow Cover
Joyful Holiday Crochet Scarf Pattern
Change the Look with Ease
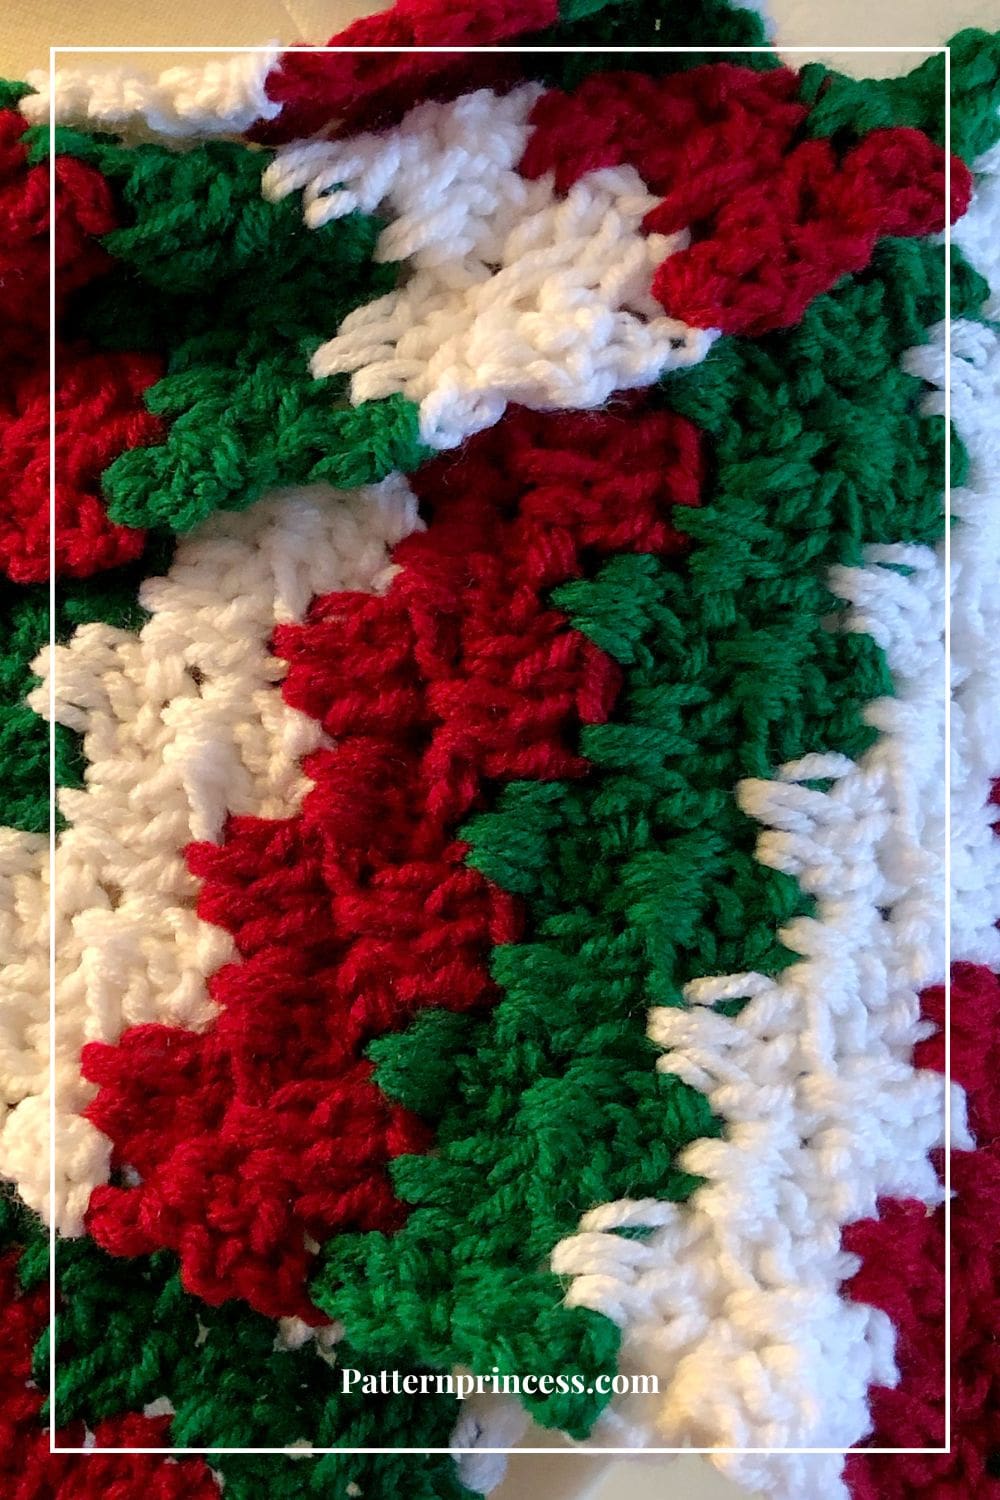
Change the yarn colors used for a variety of looks. Additionally, the placing of where the yarn is changed will create a whole new look too.
Here are few samples showing how this lovely crochet stitch would look with different colors.
The result is very different for each; however, you are using the same stitch throughout.
Once the second row is completed, it is duplicated through the crochet pattern.
Directions: How to Crochet the Granny Spike Stitch
Skill Level
Advanced Beginner or Intermediate
Size
To use this stitch and make the project wider, increase or decrease in multiples of 4 + 1. That means that the beginning chain needs to be divisible by 4, and then you add 1 more stitch. Therefore, this beginning chain is 17 stitches, which is 4 X 4 = 16 + 1 = 17.
Gauge
This will depend on the yarn and crochet hook used.
Abbreviations
CH = Chain
DC = Double Crochet
DC Spike = Spike Stitch
SC = Single Crochet
SK = Skip
SP = Space
ST = Stitch
STs = Stitches
YO = Yarn Over
[ ] = Repeat Between
Materials
Yarn. Use the color and yarn weight desired. If this is your first time, a medium weight yarn is a good one to start with.
Crochet Hook. Use the suggested crochet hook on the yarn package.
Tapestry Needle
Scissors
Pattern Notes
This pattern is worked in U S Terms.
Turn at the end of each row.
When the spike stitch is noted to be worked, work long double crochet into the middle stitch from 2 rows below.
The sample is 17 stitches.
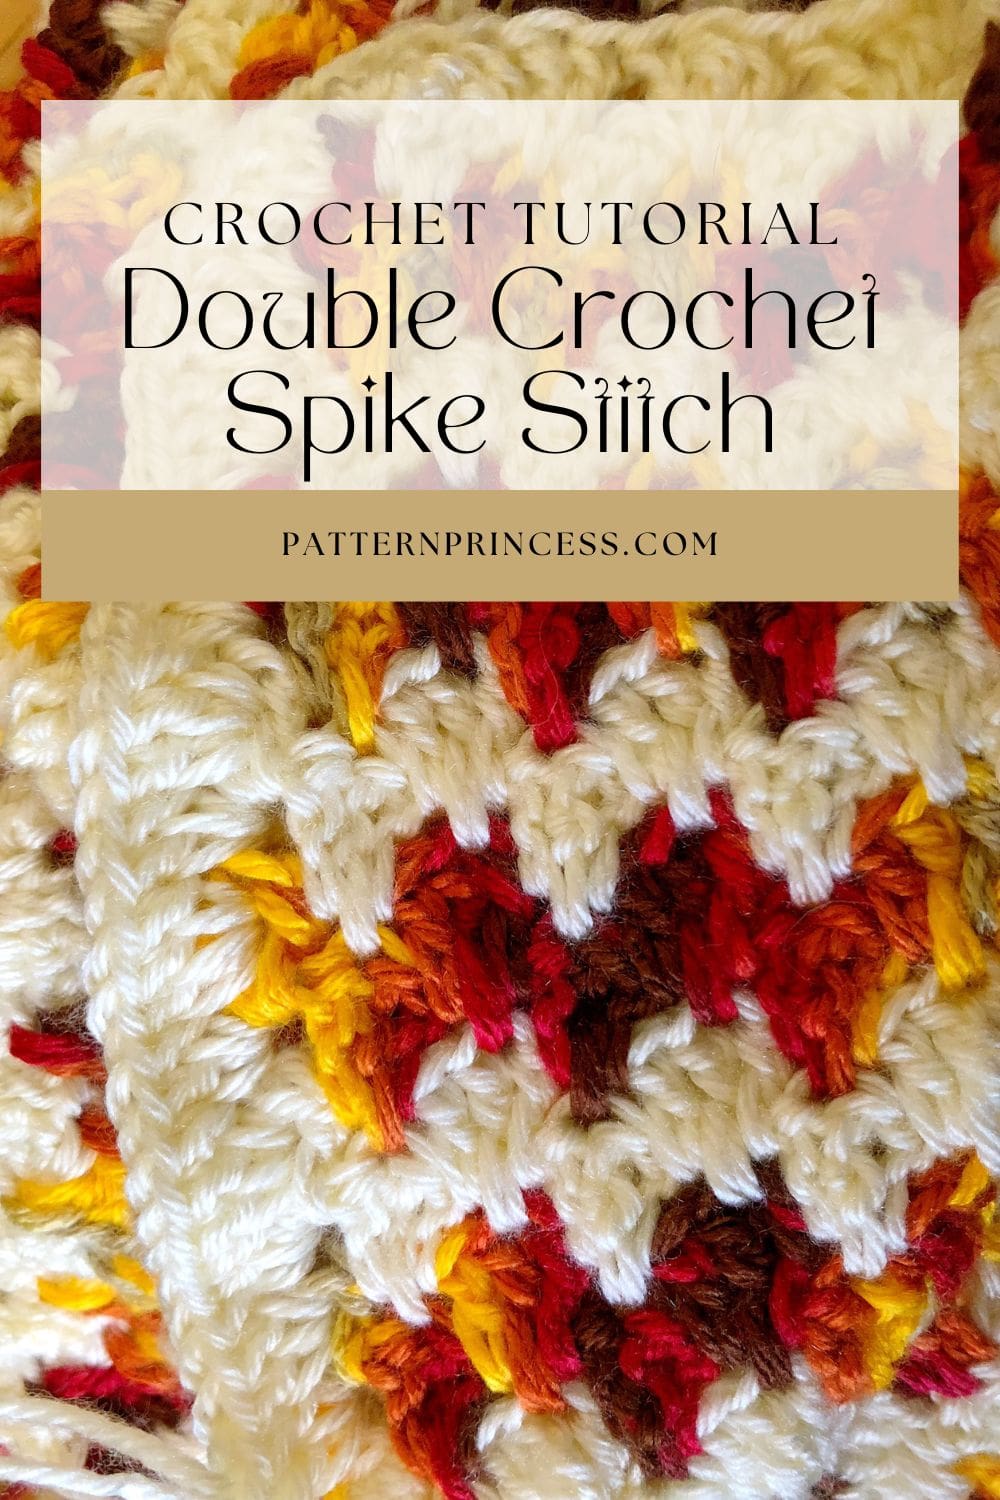
Special Stitches
Double Crochet Spike Stitch. It is a normal DC but the ST is worked two rows below. YO, insert hook in CH SP two rows below. YO, pull through two loops. Finally, YO and pull through the last two loops.
Begin
My sample size CH 17 STs.
Foundation Row: CH multiples of 4 until you get the desired width for turning, then add 1 more CH ST.
Row 1
Begin with 3 DC in the 5th CH from the hook. CH 1 [SK 3 CH STs, 3 DC in next CH]. Repeat between [ ] across until the last 4 CH STs. SK 3 CH STs, 2 DC in the last CH. Turn
Row 2
Chain 2 [(1 DC, 1 DC Spike Stitch, 1 DC) worked into the CH 1 SP. CH 1] Repeat between the [ ] across. End with 2 DC in the last CH SP. Turn
Row 3
Chain 2 [(1 DC, 1 DC Spike Stitch, 1 DC) worked into the CH 1 SP, CH 1]. Repeat between the [ ] across. End with 2 DC in the top ST of the beginning CH 2 SP. Turn
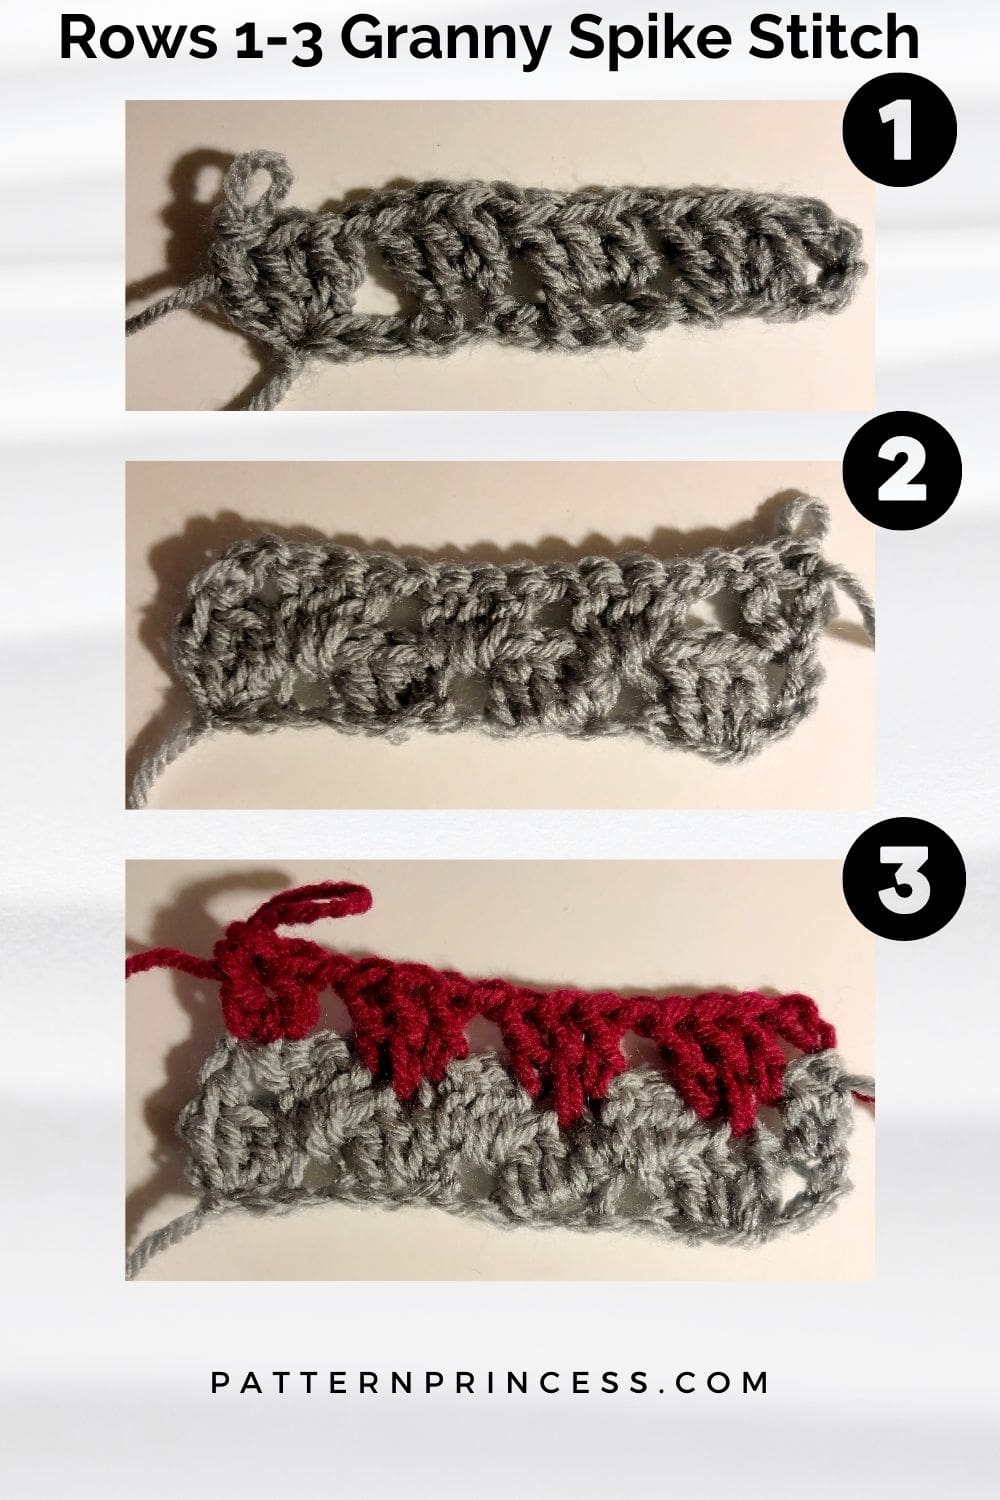
Repeat row 3 for the rest of the pattern.
Last Row Crochet Stitches
For the last row, you can either continue working the stitches for row 3.
Or work this optional final row.
Final Row of Project Stitches. Rather than working a DC on either side of the DC spike stitch, work a single crochet.
Finishing
Cut off yarn leaving about a 10-inch tail. Pull through the last loop to secure. Weave in the yarn tail using the tapestry needle. Cut off the excess yarn.
Crocheting Video Tutorials
If you prefer to learn crochet by watching a video or want to see the written pattern worked, these video tutorials are for you.

You can find Victoria crocheting, quilting, and creating recipes. She has cooked in restaurants for over 20 years, including many larger parties. She learned to crochet when she was just 11 years old and has been crocheting ever since; over 50 years now. Over 40 years ago, she loved her first class in sewing and continues to hone her skills in quilting. Many have enjoyed the handmade gifts over the years. In her professional career, she has worked in management in a wide variety of businesses including higher education as a dean of a division. All the while attending college part-time to achieve her doctorate in higher education with an emphasis in e-learning.

This pattern is simply gorgeous. I’m gonna try to make a afghan for my little sister’s bed for Christmas gift. She’s been very ill and I know this will keep her warm and she’ll love it.
Lynne,
Thank you. It will make a lovely afghan. I hope she feels better soon. Sending blessings your way.
Vicky