
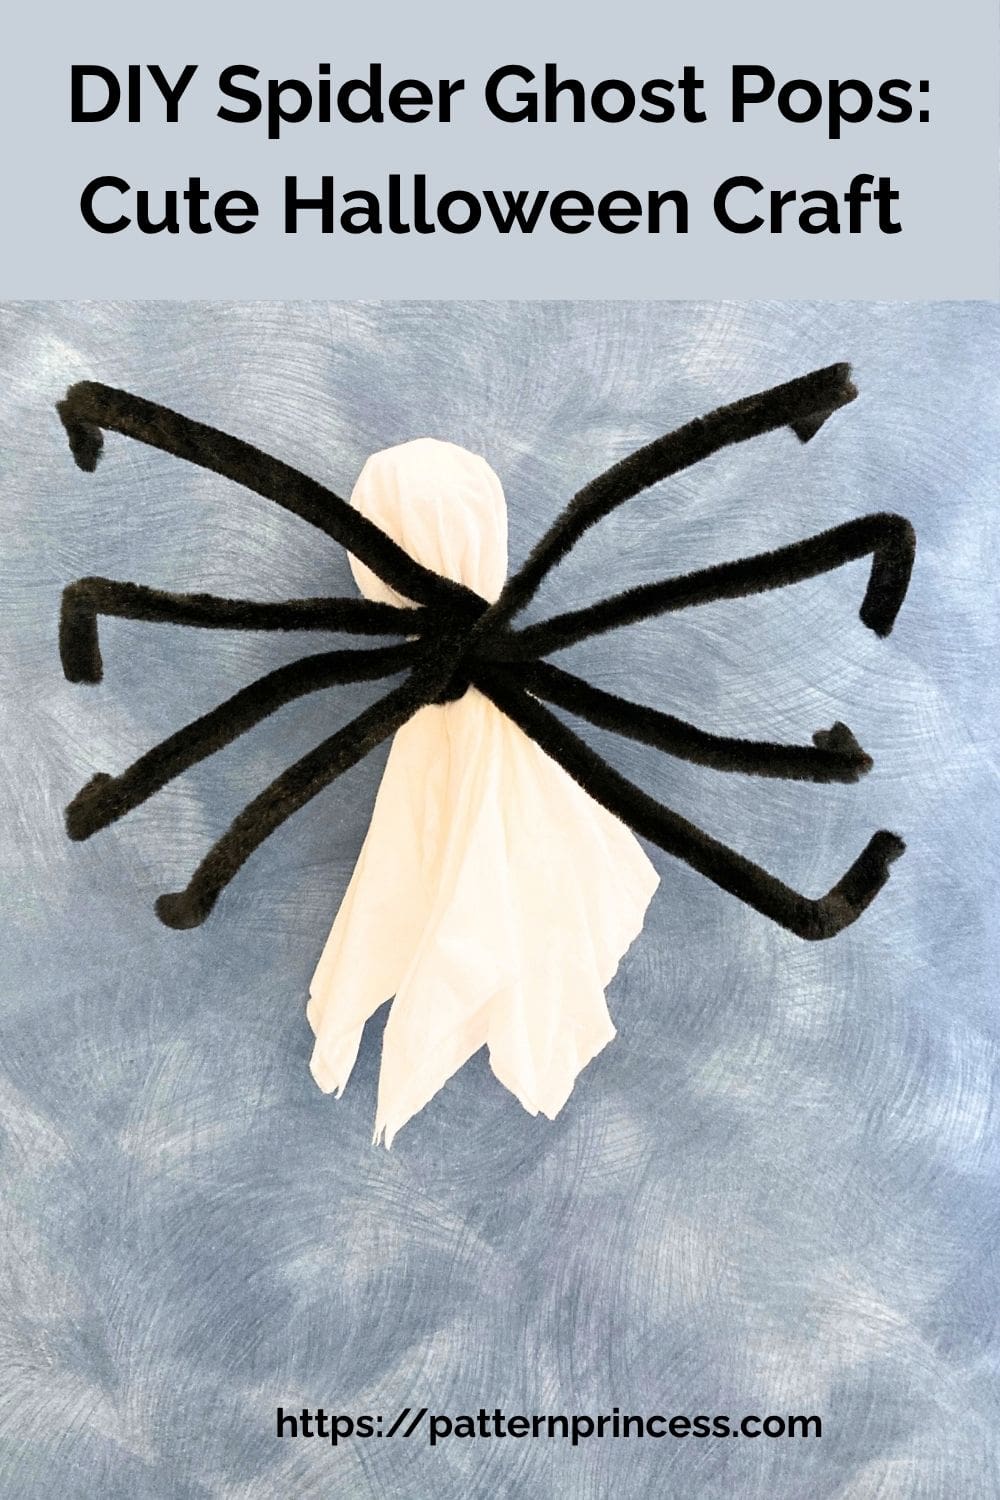
Make cute Spider Ghost Pops with tissues and pipe cleaners. A quick, kid‑friendly Halloween craft perfect for parties, treat bags, and classroom fun.
We made these little Spider Ghost Pops for a ©Spiderman themed birthday party celebration in the fall. They’re quick, inexpensive, and adorable. With just tissues, pipe cleaners, and lollipops, you can make a whole batch of spooky‑cute party favors.
I’ve included step‑by‑step photos and a short video so you can follow along easily. This is a great craft for kids to help with, and the video shows exactly how I shape the legs and wrap the tissues.
Note: Kids can help layer the tissues, shape the legs, or draw the faces. Adults should handle twisting the pipe cleaners tightly.
Why You’ll Love This Craft
- Quick to make — perfect for last‑minute parties
- Inexpensive supplies
- Kid‑friendly and fun
- Doubles as décor and party favors
- Easy to customize for any theme
Materials
- Round lollipops, such as a ©Tootsie Pop (1 per spider ghost)
- White tissues (2 per spider ghost)
- Black pipe cleaners (4 per spider ghost)
Step‑by‑Step Instructions
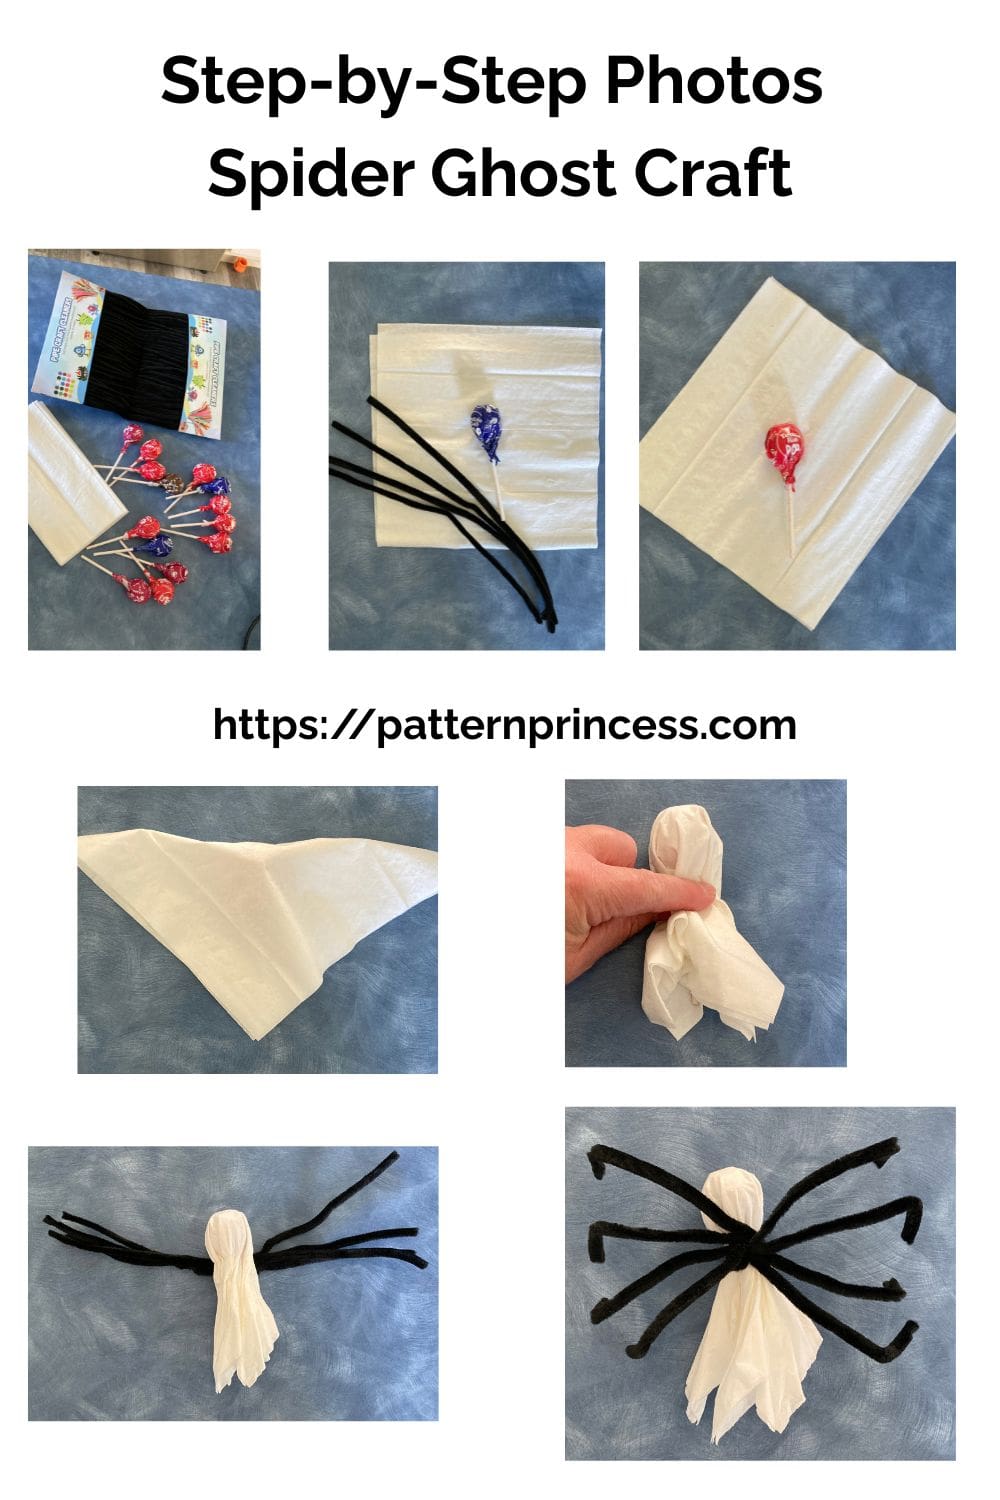
Step 1: Layer the Tissues
Lay two white tissues flat, one directly on top of the other. This gives your ghost a fuller, more opaque look. And it covers up any details of the lollipop wrapping.
Step 2: Position the Lollipop
Place one lollipop in the center of the tissues on the diagonal. The round candy should sit in the middle, with the stick pointing toward one corner.
Step 3: Wrap the Ghost Body
Fold the top corner of the tissues down over the round part of the lollipop. Then gently pull the remaining sides down so the tissues drape smoothly around the candy, forming the ghost shape.
Step 4: Prepare the Spider Legs
Take four black pipe cleaners and align their ends. Fold them in half to find the center point. This is where they’ll wrap around the ghost.
Step 5: Attach the Legs
Place the tissue‑wrapped lollipop right at the center of the folded pipe cleaners. Wrap the pipe cleaners around the “neck” of the ghost and twist snugly to secure.
Step 6: Shape the Spider Legs
Arrange four legs on each side of the lollipop. Bend the outer ¼ inch of each pipe cleaner downward to form little spider feet. Adjust the angles until your spider ghost looks the way you like.
Your Spider Ghost is Complete!
Display Ideas for Your Spider Ghost Tootsie Pops
Center Island Party Display
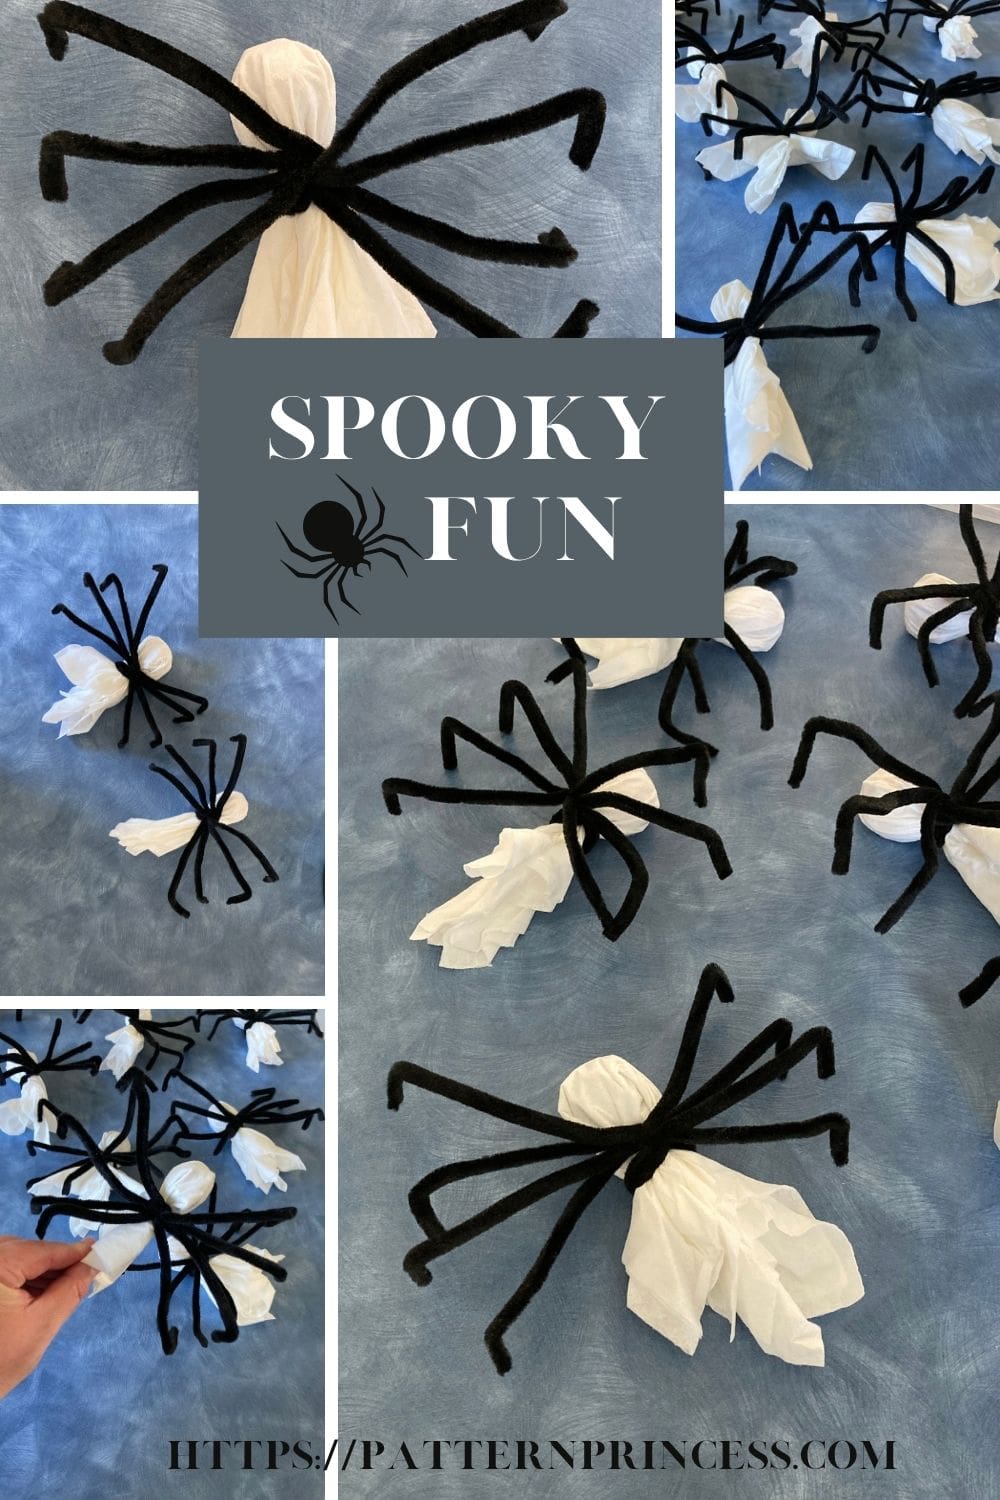
Arrange the Spider Ghost Pops in a shallow basket, wooden tray, or decorative bowl on the kitchen island. Since this is where all the food will be served, the pops become part of the festive setup. Kids can grab one during the party, and you can hand out extras to adults afterward.
We placed our Spider Ghost Pops right on the kitchen island where all the food was served. They added a fun, spooky touch to the display, and the kids loved choosing their own ghost to take home. We even made a few extras for the adults. Because who doesn’t love a cute handmade treat?
Standing Spider Ghosts on a Tiered Tray
Because the pipe cleaner legs can be shaped to stand, you can place them on a tiered tray or cupcake stand. This adds height and makes them look like a little ghostly spider parade.
Candy Bowl “Creepy Crawl”
Fill a bowl with wrapped candies and tuck the Spider Ghost Pops around the edges so they look like they’re crawling out. Great for Halloween parties or fall gatherings.
Mini Cauldron or Pumpkin Bucket
Place them inside a small plastic cauldron or pumpkin pail. Perfect for a themed birthday or October party.
Treat Bags for Each Child
Slip one Spider Ghost Pop into a clear treat bag with a small tag:
- “Thanks for creeping by!”
- “You’re spook‑tacular!”
- “Happy Haunting!”
This makes them feel like a special take‑home gift.
Classroom or Group Display
Line them up along a windowsill, bookshelf, or table edge. Kids love seeing them “march” in a row.
Party Favor Basket
Set a basket near the door so each child can grab one as they leave. Add a small sign: “Take a Spider Ghost Home!”
Dessert Table Accent
Place them around cupcakes, cookies, or a cake as edible décor. They add height, texture, and a playful touch.
Photo Prop Area
If your child is doing a birthday photo backdrop, scatter a few Spider Ghost Pops on a small table nearby. Kids can hold them in photos.

Safety Note
A simple reminder that pipe cleaners and small candies aren’t suitable for toddlers.
Variations
- Use colored pipe cleaners for silly rainbow spiders.
- Swap tissues for patterned napkins for themed ghosts.
- Use glow‑in‑the‑dark pipe cleaners for nighttime parties.
- Add googly eyes instead of drawing a face.
When to Use These Spider Ghost Pops
- Halloween parties
- Classroom treats
- October birthdays
- Trunk‑or‑treat events
- Neighborhood gifts
- Fall festivals
- Craft nights with kids
Why This Craft Works
- Inexpensive supplies
- Fast assembly
- Kid‑friendly
- Doubles as décor and party favors
- Easy to make in batches

Cute, spooky, and ready for party bags, classroom treats, or Halloween displays
I hope these little Spider Ghost Tootsie Pops bring as much joy to your celebration as they did to ours. There’s something so sweet about simple crafts that come together quickly yet make a big impact. Especially when they’re shared with family, friends, or a room full of excited kids.

DIY Spider Ghost Pops: Cute Halloween Craft
Equipment
- Display Items optional
Materials
- 1 Round lollipops such as a ©Tootsie Pop (1 per spider ghost)
- 2 White tissues 2 per spider ghost
- 4 Black pipe cleaners 4 per spider ghost
Instructions
Step 1: Layer the Tissues
- Lay two white tissues flat, one directly on top of the other. This gives your ghost a fuller, more opaque look. And it covers up any details of the lollipop wrapping.2 White tissues
Step 2: Position the Lollipop
- Place one lollipop in the center of the tissues on the diagonal. The round candy should sit in the middle, with the stick pointing toward one corner.1 Round lollipops
Step 3: Wrap the Ghost Body
- Fold the top corner of the tissues down over the round part of the lollipop. Then gently pull the remaining sides down so the tissues drape smoothly around the candy, forming the ghost shape.
Step 4: Prepare the Spider Legs
- Take four black pipe cleaners and align their ends. Fold them in half to find the center point. This is where they’ll wrap around the ghost.4 Black pipe cleaners
Step 5: Attach the Legs
- Place the tissue wrapped lollipop right at the center of the folded pipe cleaners. Wrap the pipe cleaners around the “neck” of the ghost and twist snugly to secure.
Step 6: Shape the Spider Legs
- Arrange four legs on each side of the lollipop. Bend the outer ¼ inch of each pipe cleaner downward to form little spider feet. Adjust the angles until your spider ghost looks the way you like.
- Your Spider Ghost is Complete!

You can find Victoria crocheting, quilting, and creating recipes. She has cooked in restaurants for over 20 years, including many larger parties. She learned to crochet when she was just 11 years old and has been crocheting ever since; over 50 years now. Over 40 years ago, she loved her first class in sewing and continues to hone her skills in quilting. Many have enjoyed the handmade gifts over the years. In her professional career, she has worked in management in a wide variety of businesses including higher education as a dean of a division. All the while attending college part-time to achieve her doctorate in higher education with an emphasis in e-learning.
Stay connected with Pattern Princess
Add Pattern Princess as a preferred source in Google Search to make it easier to find our crochet patterns, recipes, quilt patterns, and other creative projects when you're looking for something new to make.

Fun and Easy Party Favors for a Spooky Decor or Party Favor.