Last updated on July 5th, 2024 at 12:46 am
The Free Simple Crochet Pillow Cover Pattern is perfect whether you’re a seasoned crochet enthusiast or a complete beginner eager to learn the ropes. This pattern is a fantastic way to DIY your home décor.
There’s something truly magical about infusing your home with handmade items that reflect your personal style and creativity. Whether you’re adorning your living room, bedroom, or any other cozy corner, this project is bound to bring a sense of accomplishment and joy every time you catch a glimpse of your handiwork.
Beginner Friendly Throw Pillow Pattern
With our step-by-step guide, simple stitches, and this easy-to-follow pattern, you’ll be well on your way to creating a pillow cover that will add a touch of warmth and charm to your living space.
What’s more, is you can save money and reduce waste by not buying new pillows and tossing your old ones. Additionally, this unique design is removeable, which makes it washable. You slip your pillow form into the pocket pillow cover. Then fold over the flap and tuck it inside the front cover or not, and tie it closed.
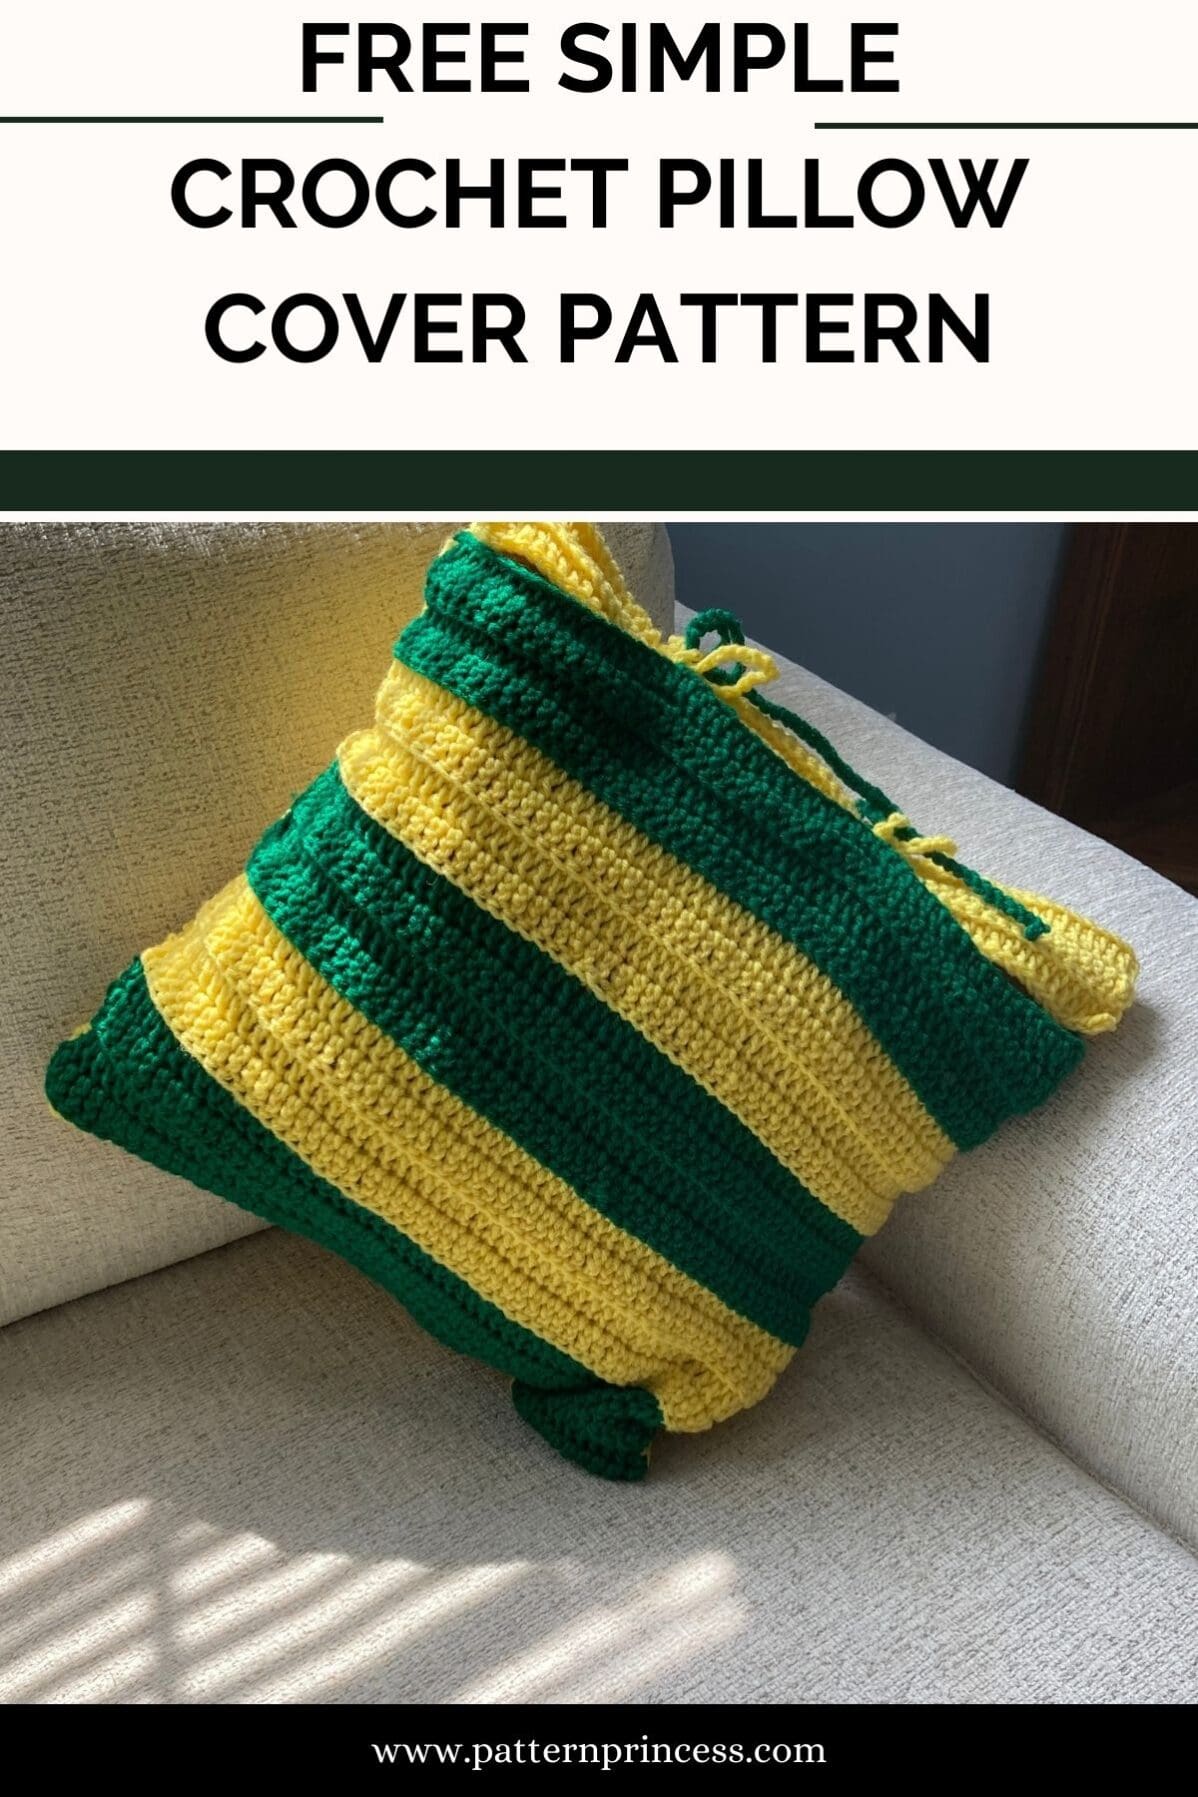
Green and Gold Blanket Pocket Pillow Pattern
Why Green and Gold Stripes?
This green and gold pillow matches the Fast and Easy Beginner Crochet Blanket Pattern that I crochet for my husband.
We live on a farm and of course, some of our tractors are John Deere. However, we also live in Wisconsin and the Green Bay Packers are the pride and joy of the state. We can’t help but be fans of both. So it just seems appropriate for us to have a green and gold pillow and afghan to match.
*Post contains affiliate links*at no additional cost to you for more information please read the disclaimer on the About Us page.
The Yarn You’ll Use for This Crochet Pillow
For this free crochet pattern, you will need 2 skeins of Red Heart yarn. it is a medium weight yarn. However, you can change yarn weights and make a chunky yarn version of this pattern. Or use a lightweight category 3 yarn that’s made from cotton and bamboo.
While I chose to make this using green and gold yarn today, it would look lovely in different colors in strips or solids. It is an easy way to match your own home decor. Use farmhouse style colors, bright colors, or yarn for Holidays throughout the year. Change your handmakes throughout the seasons. It also make a quick gift for someone special.
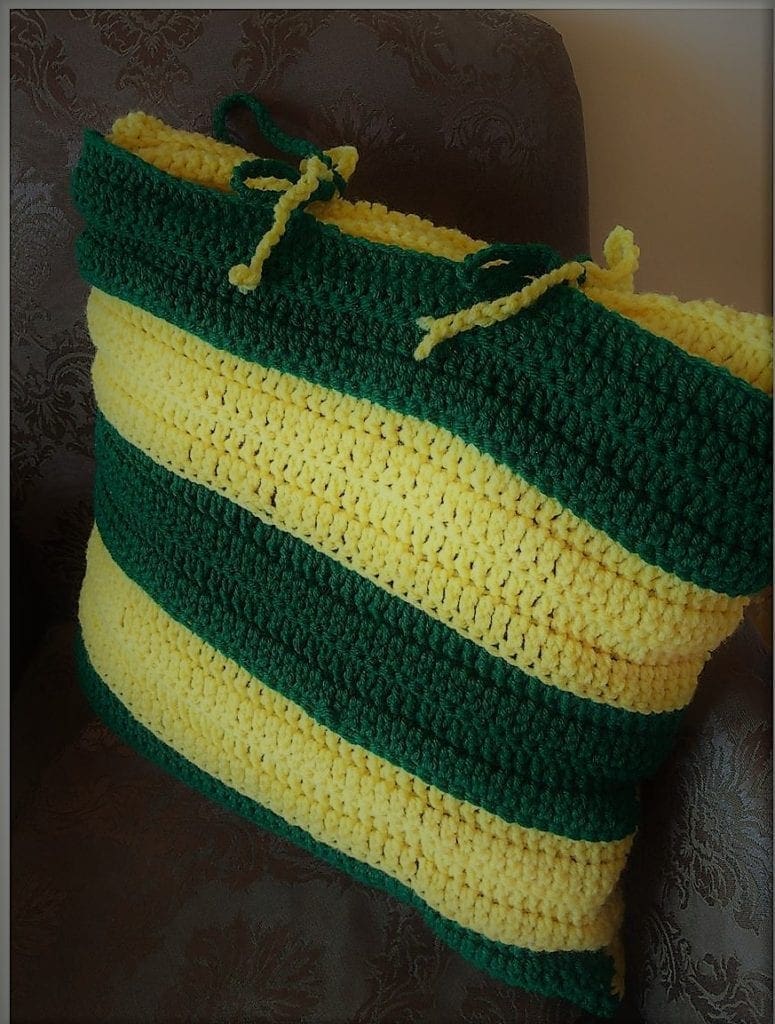
Cozy Crochet Home Décor
Every year, it’s become a bit of a tradition for me. This home makeover thing. I mean, who doesn’t love that feeling of giving your place a whole new vibe? And you know what’s my secret sauce? Pillows and blankets.
Yep, you heard it right. I dive into my storage, pull out all those goodies I’ve collected over time, and oh boy, they might need a little dust-off, but they’re like old pals coming back.
As each piece finds its way back into the spotlight, it’s not just about decoration. It’s about reliving those cozy movie nights, the laughter-filled chats with friends, and even the quiet solo moments when it’s just me and my thoughts. So, there you have it, my little home refresh ritual, where pillows and blankets take center stage and memories get a front-row seat.
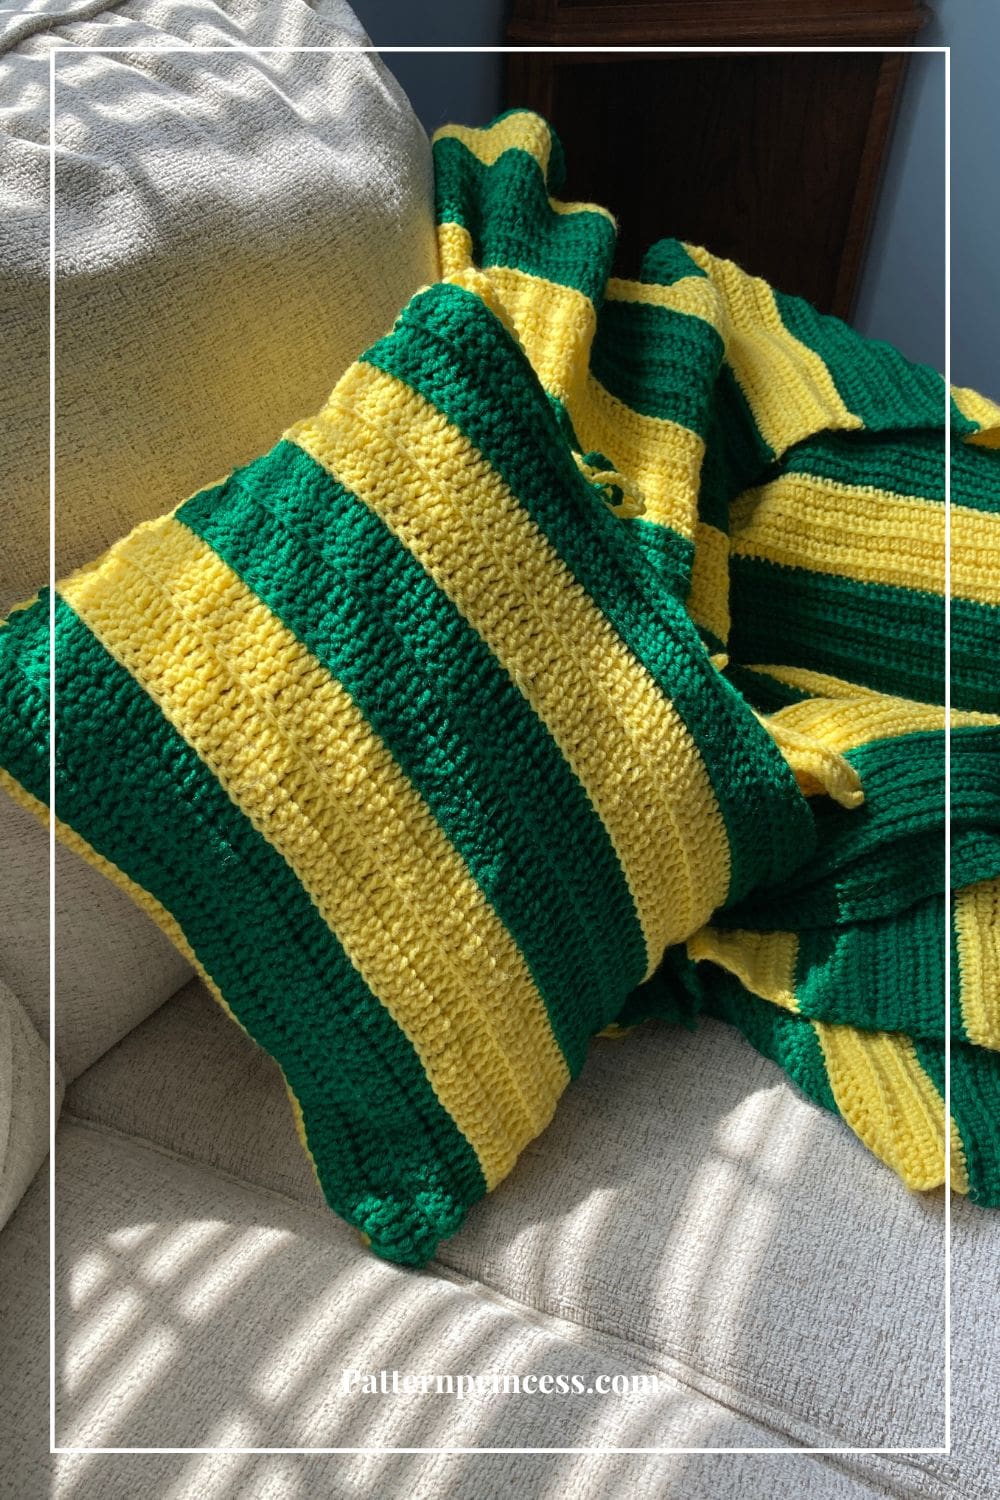
Directions: Free Simple Crochet Pillow Cover Pattern
Skill Level:
Beginner Friendly. If you can double crochet, you can make this pattern.
Pocket Pillow Cover Size
18″ inches x 18″ inches. Square Pillow once assembled.
Change the size of the pillow by increasing or decreasing the beginning chain stitches by 1 stitch. The length can be changed by adding or decreasing rows.
Gauge:
12 single crochet and 15 rows every four inches
Materials:
Red Heart Gold, one skein of yarn or 365 yards.
Red Heart Paddy Green, one skein of yarn or 365 yards.
If you are not able to find the yarn locally, you can purchase it on Amazon.
Crochet Hook Size J 6.0 mm
Tapestry needle
Scissors
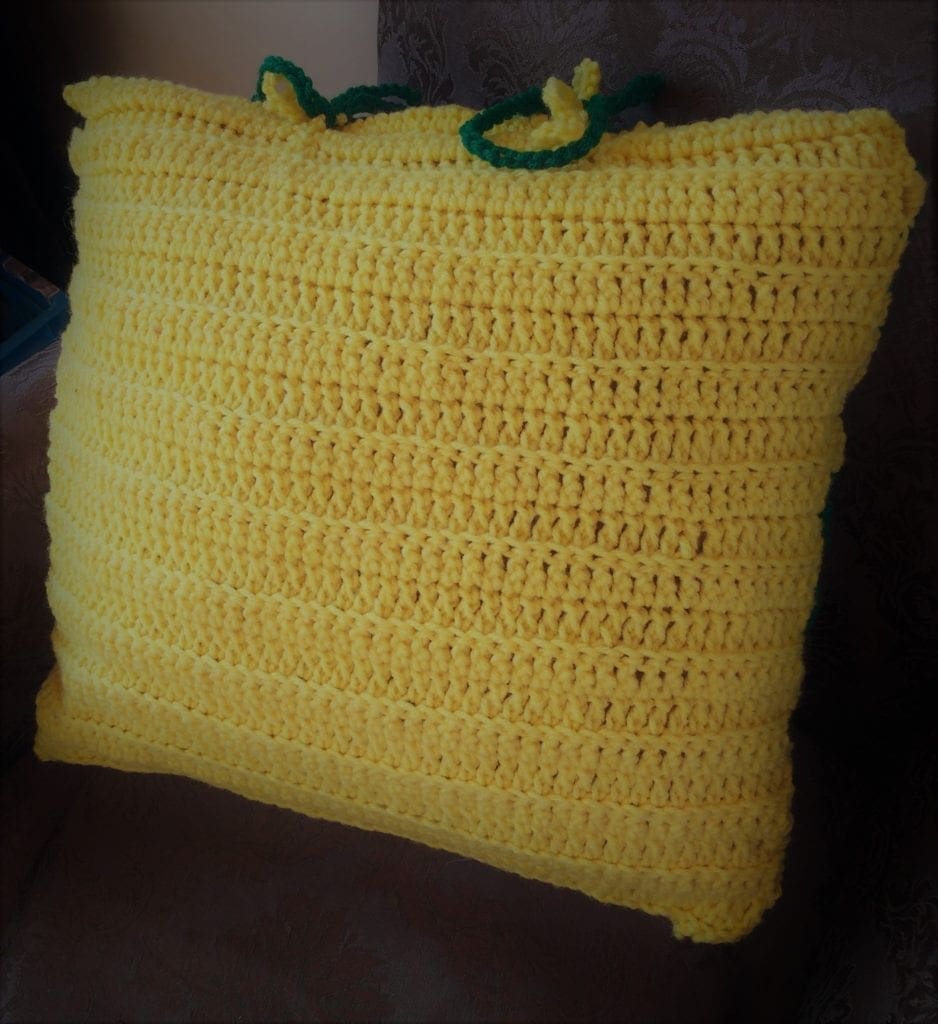
Pillow Insert for Square Pillows. As you can see from the photo near the bottom, I used a pillow I already had on hand and just covered it.
Abbreviations:
BLDC = Back Loop Double Crochet
CH = Chain Stitch
DC = Double Crochet
SC = Single Crochet
ST = Stitch
Color Rows:
Front Panel Section:
20 rows
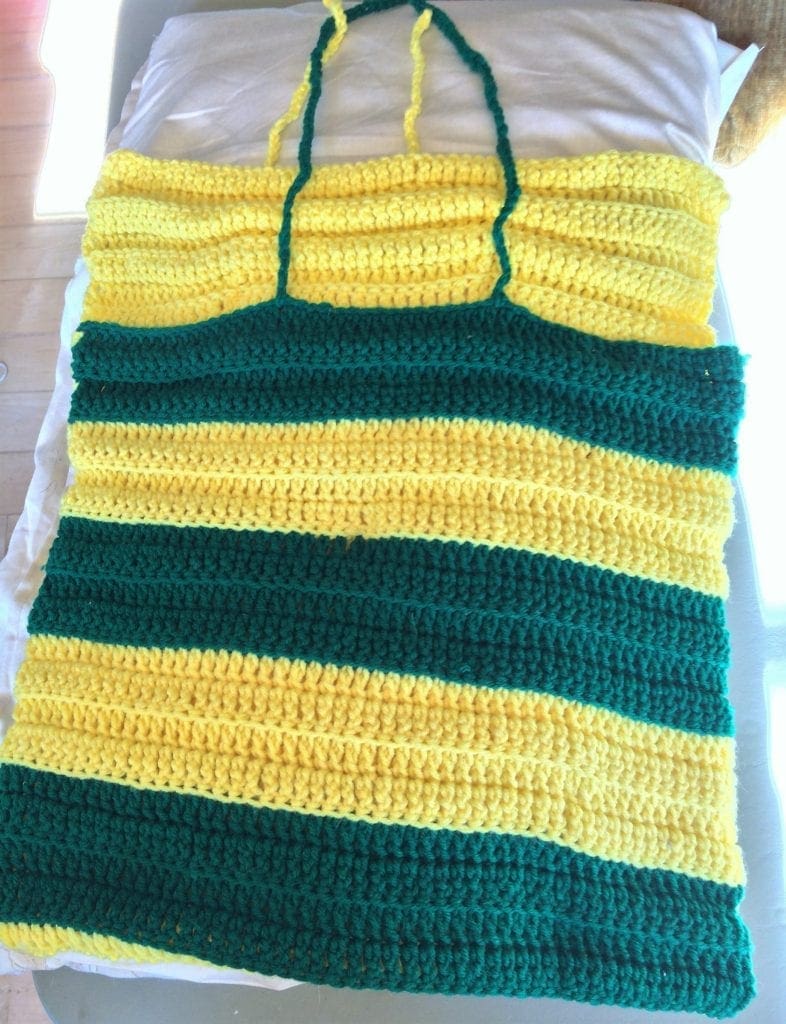
3 sections of green (4 rows each)
2 sections of yellow/gold (4 rows each)
Back Panel Section:
Back side 27 rows yellow (yes, the back side is longer)
Total rows 47
How to Make the Double Crochet Stitch
The Double Crochet is abbreviated as (DC) in written patterns.
Yarn over, insert the hook through both loops and pull up a loop. Next, yarn over and pull through two loops on the hook. Lastly, yarn over again and pull through the last two loops on the hook.
HOW TO CROCHET THE DOUBLE CROCHET STITCH video tutorial
Work a Single Crochet Stitch
The Single Crochet is abbreviated as (SC) in written patterns.
Insert hook into stitch, yarn over and pull through, yarn over and pull through last two loops on hook.
You can find other crochet stitch tutorials on the website too.
Blog Posts Dedicated to a Free Crochet Stitch Tutorial
Pattern Notes
The front and back of the pillow covering is worked in a long flat rectangle.
Pattern is written in US Terms.
Turn at the end of each row.
Turning chain 3 does count as a stitch.
Yarn colors are changed to create stripes.
Double crochet stitches are worked in the back loop only.
Long Rectangular Shape
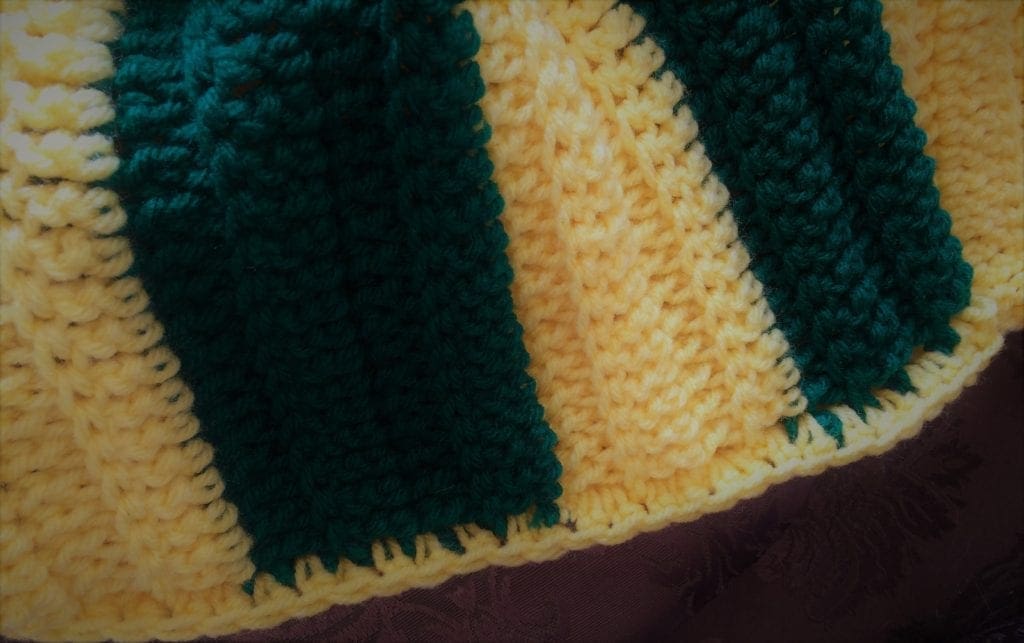
The pillow lays out like a long rectangular shape. I put the right sides together and joined the pillow on the sides using a crochet hook.
Begin
Foundation chain 55
Row 1
In 4th ST from hook, work a DC and continue to DC in each CH until the end. Turn
Row 2
Ch 3 (Counts as a Double Crochet), work a BLDC in each ST across until the end. Turn.
Rows 3-47
Repeat row 2.
when you are done, don’t cut off the yarn. Move onto the next part.
Joining Sides to Form Pillow Pocket
Lay the rectangle flat. With the right sides together, fold the rectangle to make a square. You will have approximately 7-inches hanging out yet. This will be used to fold over and tuck inside the pillow cover over your pillow form.
Work a single crochet stitch picking up a stitch from both the front and back at the same time. This closed up the sides nicely. When working around the corners, work 3 SC in each corner ST to help it lay flat.
Adding Ties
To secure the crochet pillow covering around a pillow, I added ties. A simple solution.
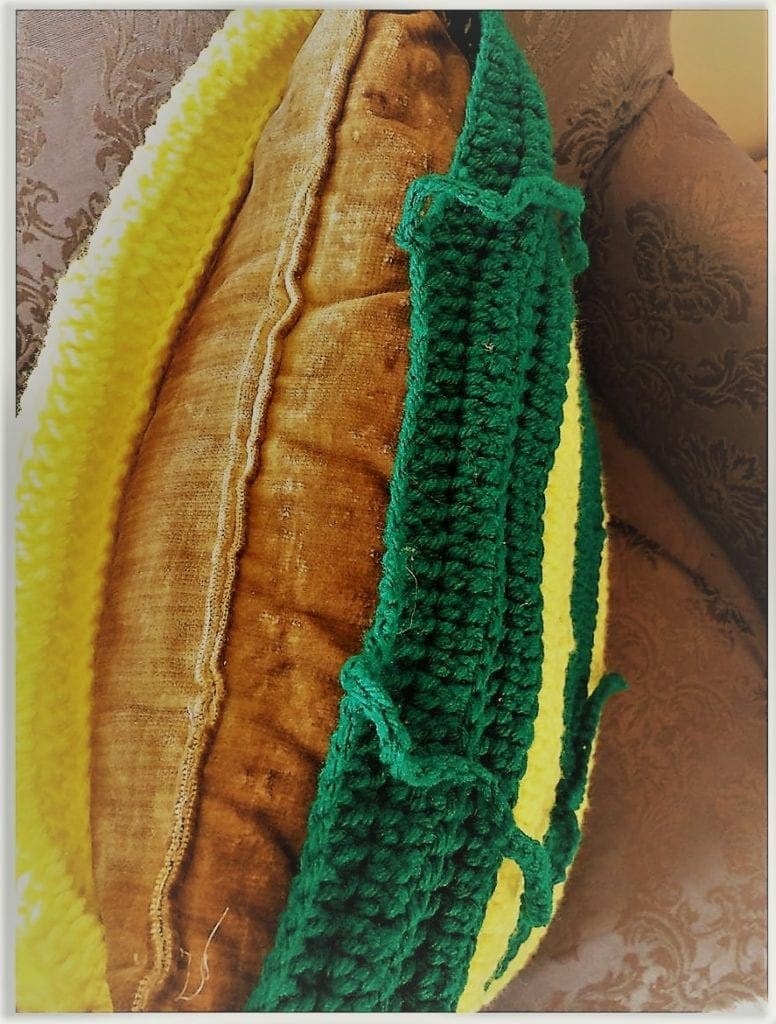
Attach the same color yarn to the top rows of the front and back for each tie. Make a chain approximately 8-inches long.
Start with the usual slip stitch on the hook. Insert the hook through a stitch on the side. See photo for tie placement and spacing. Yarn over and pull through the loop on the hook.
Now you are ready to make your chain stitches. When the ties are about 8-inches long. Cut the yarn off leaving a 5 to 6-inch yarn tail. Pull the yarn all the way through the last loop on the hook and pull snug.
Finishing
Fasten off and weave in ends using the tapestry needle.
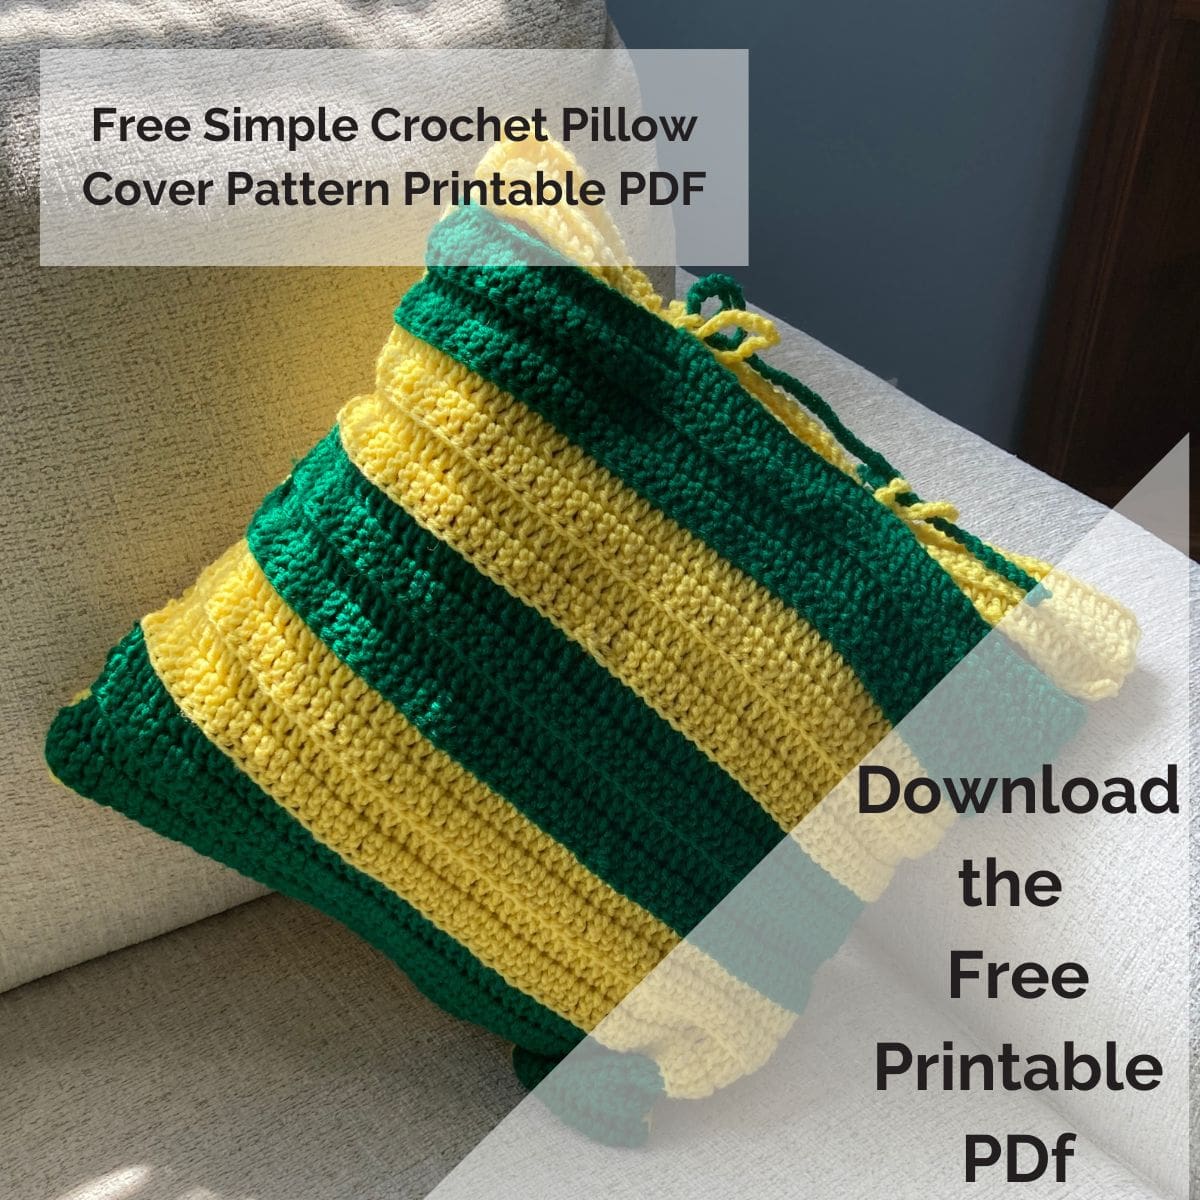
As you can see, I just put a pillow inside this and tied it closed. Great way to upcycle an old pillow. I hope you enjoyed making your own easy crochet pillow pattern.
Enjoy using your pillow cover.
Sign up for the newsletter and download all the free PDF patterns available along with this free pattern.
Here are some other free crochet patterns you might enjoy.

You can find Victoria crocheting, quilting, and creating recipes. She has cooked in restaurants for over 20 years, including many larger parties. She learned to crochet when she was just 11 years old and has been crocheting ever since; over 50 years now. Over 40 years ago, she loved her first class in sewing and continues to hone her skills in quilting. Many have enjoyed the handmade gifts over the years. In her professional career, she has worked in management in a wide variety of businesses including higher education as a dean of a division. All the while attending college part-time to achieve her doctorate in higher education with an emphasis in e-learning.
