Last updated on October 4th, 2025 at 03:17 pm
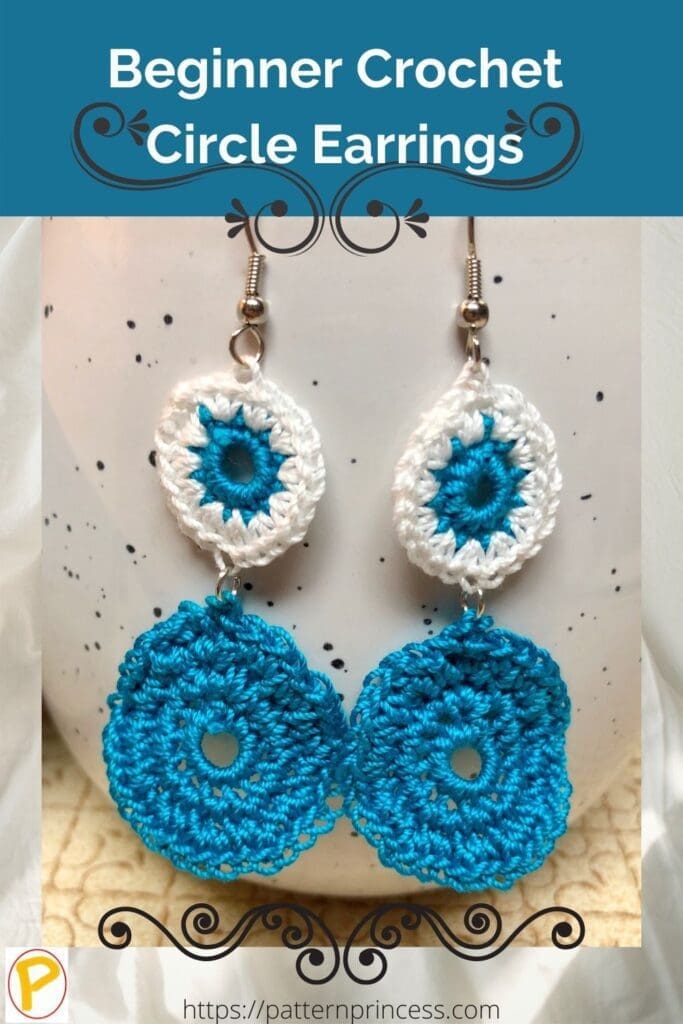
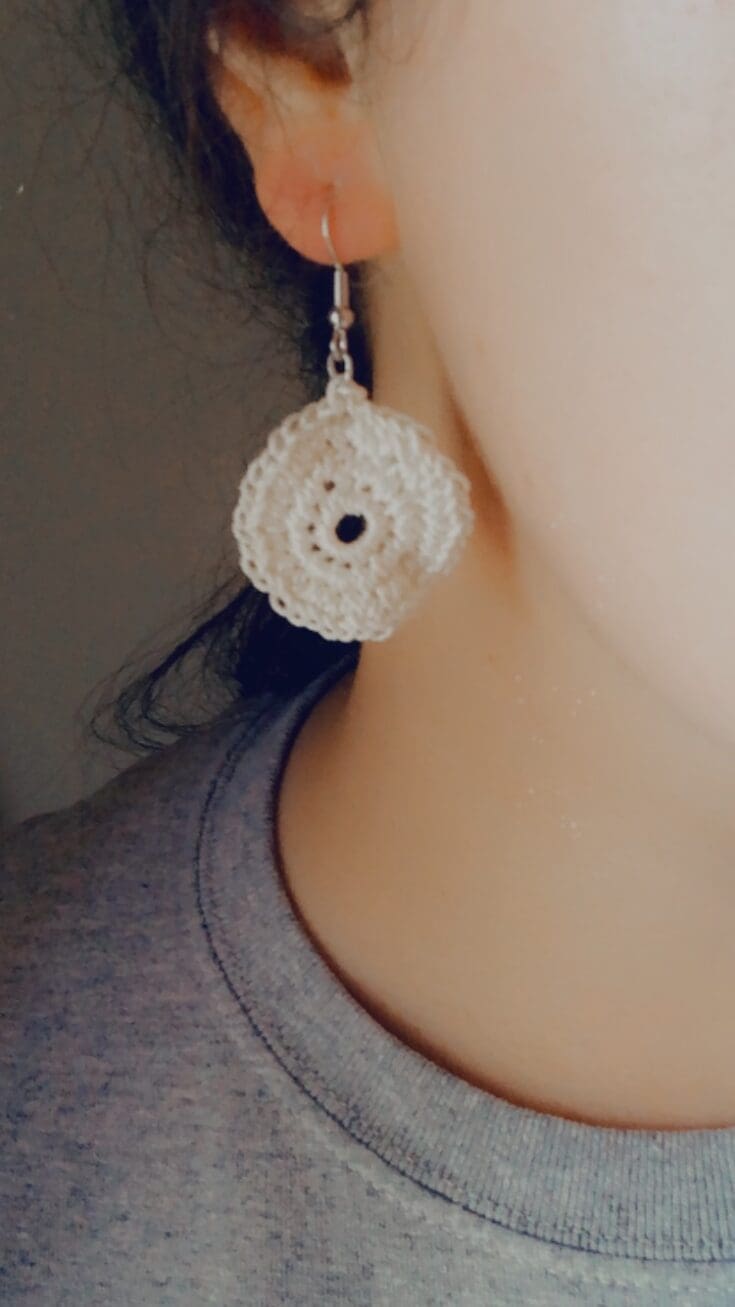
These beginner crochet circle earrings are made with very thin cotton thread and are attached to earring hooks. It takes less than 30 minutes to make these earrings and that includes adding the earring wires.
Post contains affiliate links, and we earn commissions if you shop through the links on this page. For more information, please read the disclosure section under the About Us page.
Make Your Own Earrings Crochet Pattern
Learn how to make your own earrings using thread yarn and a crochet hook. These circular dangle earrings are super easy to make.
Crochet a pair of circular earrings in various colors. They have a cute boho flair. If you love wearing colorful accent jewelry that is light and comfortable to wear, you will most likely love wearing these.
Crochet Earring Inspiration
One day not too long ago, a friend at work asked me to make a pair of earrings to match an outfit she was wearing. I made a few of these small circles in different colors. She loved them.
My daughter and I decided to make more. I do the crocheting and she adds the beads, earring wires, and jump rings.
They are super easy, quick, and fun to make.
Learn How to Make Dangle Earrings
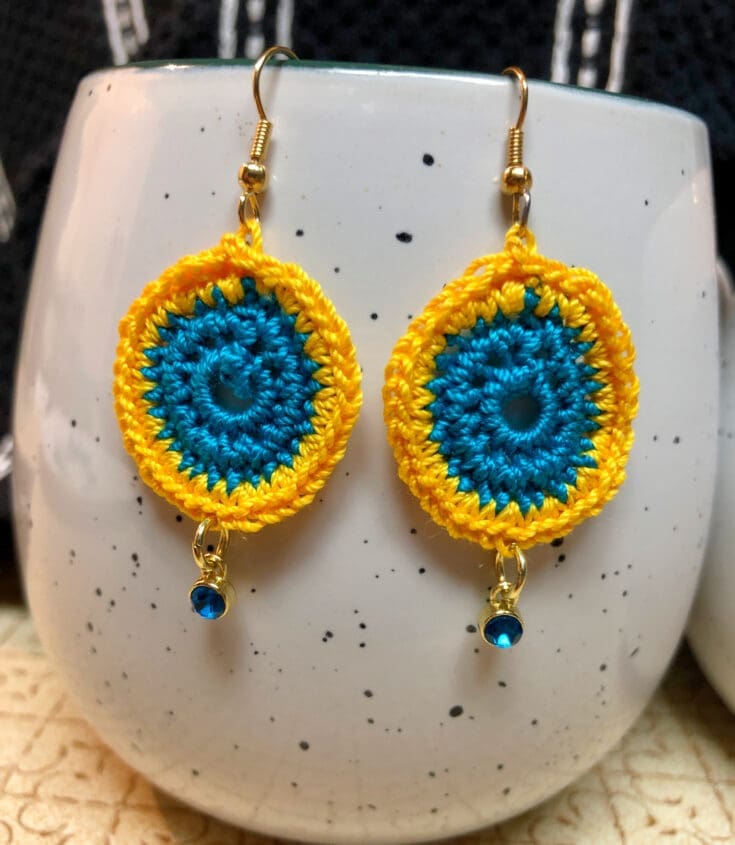
Pairing multiple circles together is an extremely easy way to make dangle earrings. Additionally, you can use one circle and add strung beads or other dangling and pretty elements to create the long, beautiful look.
Design Your own Earrings
Try pairing various thread colors together and start to make different shapes and sizes. The addition of beads can completely change the look of a crochet earring shape. Stack a smaller circle on top of a larger circle.
String a few crochet circles together with beads between. You can find our granny square earrings pattern where we turned the square on edge and added a bead. We had a small square on top of a larger square and added a bead to the bottom of a square.
I kept making various colors of circles and squares in different sizes and my daughter kept transforming the mini crochet items into jewelry.
This is truly one-of-a-kind jewelry making on a budget too!
Learn to Crochet in the Round
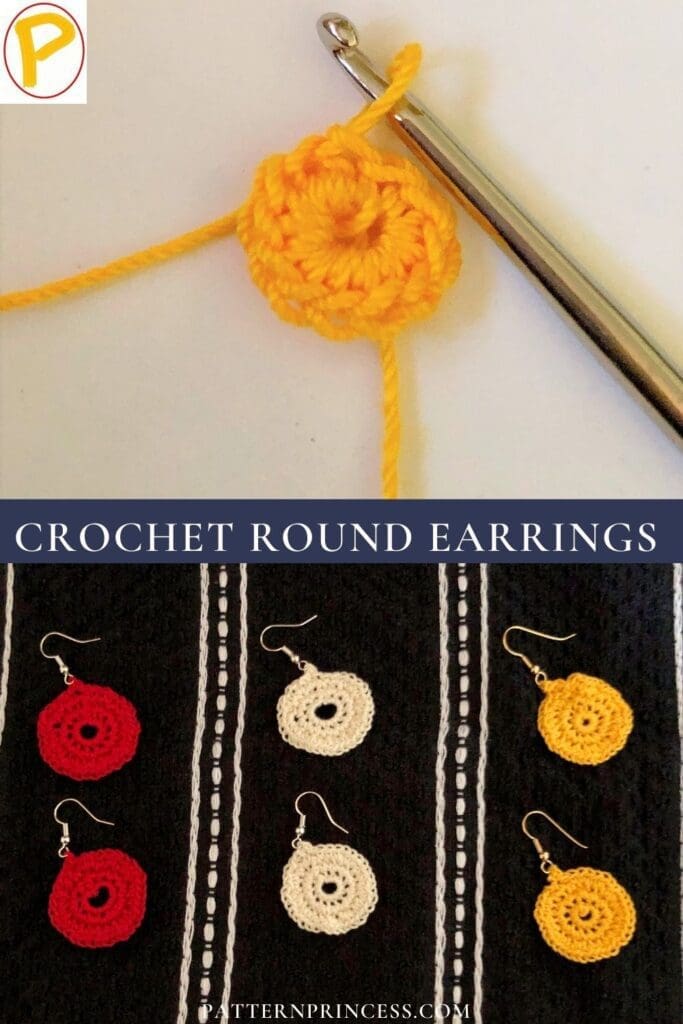
If you are new to crocheting in the round, this tutorial on learning how to crochet round circles for beginners may be helpful. It shows the basics of how to increase each row, so you end up with round and flat circles.
Tools Needed to Make Jewelry
Permanent Flexible Fabric Glue (Optional). This is not required. However, if you have a thread that you feel is not quite secure, add a dab of this and it will dry clear so you don’t have to worry. If you prefer to have a stiff crochet earring, you can add a very light coating of this glue to the back side of the earring. Wipe off any excess and let dry. If you are not able to find this locally, you can find it here.
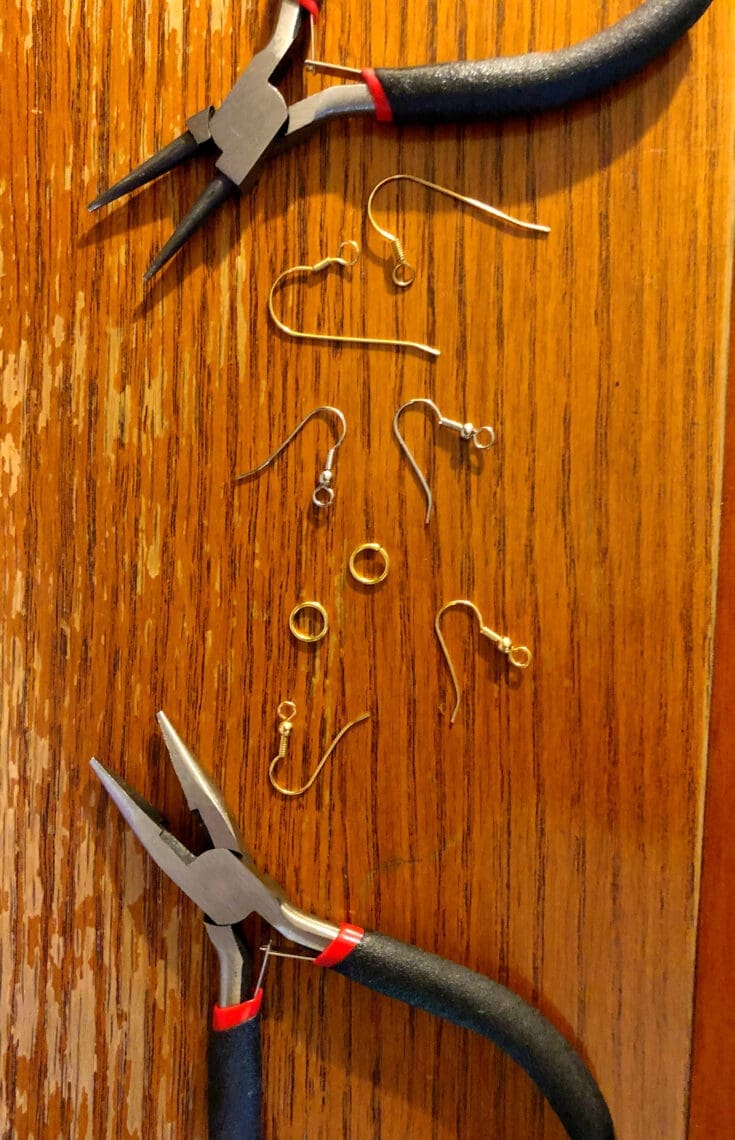
Jewelry Pliers. Making jewelry items requires you to be able to work with tiny items. The pliers are pointed at the end, which helps with making the jewelry. If you are looking to start making jewelry, this is a nice jewelry pliers set.
Jump Rings. If you plan on stringing more than one crochet earring together or adding beads, these jump rings are used to attach things. They are tiny metal circles that open up with a pliers to allow you to add your decorations. Then just pinch it closed again to secure. This is so much better than having to tie on items and we think using the jump rings helps the jewelry items hang better too. Here is a jump ring set.
Earring Wires. There are a variety of styles to choose from when looking for earring wires. We prefer to get the wires that have the bottom loop that can be opened and closed. This makes it easy to attach the wire to the crochet thread. There are no extra threads needed to attach the earrings or special knots to deal with. These earring wires can be added to the crochet circle without having to sew on.
Jewelry Making Starter Set. Here is a nice starter set.
You Tube Video Tutorial for Crocheting the Circular Earrings
Below the written directions, you will find the links for crocheting the circles for these earrings.
Directions: Crochet Circle Earrings
Size
Earrings that are 3 rounds are approximately 1-inch around.
Earrings that are 2 rounds are approximately ½-inch around.
Gauge
About 40 single crochet stitches for every 4 inches.
Abbreviations
CH = Chain
SC = Single Crochet
SL ST = Slip Stitch
ST =Stitch
[ ] Repeat Between
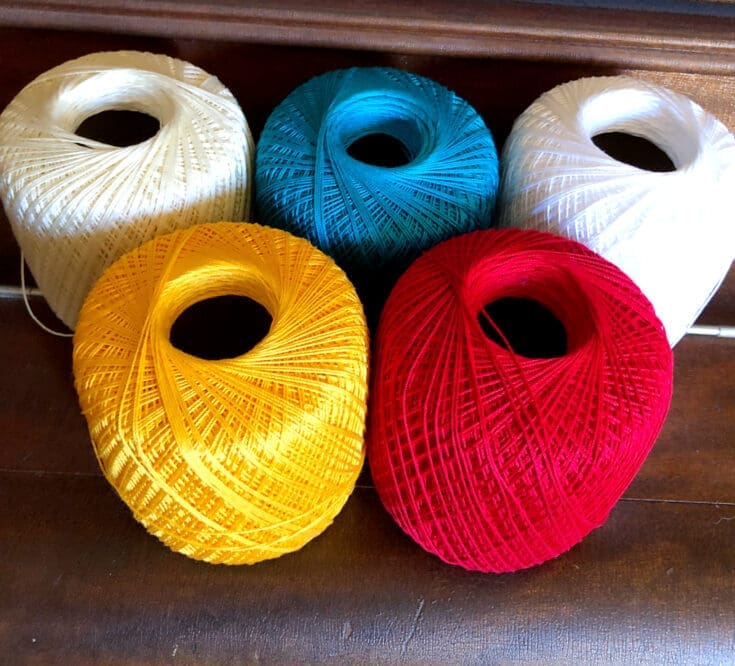
Supplies Needed to Make your Own DIY Crochet Earrings
Cotton Embroidery Floss size 10. Scant amount approximately 5 yards. I used Red heart Crochet Thread in white, red, gold, and teal. If you are not able to find this thread locally, you can find it here.
Crochet Hook Size 1 2.75 MM
Yarn Needle
Scissors
Permanent Flexible Fabric Glue (Optional)
Jewelry Pliers
Jump Rings
Earring Wires
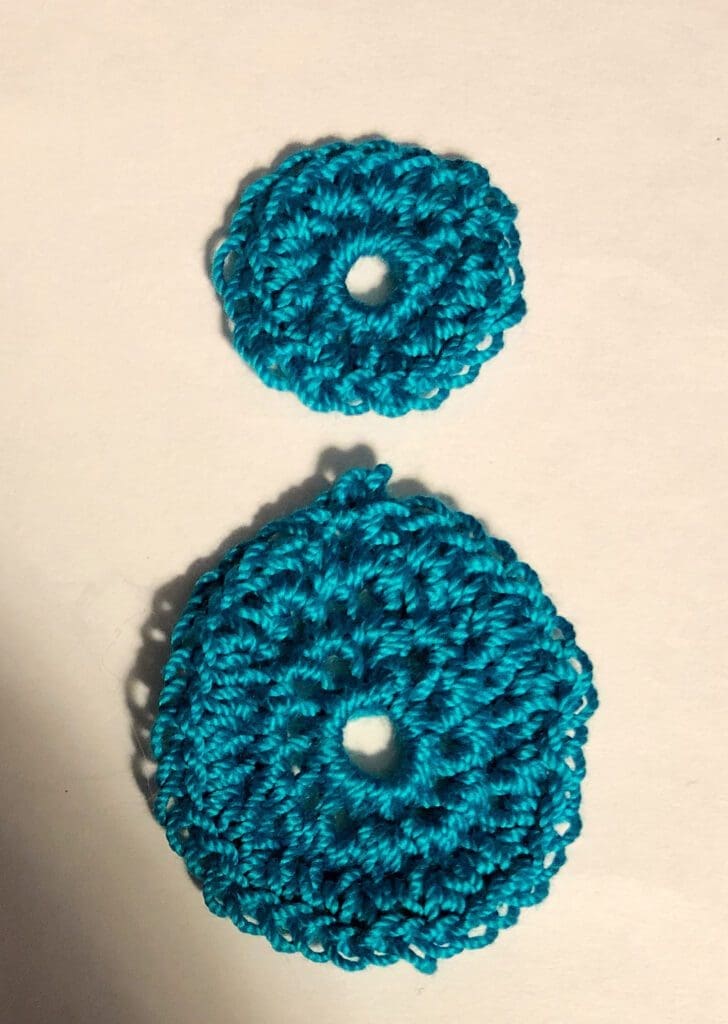
Large Earrings (Three Rounds) Crochet Pattern Directions
Begin with a Magic circle
Round 1
Chain 1 (CH 1 does not count as a ST). 12 SC in the circle. Join with a SL ST into the first SC. (12 SC)
Round 2
CH 1 (Does not count as a ST). 2 SC in each ST around. Join with a SL ST into the first SC. (24 SC).
Round 3
CH 1 (does not count as a ST). 2 SC in the first ST, SC in the next ST. [2 SC in the next ST, SC in the net ST]. Repeat between [ ] around. Join with a SL ST into the first SC. (36 STs).
Finishing
CH 2 Join with a SL ST back into the first ST. Pull the yarn through the last loop. Use the yarn needle weave in the yarn ends and remove the excess.
Continue with adding your earring wires and any other decorative items to the crochet circles.
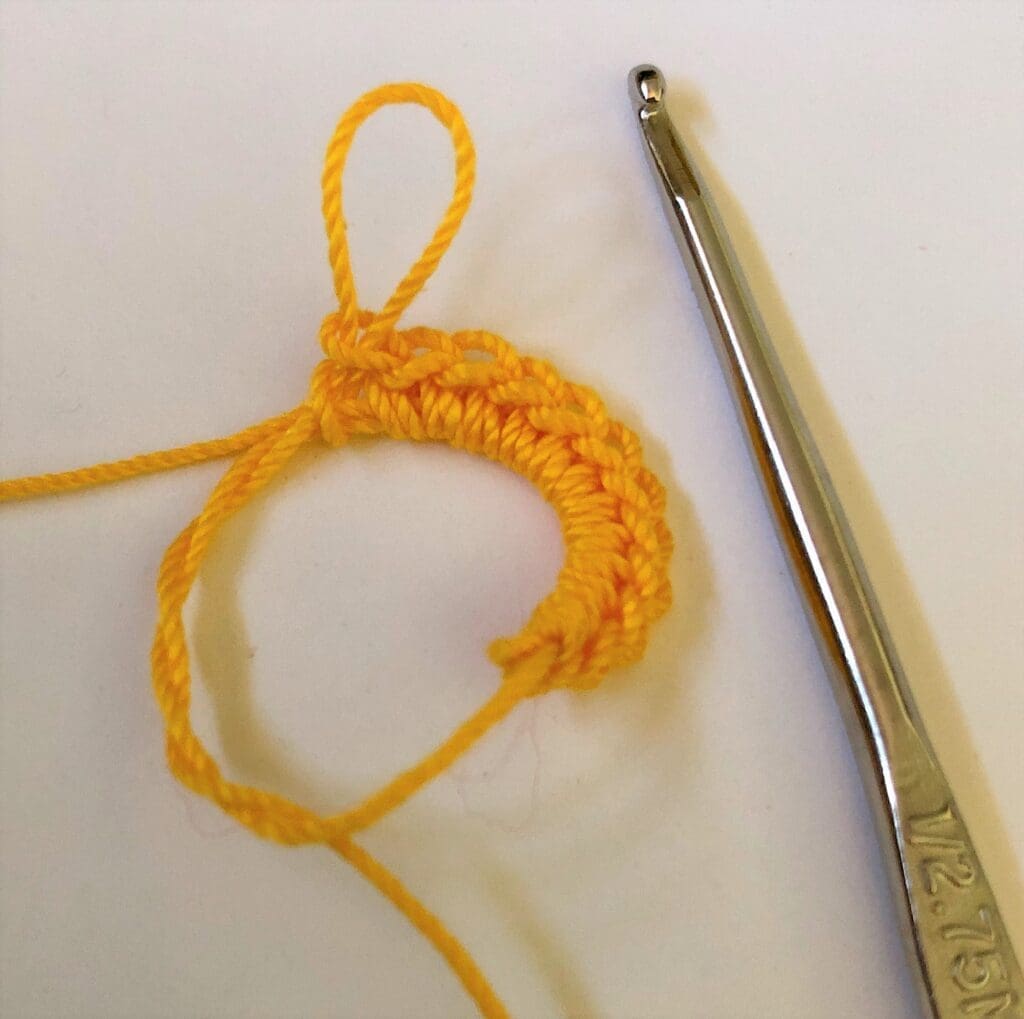
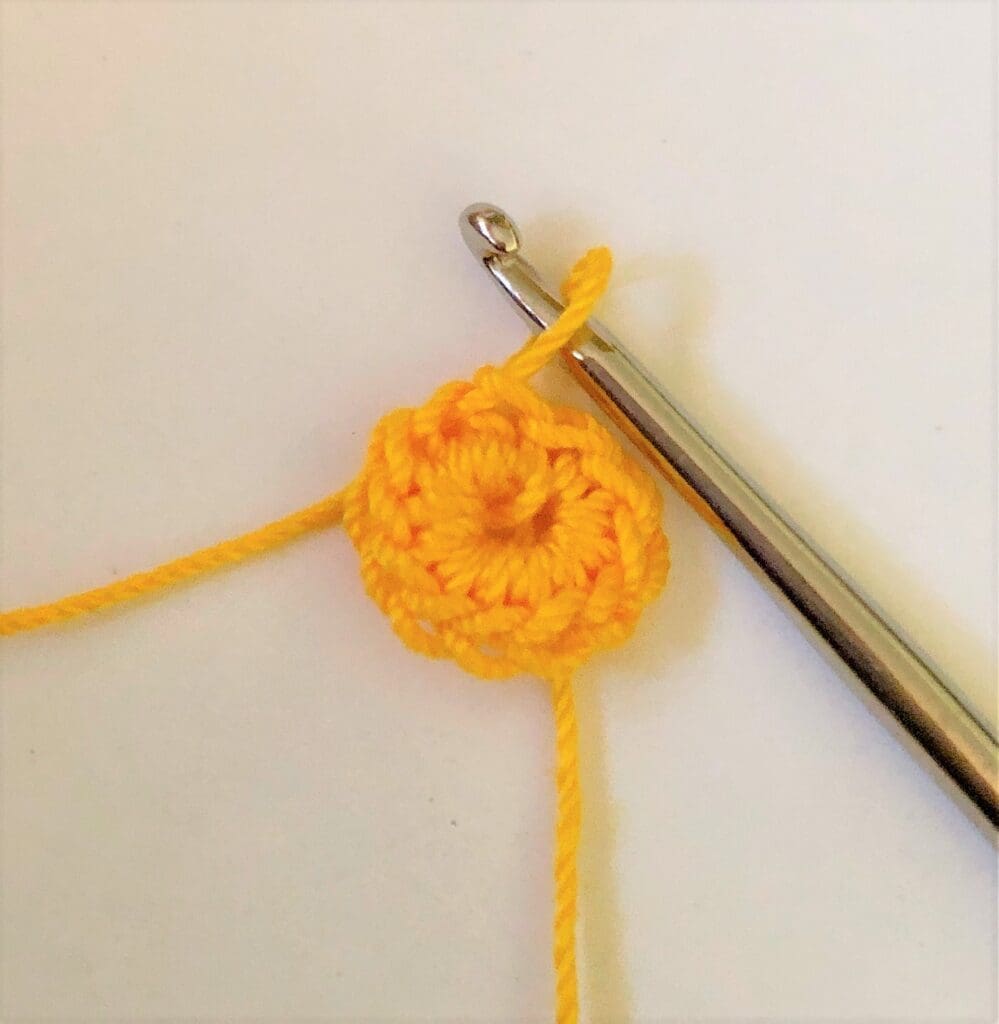
Small Earrings (Two Rounds) Crochet Pattern Directions
Begin with a Magic circle
Round 1
Chain 1 (CH 1 does not count as a ST). 12 SC in the circle. Join with a SL ST into the first SC. (12 SC)
Round 2
CH 1 (Does not count as a ST). 2 SC in each ST around. Join with a SL ST into the first SC. (24 SC).
Finishing
CH 2 Join with a SL ST back into the first ST. Pull the yarn through the last loop. Use the yarn needle weave in the yarn ends and remove the excess.
Continue with adding your earring wires and any other decorative items to the crochet circles.
How to Add the Earring Wire
If you get an earring wire that has a circle loop on the bottom that can be opened, those are the easiest to use with crocheted earrings. Just use your jewelry pliers and gently open the bottom loop just enough to get the crochet thread through. Then close the bottom loop and your earrings are done.
If you are not lucky enough to have a bottom loop that can be opened on the earring wire, then you can use the crochet thread attach the earring wire. Just make sure that you use a secure locking knot before removing the excess thread.
YouTube Crochet Tutorial for the Round Earrings
Right hand crochet tutorial
Left hand crochet tutorial

You can find Victoria crocheting, quilting, and creating recipes. She has cooked in restaurants for over 20 years, including many larger parties. She learned to crochet when she was just 11 years old and has been crocheting ever since; over 50 years now. Over 40 years ago, she loved her first class in sewing and continues to hone her skills in quilting. Many have enjoyed the handmade gifts over the years. In her professional career, she has worked in management in a wide variety of businesses including higher education as a dean of a division. All the while attending college part-time to achieve her doctorate in higher education with an emphasis in e-learning.
