Last updated on July 4th, 2024 at 11:44 pm
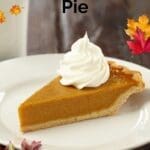
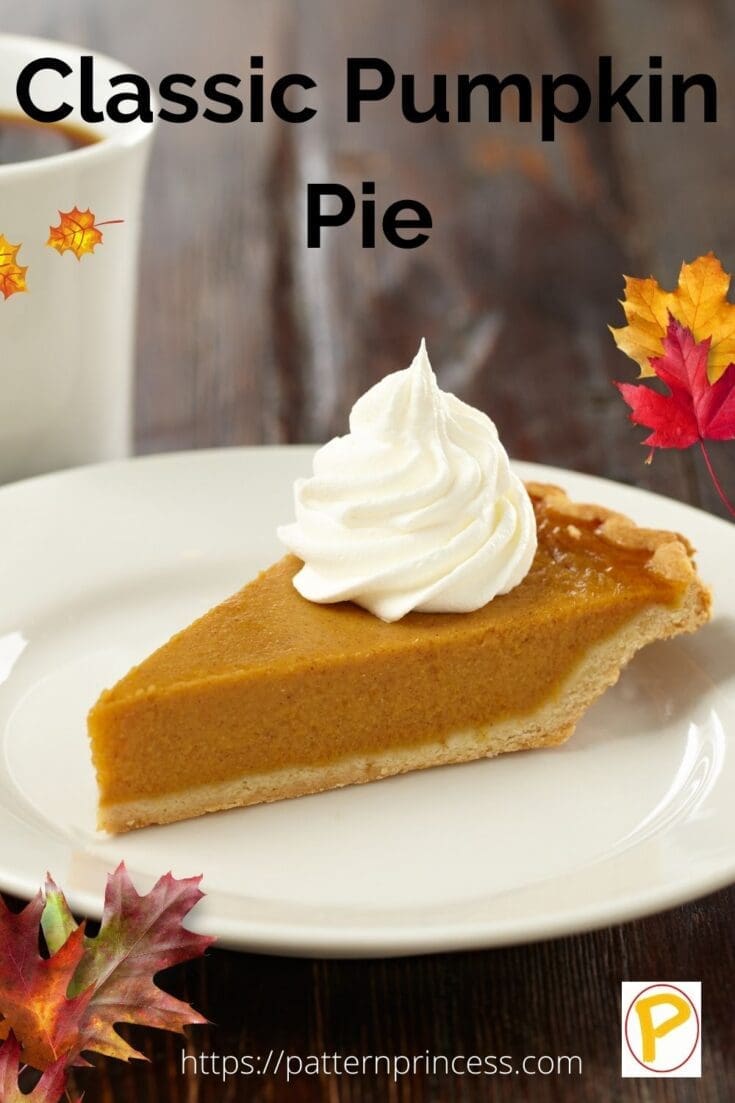
This classic pumpkin pie is a Holiday tradition at our house. My mother and grandmother made this before me, now I have been making this same pie for over fifty years. This is the only recipe for pumpkin pie recipe that we make. It has a flaky crust filled with a pumpkin custard that is slightly sweet and spicy.
Post contains affiliate links, and we earn commissions if you shop through the links on this page. For more information, please read the disclosure section under the About Us page.
If you have ever owned the old-fashioned Betty Crocker’s Picture Cook Book from the 1950s, then you know that it is packed with practical tips and hints, and photos to help get each recipe just right. This is the only cookbook that we had in our house when I was growing up. To this day, it is still my go-to book for finding recipes that I know will just work.
Years ago, I purchased one for my daughter. Now that she has her own home, she does a lot more cooking and baking and this recipe book is used often in her house too. This is the pumpkin pie recipe that is in there and she makes this now too. Since she is the fourth generation using this pumpkin pie recipe so we can say that it is tried and true and one of our favorite desserts.
A Delightful Holiday Season
It seems no Holiday Season is complete without a few special recipes. This is one of them.
Make your Holidays shine with recipes that bring back memories of our loved ones. These nostalgic recipes help us continue traditions and make new good times too.
What Is Classic Pumpkin Pie?
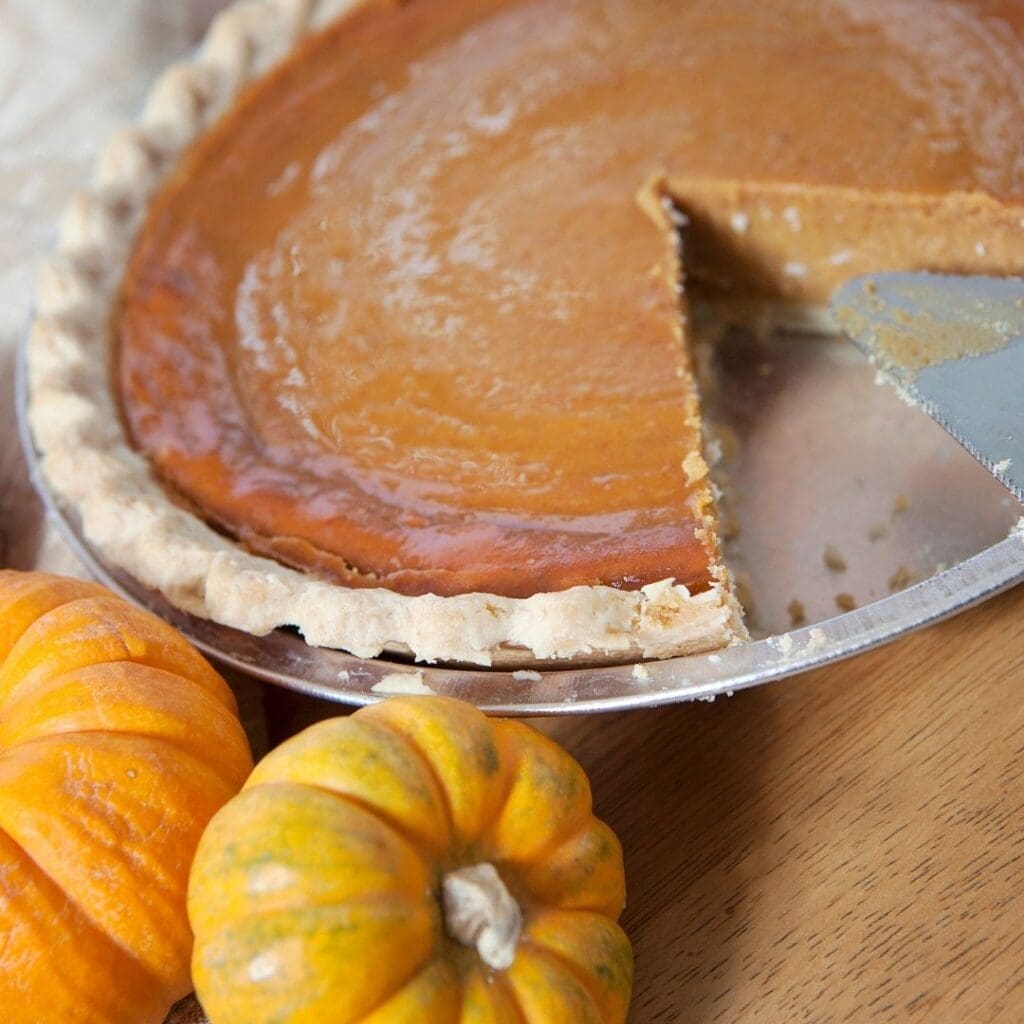
If you have never had the pleasure of having a slice of pumpkin pie, I urge you to give it a try. This pie uses pumpkin puree mixed with sugar and a few spices create a smooth pumpkin custard that is baked in a flaky pie crust.
This pie is delicious served a bit warm or cold. Often it is served with whipping cream or ice cream.
Perfect Pie Recipe Ingredients
This can be made with a pre-made pie crust from a grocery store, or you can make the pie dough from scratch. It only takes a few minutes and uses ingredients you most likely have in your pantry.
Homemade Pie Crust Recipe Ingredients: All-purpose flour, salt, shortening, and water.
The Pumpkin Custard Filling is made by combining the following ingredients.
Pumpkin Puree, Salt, Milk, Eggs, Brown Sugar, Granulated Sugar, Cinnamon, Ginger, Nutmeg, and Cloves

How Do You Make the Pumpkin Pie from Scratch Recipe?
The best part is that the pumpkin pie is one of the easiest of all the pies to make. You literally just mix it all up together and pour it into your crust. Bake and chill. Slice and eat.
- No need to Pre-bake the pie shell. If you prefer a crispier crust, go ahead and pre-bake.
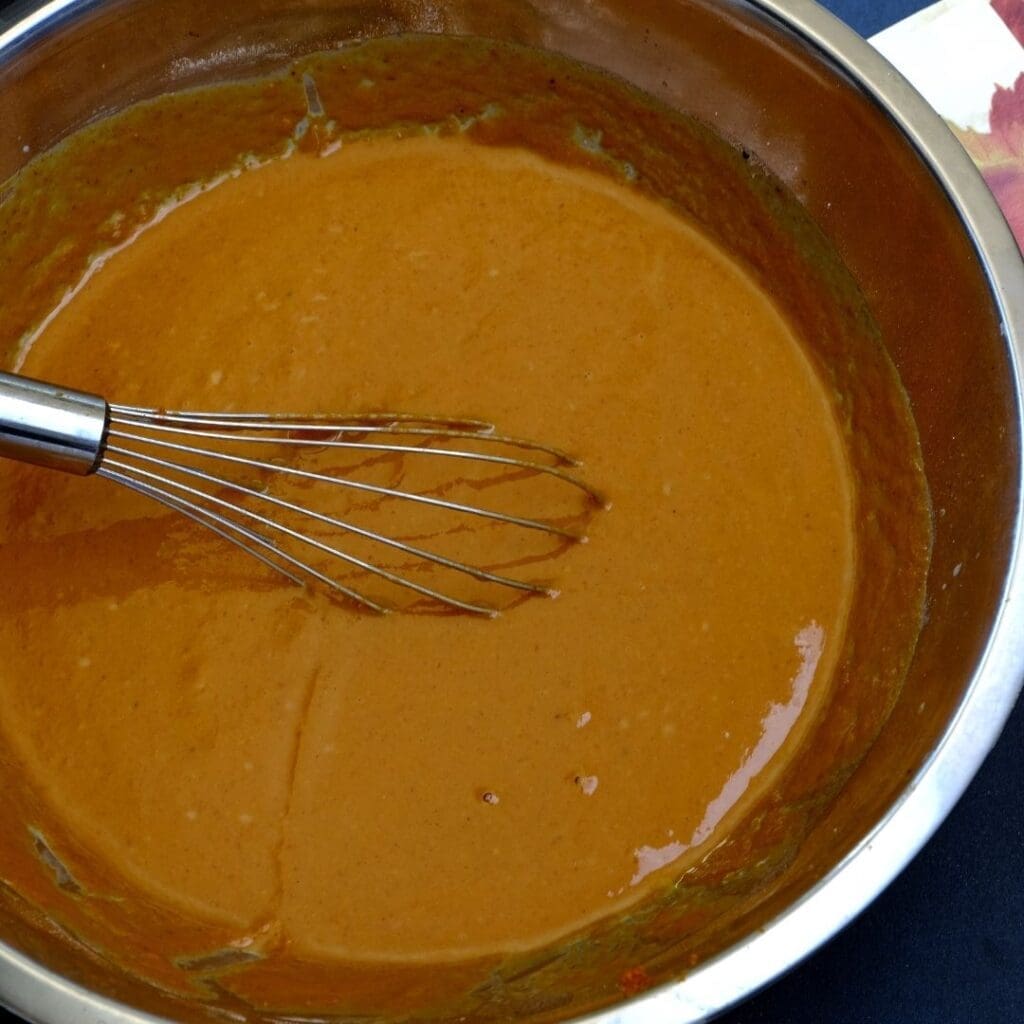
- In a large bowl whisk together the Pumpkin Puree, Salt, Milk, Eggs, Brown Sugar, Granulated Sugar, Cinnamon, Ginger, Nutmeg, and Cloves. Hint: you could also use a blender to combine the ingredients.
- Pour pumpkin purée mixture into an unbaked piecrust.
- Bake until knife inserted in center comes out clean.
Mixing Pumpkin Custard Options
My grandmother and mother mixed this in a bowl, and I do too. However, there is another custard pie recipe that I automatically get out my blender for. My daughter thinks this is the best way too. I just pop the ingredients into the blender and let that do the work. Then I pour the custard into a pie crust and bake. https://patternprincess.com/old-fashioned-custard-pie/
It was not until the last year that I realized this pumpkin pie recipe can be blended this same way. Guess what? A food processor would work perfectly fine for blending the pumpkin filling too.
Recipe Pro Tips for the Best Pumpkin Pie
Once you learn how to make pumpkin pie, you just might be making it all the time.
How do you keep the bottom crust of pumpkin pie from getting soggy?
For a crispier crust, have the bottom pastry a little thicker than 1/8-inch.
How to Keep the Pie Shell Crisp
Sometimes you might prefer a crust that is a bit crispier along with being flaky. If that if you, I have the solution.
For this recipe, the pie crust does not have to be pre-baked. However, if you prefer a crust that is a bit more substantial, then blind bake the crust.
It is a good practice to blind bake the crust before adding the filling. If you have never done this before, it is easy to do.
How to Blind Bake a Pie Crust
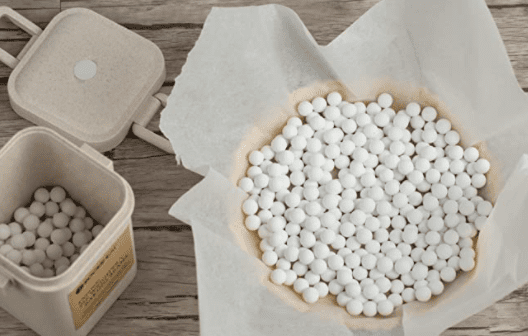
Just roll out a homemade crust or use a store-bought crust and line it with a piece of parchment paper.
Fill the bottom with pie weights or dried beans. This added weight keeps the bottom and sides from puffing up while baking. Bake for 10 minutes at 350 degrees Fahrenheit. Remove the parchment paper and weights and bake for another 5 minutes.
Your pie crust is now ready to have the pumpkin custard added and baked again with the filling.
Low-Carb and Keto Recipe Option – Crustless Pumpkin Pie
If you still want to enjoy the pumpkin pie taste but do not want the crust. That is no problem. Just omit the crust.
Yes, you can just prepare the pie pan with a teaspoon of butter rubbed around to keep the filling from sticking. Then just pour the Pumpkin custard into the pie pan and bake.
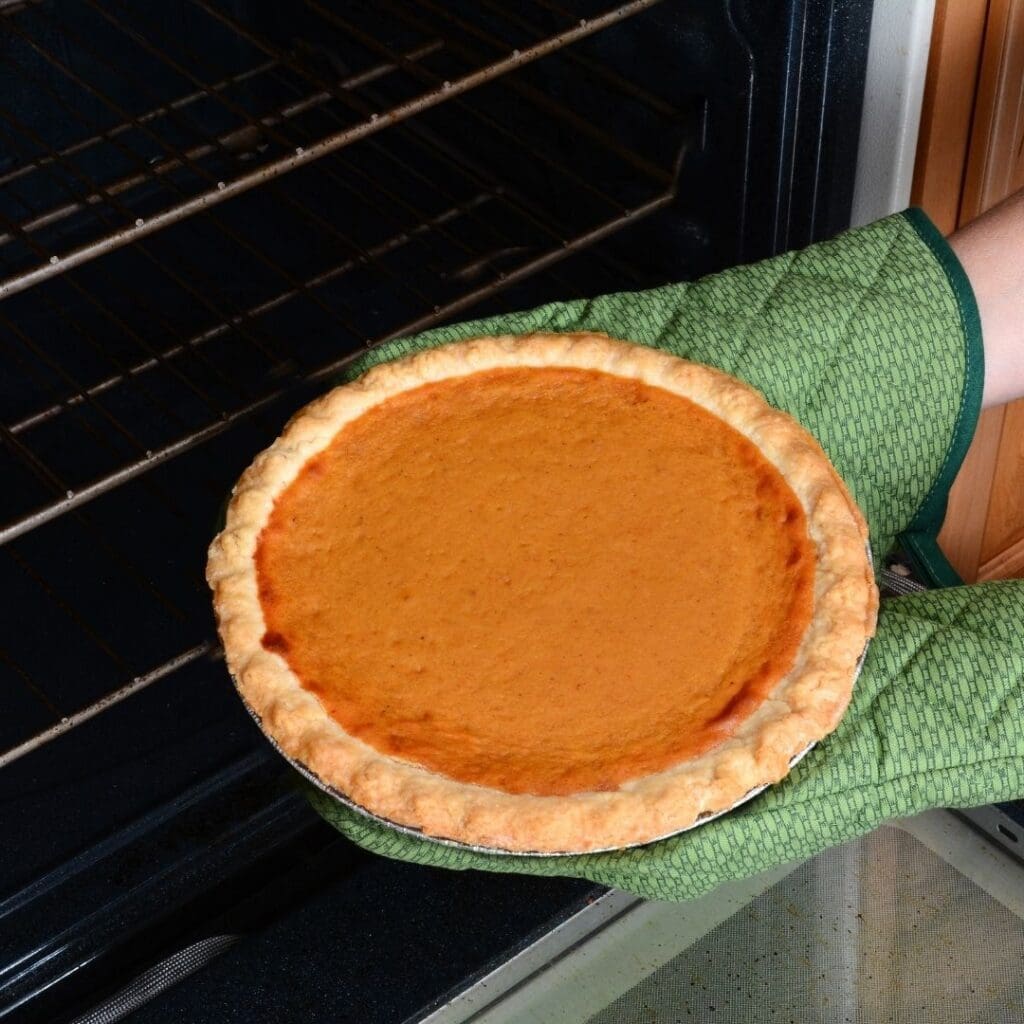
How do you know when the pie is done?
This pumpkin pie, like any custard pie will have a slight jiggle to it in the center and it is done baking. While it should not appear wet, it is good if the center moves slightly when you gently move the pie pan.
Let the pie cool and as it cools, the custard will set up completely.
What if the top of the pie cracks?
This means that the pie might be a bit overbaked. However, it should still taste wonderful. When serving, just cover that piece up with whipping cream.
How to Keep the Edges of the Pie Crust from Turning Dark Brown While Baking?
Since this pie needs to cook for a relatively long period of time, the crust edges can become overbaked. It is a good idea to protect the dough during part of the baking time.
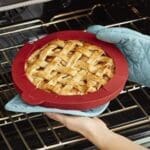
To do this, just place a bit of tin foil over the fluted edge for about 15-20 minutes of the baking time. If you happen to have a pie crust shield, those can be placed over the rim to protect the crust as well. I generally do this in the beginning of the baking time. Then remove the foil and let the pie continue to bake.
Does Pumpkin Pie need to be refrigerated?
Yes, since this has a custard filling made with milk and eggs, it should be refrigerated.
If you are serving this pie the day of, it is fine to make the pie and serve it within a few hours of being made.
However, if you are making this pie the day before, then place in the refrigerator to stay chilled until serving.
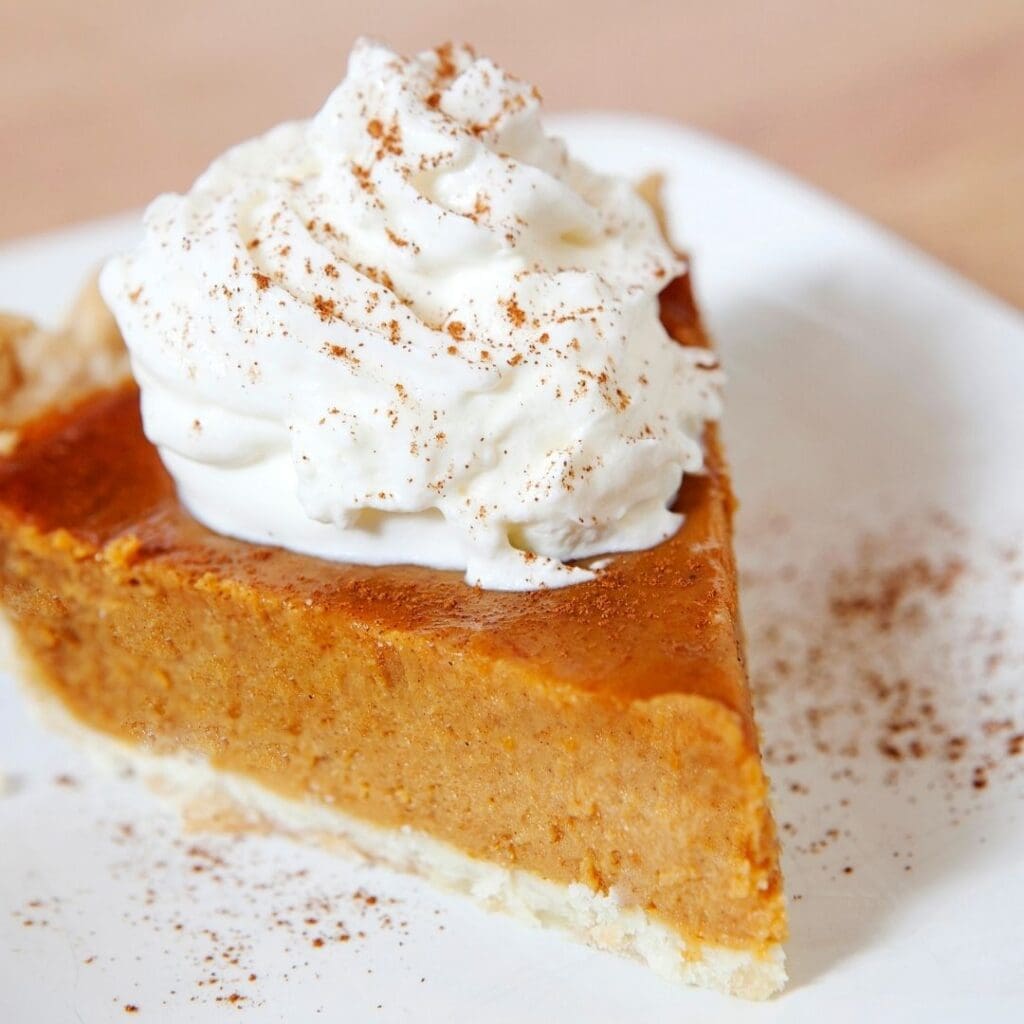
How to Serve Pumpkin Pie Warm?
Some people prefer the cold pie while others opt for a room temperature. Then there are those that like it heated just a bit. Here are a few tips to keep every picky pie eater happy.
For those that like the pie cold, make the pie the day ahead. Remove from the refrigerator and serve with whipping cream made from heavy cream or use a pre-made whipped cream.
If you remove the pie from the refrigerator when you begin eating Christmas dinner, Thanksgiving dinner or another special occasion, it will be room temperature and ready to eat for those that enjoy their slice like this.
Lastly there are people like my husband that prefer his warmed a bit to serve with ice cream. I place a slice on a microwave safe pie plate and warm it for 1-minute or less. He likes the ice cream to melt slightly as he is enjoying his dessert.
How Long can you Keep Pumpkin Pie?
It is safe to store leftover pumpkin pie covered in an airtight container in the refrigerator for up to 5 days.
Can you Freeze Pumpkin Pie?
You can also freeze pre-baked pumpkin pie for up to two months. Just cover with a few layers of plastic wrap, then in aluminum foil. Thaw in refrigerator overnight.
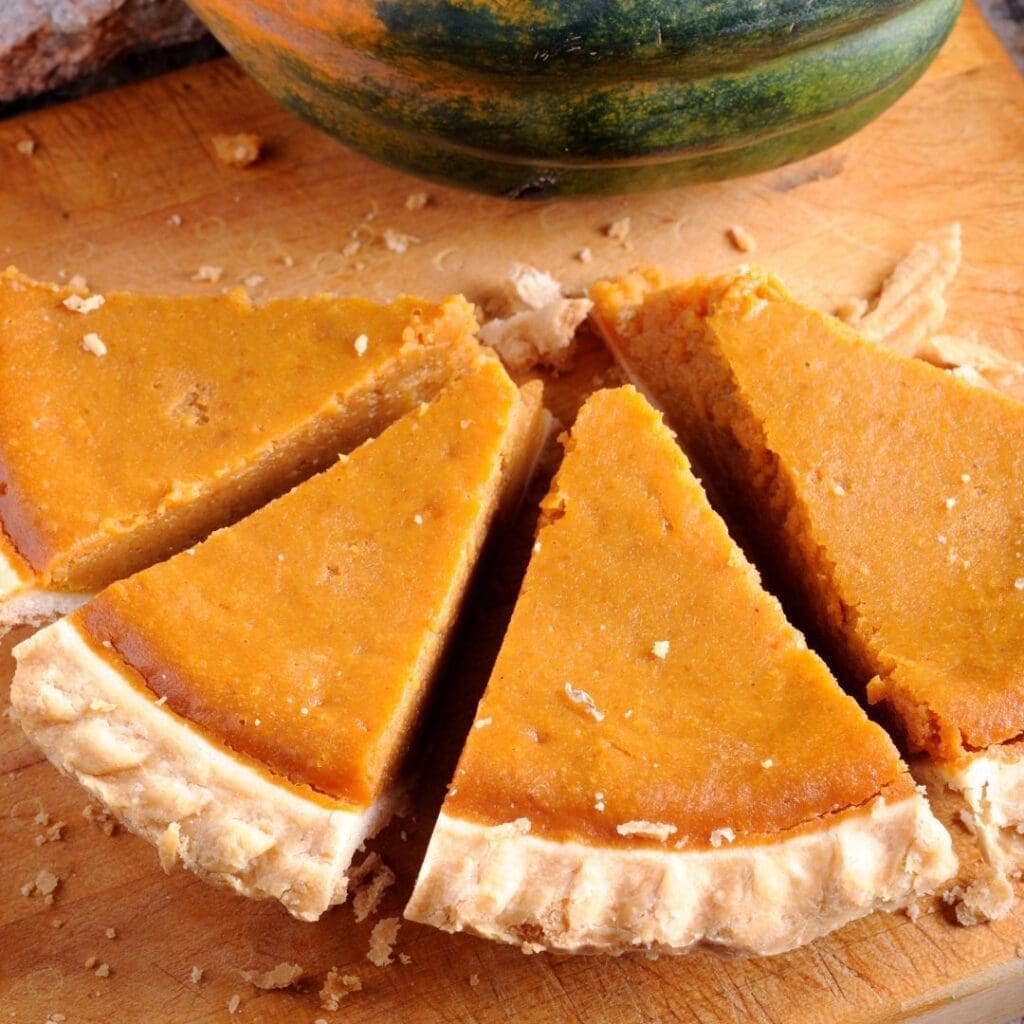
Want a Lighter Color Pumpkin Pie?
Use all granulated sugar in place of the brown sugar.
If you prefer a pie with a bit less spice.
For a milder pie omit the cloves, as they can be an overpowering spice for some people.
Can you use real pumpkin instead of canned?
Yes, you can, and it is easy too. Let me tell you how.
To Make Pumpkin Puree from Scratch Using the Bake Method:
While you are preparing the pumpkin, preheat your oven to 350 degrees F. Cut the pumpkin in half. You can remove the seeds and any stringy fibers now or after it has been baked. I find that it is much easier to remove this after the pumpkin is done baking.
You can save the seeds for toasting, if you like, but discard the fibrous materials.
Rub the cut surfaces with oil so they do not stick to the baking pan. Place the pumpkin halves, cut side down, in a baking pan. Add 1 cup of water to the pan.
Bake in the oven until the flesh is soft. It will be tender when pierced with a paring knife. This will take approximately 90 minutes.
Remove the pumpkin halves from the oven and let cool. When cool enough to handle, if you have not already done so, remove the seeds and stringy fiber. Then remove the good pumpkin flesh.
Add the Real pumpkin to a food processor, or handheld mixer, and puree until the texture is smooth.
Real Pumpkin Holds a lot of Moisture
Since the real pumpkin has more moisture than canned pumpkin puree, it is a good idea to let the real pumpkin that has been pureed rest in a colander lined with paper towel and set over a bowl. Let this drain for a few hours gently turning the mixture a few times.
What to do with Leftover Pumpkin Puree?
If you have made more pumpkin puree than a recipe calls for, just place in a freezer-safe container and freeze. You could place in an airtight plastic container or bag or even ice cube trays to add smaller amounts to recipes.
This will keep in the freezer for up to 4 months.
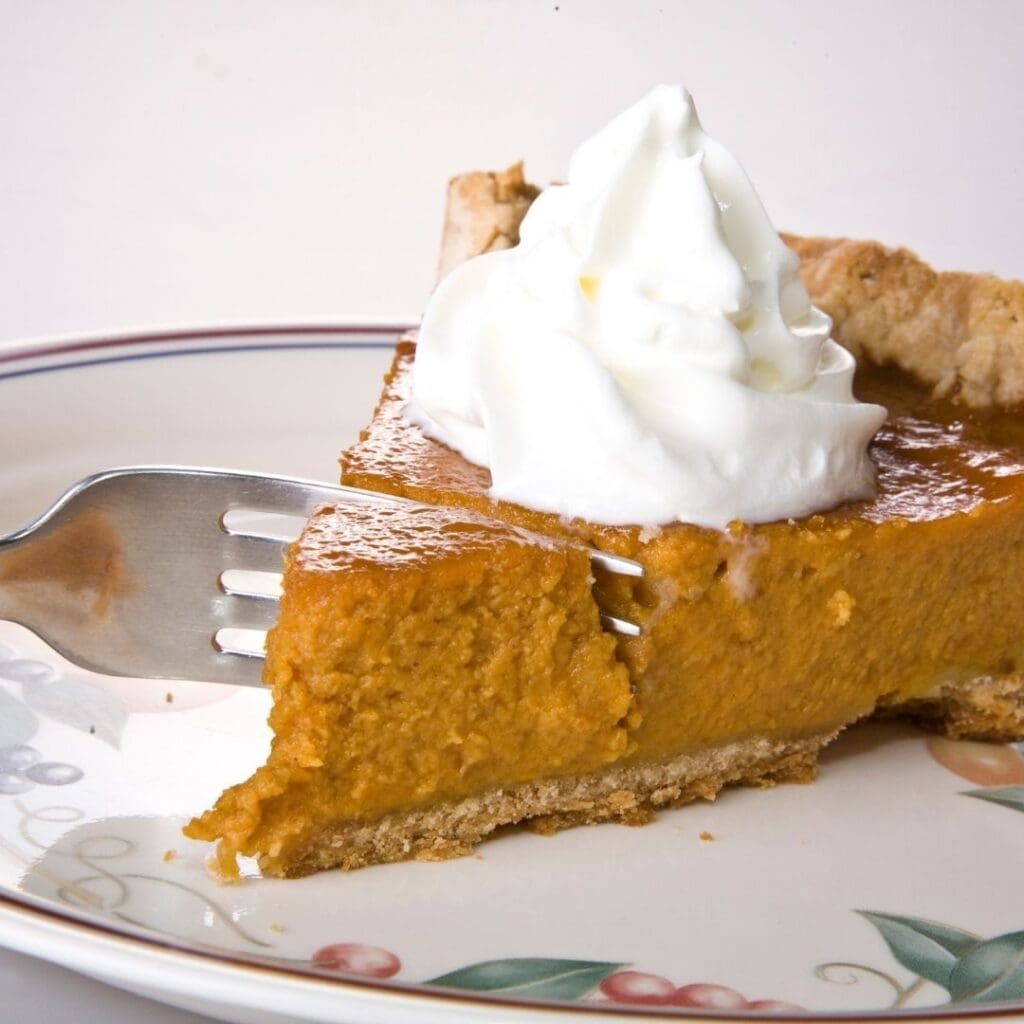
How to Substitute Fresh Pumpkin for Canned Pumpkin?
When the recipe calls for a 15 ounce can of pumpkin pie filling, just add the same amount of fresh prepared pumpkin. How much is 15 ounces? An easy way to measure 15 ounces is to measure out approximately 2 cups minus 1 tablespoon.
So the answer to how do I substitute fresh pumpkin for canned, of course, is to use the exact same amount the recipe calls for. If a recipe calls for a 15 oz can of pumpkin, use 15 oz of fresh (prepared) pumpkin which is about 2 cups MINUS 1 Tablespoon.
What to do if there is leftover filling?
First of all, if you use a pie plate that is at least 1 1/2 inches deep you should not have any leftover. However, sometimes I have a little pumpkin mixture left over depending on the size of the pie pan. I add that to a ramekin and bake that. It does not take as long as the pie itself does to bake. Therefore, check on it after about 20 minutes. If it is slightly jiggly in the middle, it is done. This is a delicious snack to have for the cook.
There is nothing better than a slice of homemade pumpkin pie topped with whipped cream. This Sweet Stabilized Whip Cream can be made a day or two in advance and it will hold its shape until you are ready to serve.
Of course, this Red Velvet Cake is a shop stopper and easier to make than you may think.
We love pecan pie at our house and an easy recipe to make ahead are these pecan pie bars. I make them ahead of time, freeze them, and thaw them. They are delicious.
Classic Pumpkin Pie
As an Amazon Associate I earn from qualifying purchases.
Kitchen Essentials
Ingredients
One-Crust Pie Pastry
- 1 Cup All-Purpose Flour Sifted
- ½ Teaspoon Salt
- 1/3 Cup Shortening
- 2 Tablespoons Water
Pumpkin Filling for a 9-inch Pie
- 1 ¾ Cups Pumpkin Puree
- ½ Teaspoon Salt
- 1 ¾ cups MILK
- 2 Large Eggs
- 2/3 Cup Brown Sugar
- 2 Tablespoons Granulated Sugar
- 1 ¼ Tablespoon Cinnamon
- ½ Teaspoon Ginger
- ½ Teaspoon Nutmeg
- ¼ Teaspoon Cloves
text ingredients
Instructions
One-Crust Pastry
- In a large bowl, mix the flour and salt.
- Cut in the shortening with a pastry blender until the particles resemble the size of peas.
- Add the water 1 teaspoon at a time and continue to mix with the pastry blender or a fork until the flour is moist. Gather the dough together and press into a ball. I like to make sure that I get the remnants in the bowl gathered into the ball.
- On a lightly floured surface, roll out into a ball approximately 1-inch larger than the pie pan you will be using.
- Fit the pastry loosely into the pan, trying to avoid stretching the dough. Leaving ½-inch of an edge around the pie pan, trim off the excess.
- Fold the extra pastry back and under the edge. Use index finger on one hand and the thumb and index finger on the other side to create a high fluted pastry edge. Since this pastry will be filled with a filling, there is no need to dock the pie (prick it with a fork).
- The crust is ready to be filled with a filling. Continue with the pie filling recipe.
Pumpkin Filling
- In a large bowl, add the pumpkin puree, salt, milk, eggs, brown sugar, granulated sugar, cinnamon, ginger, nutmeg, and cloves. Mix until the ingredients are well blended.
- Pour into pastry-lined pie pan. Bake for 45-55 minutes at 425 degrees Fahrenheit.
- Bake until a butter knife inserted into the side comes out clean. The center may be a little bit soft looking. This will set as the pie cools a bit.
- Serve slightly warm or cold.
Your Own Private Notes
Notes
Recipe Pro Tips for the Best Pumpkin Pie
How do you keep the bottom crust of pumpkin pie from getting soggy?
For a crispier crust, have the bottom pastry a little thicker than 1/8-inch.How to Keep the Pie Shell Crisp
Sometimes you might prefer a crust that is a bit crispier along with being flaky. If that if you, I have the solution. For this recipe, the pie crust does not have to be pre-baked. However, if you prefer a crust that is a bit more substantial, then blind bake the crust. It is a good practice to blind bake the crust before adding the filling. If you have never done this before, it is easy to do.Low-Carb and Keto Recipe Option – Crustless Pumpkin Pie
If you still want to enjoy the pumpkin pie taste but do not want the crust. That is no problem. Just omit the crust. Yes, you can just prepare the pie pan with a teaspoon of butter rubbed around to keep the filling from sticking. Then just pour the Pumpkin custard into the pie pan and bake.Nutrition
A few of my favorite things
The Power of Positivity

You can find Victoria crocheting, quilting, and creating recipes. She has cooked in restaurants for over 20 years, including many larger parties. She learned to crochet when she was just 11 years old and has been crocheting ever since; over 50 years now. Over 40 years ago, she loved her first class in sewing and continues to hone her skills in quilting. Many have enjoyed the handmade gifts over the years. In her professional career, she has worked in management in a wide variety of businesses including higher education as a dean of a division. All the while attending college part-time to achieve her doctorate in higher education with an emphasis in e-learning.

