Last updated on July 4th, 2024 at 11:37 pm
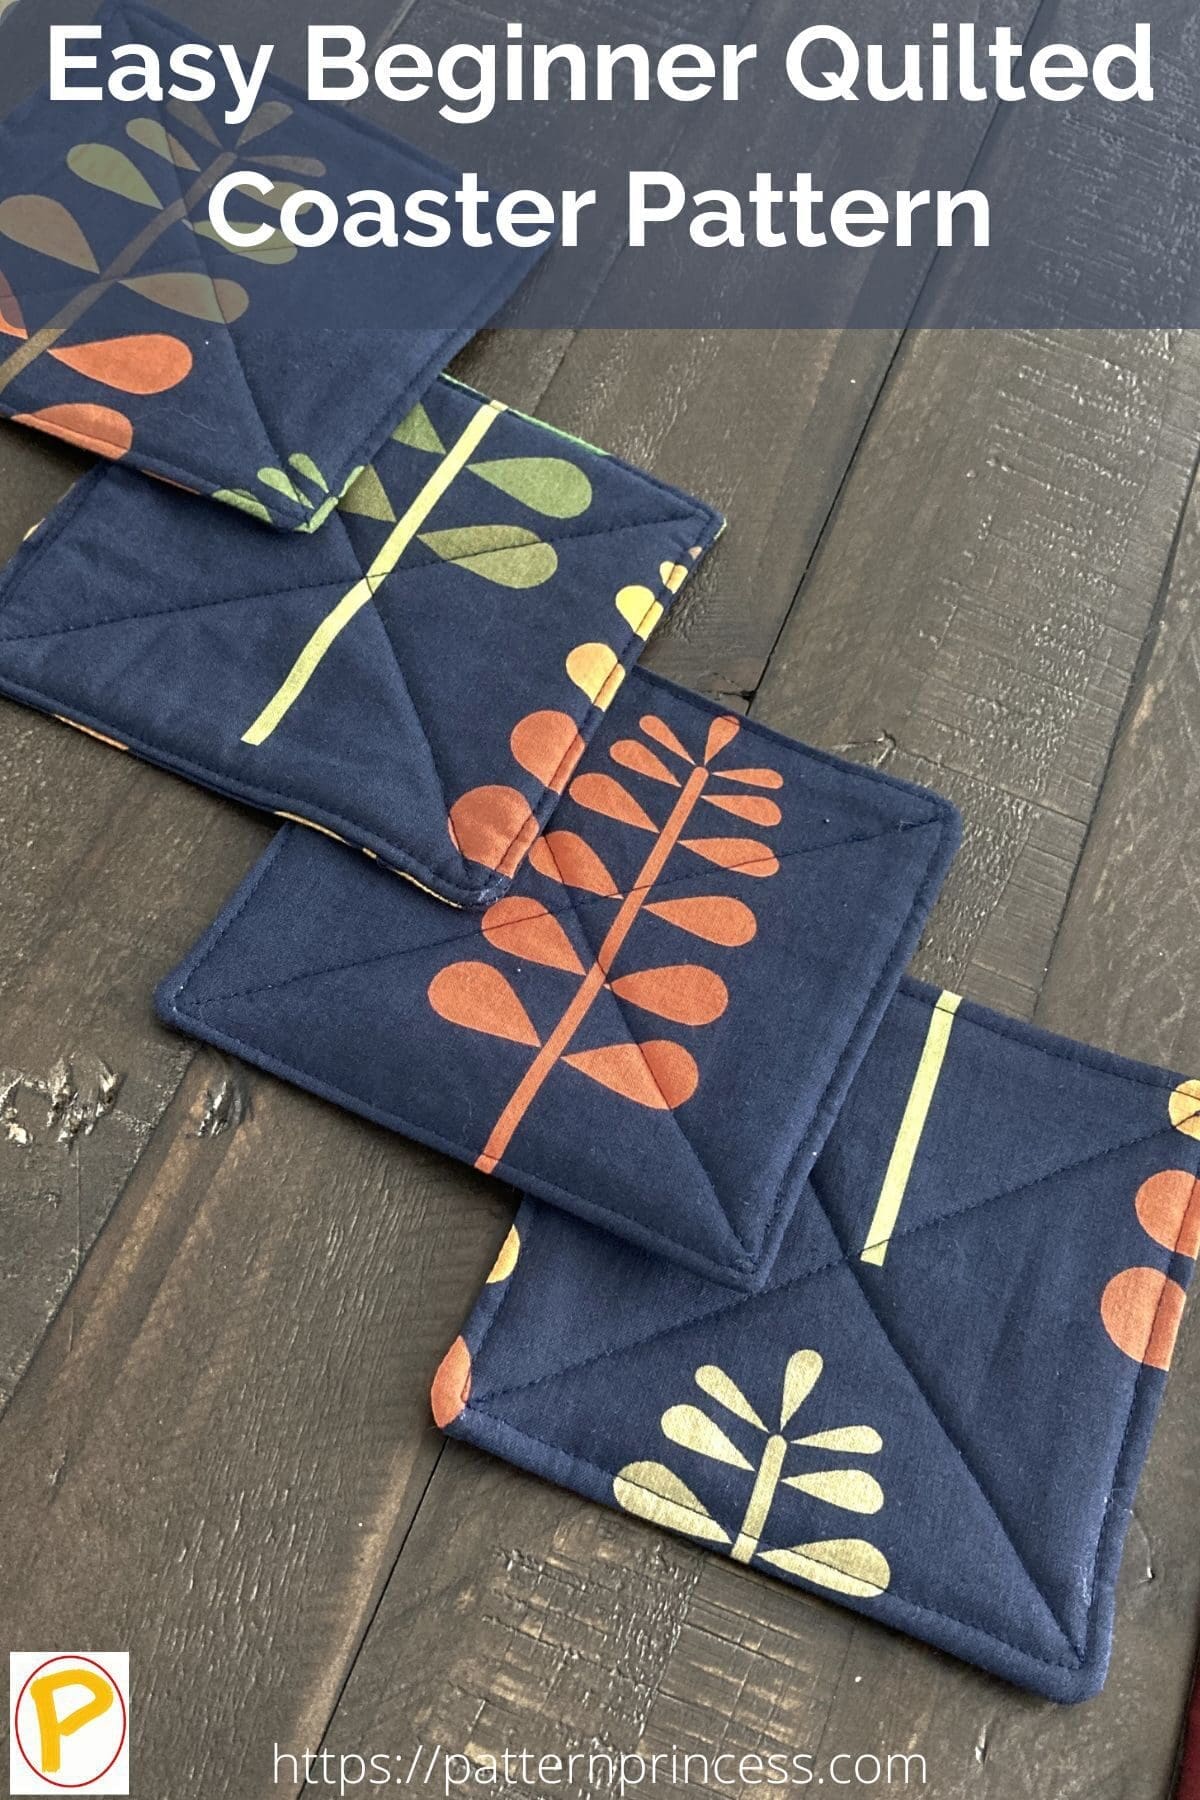
Make this beginner quilted coaster in less than an hour even if you are a new to making fabric coasters. They make wonderful gifts for someone special.
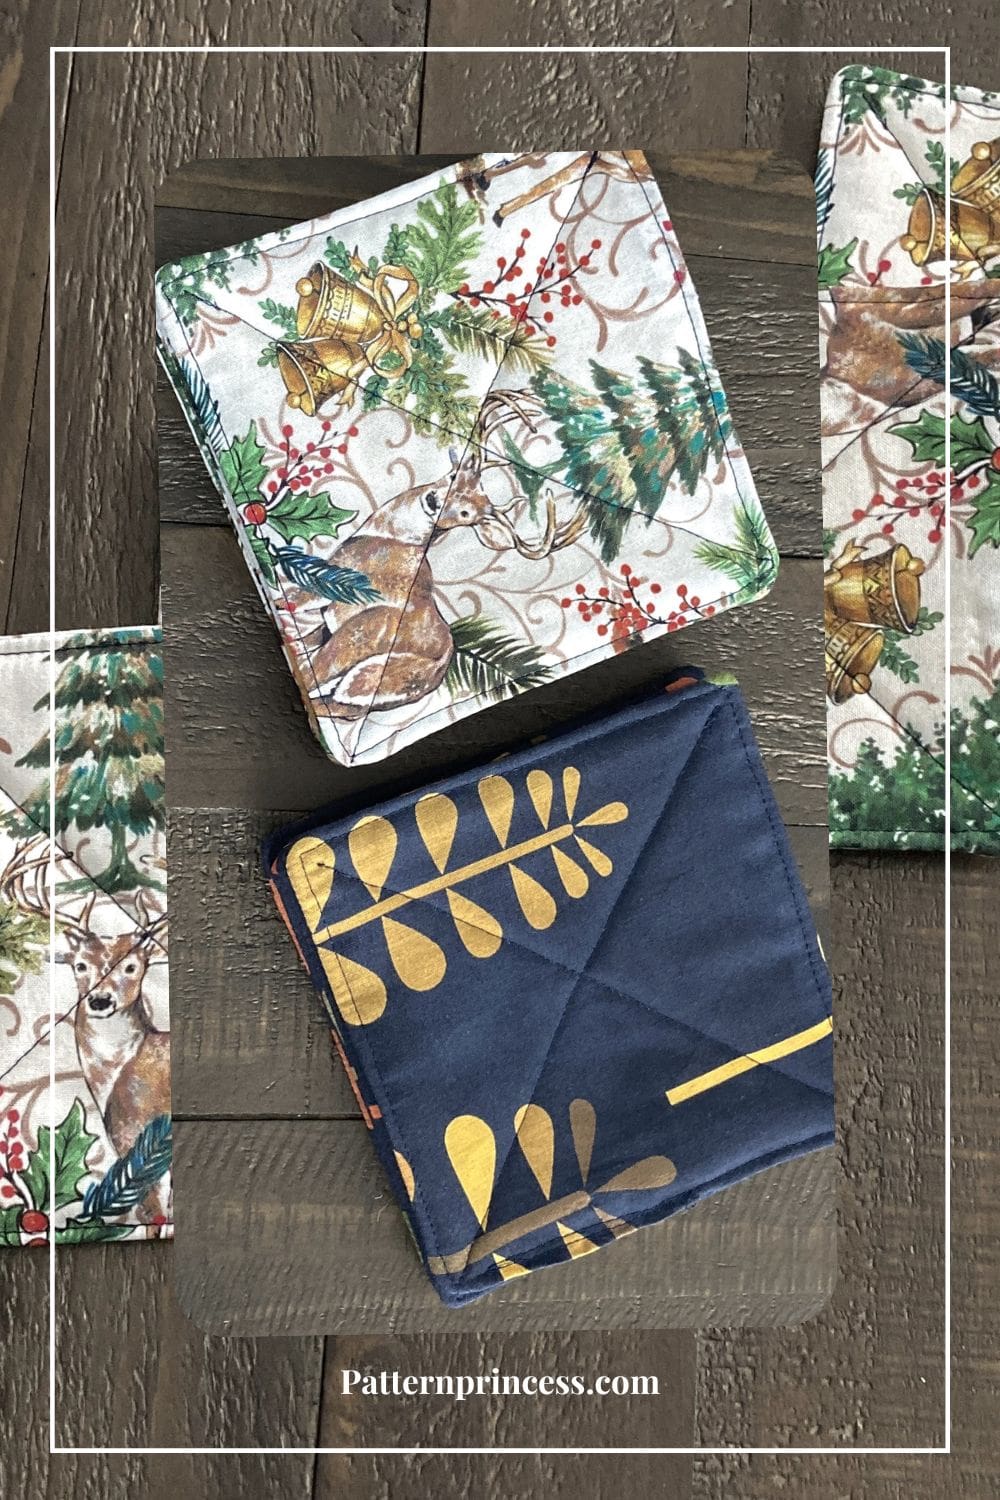
These reversable coasters are so quick and easy to make that you can sew new ones for each season or holiday.
Make your first one in under an hour
The next time you need a teacher gift, a co-worker gift, or just a little something extra to go with another gift as a stocking stuffer, this is a pretty option. It does not take much time and effort to make this and once you have mastered your first coaster, you will be able to make this in many fabrics and colors.
The quilted coasters I made today are a gift for my sister. These will be paired with a pretty table runner I made for her too. My sister and her husband have a new cabin in the woods, and this will fit perfectly with their outdoor woodsy theme.
Post contains affiliate links, and we earn commissions if you shop through the links on this page. For more information, please read the disclosure section under the About Us page.
Beginner Quilted Coaster Tutorial
In just a few steps this tutorial will help you create coasters with ease. You can make these in any size and fabric selection. This pattern will help you learn how to construct the coasters using two pieces of fabric and one piece of batting.
Quilted Coaster Sizes
There is no one size fits all for coasters. More often they are between 4 and 6 inches. They can be square, round, or even triangle if you choose. Rectangle coasters are more often referred to as a mug rug. Those often measure 4 of 5 inches by 8 inches.
Once you know how to make your first one, you can make any style of coaster you choose.
What Kind of Fabric is Good for Coasters?
The best fabric to use to make a mug rug or a coaster is quilting cotton or cotton canvas. Cotton is absorbent and will hold up well to repeated washings.
What Kind of Batting Do You Use for Coasters?
I recommend using a batting that is 100% cotton. Just like the fabric, it is absorbent and will hold up well to washing. The batting is layered between the two pieces of fabric. This extra layer increases the stability and helps protect the surface so you can place your glass or cup on it without it being unstable or damaging the table surface.
If you do not have batting other alternatives are interfacing, fleece or even terry cloth.

Directions: Easy Beginner Quilted Coaster Pattern
Skill Level
Beginner
Finished Size
Today, we will be making 5 X 5 inch coasters.
Materials and Supplies
- Fabric – 2 different kinds to allow your coaster to be reversible
- Batting
- Cutting Mat
- Rotary Cutter
- Iron
- Ironing Board
- Sewing Machine
- Thread
- Quilting Ruler
- Scissors
- My Favorite Quilting Supplies
Pattern Notes
You can choose to have the same fabric for the top and the bottom, or you can choose one fabric for the top and a different fabric for the bottom.
Begin
Cut two pieces of fabric 6 X 6 inches square.
Cut one piece of batting 6 X 6 inches square.
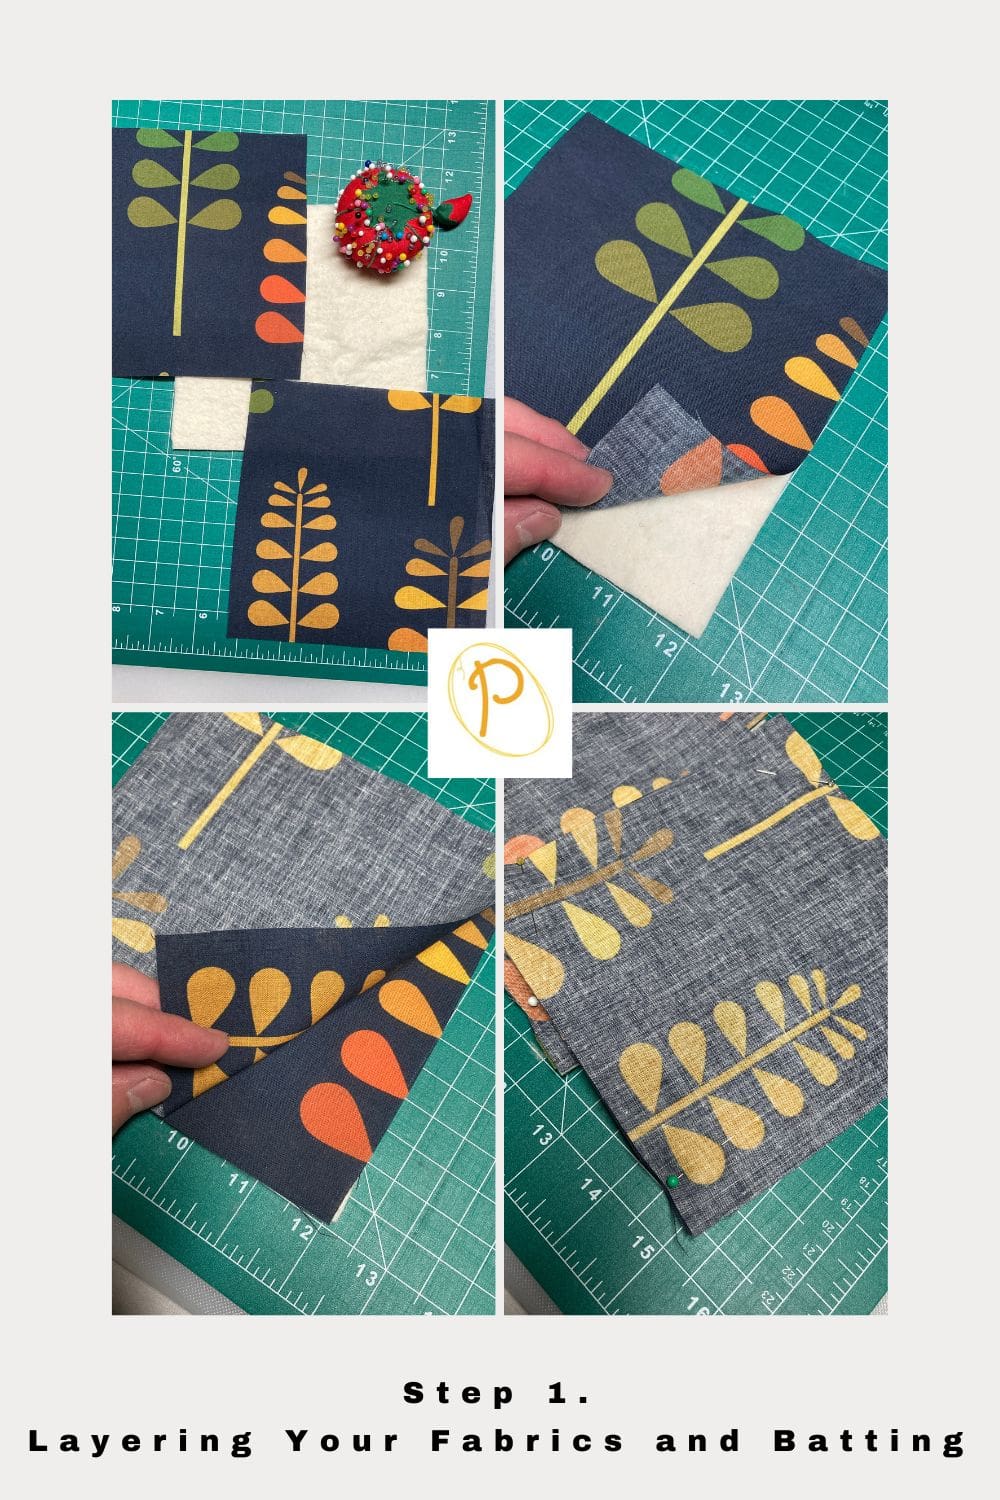
Step 1.
Layer the pieces together, starting with the batting on the bottom, followed by the 2 pieces of cotton right sides together. The wrong side of the top fabric should be facing out.
Pin or add clips to secure your square.
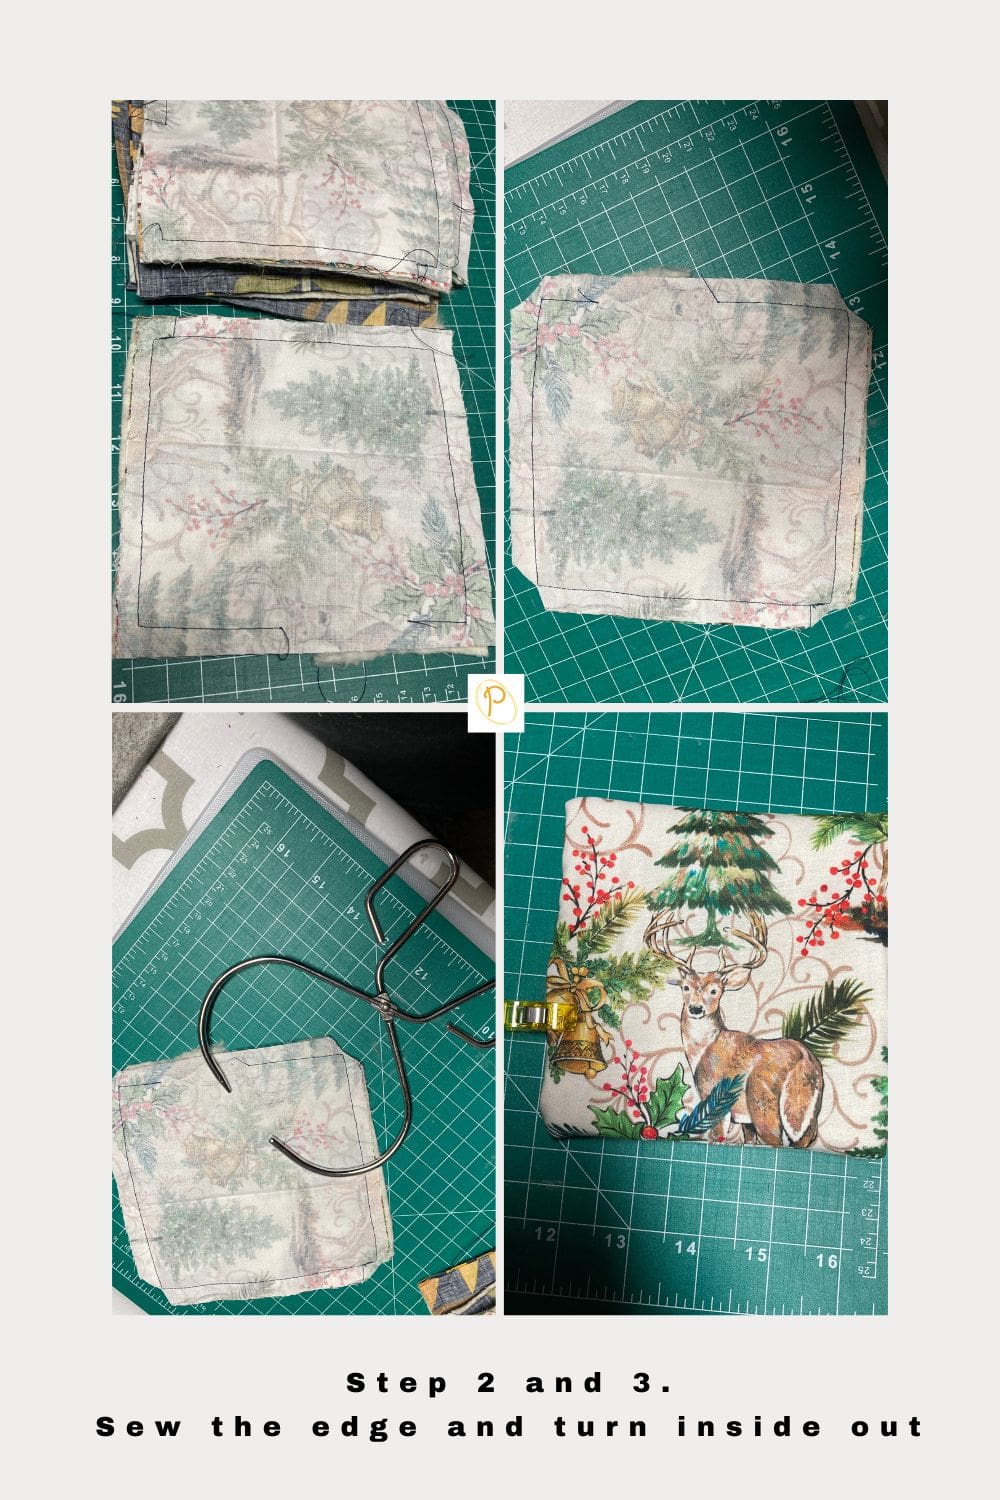
Step 2.
Sew around the square through all the layers using ½-inch seam allowance. Backstitch when you start and when you stop.
Leave a 2-inch opening for turning once you have sewn the coasters.
Step 3.
Trim the corners close to the stitching line to reduce bulk.
Turn the coaster inside out. Use a turning tool or a skewer to help push out the corners to a point. Be careful not to poke a hole in the fabric.
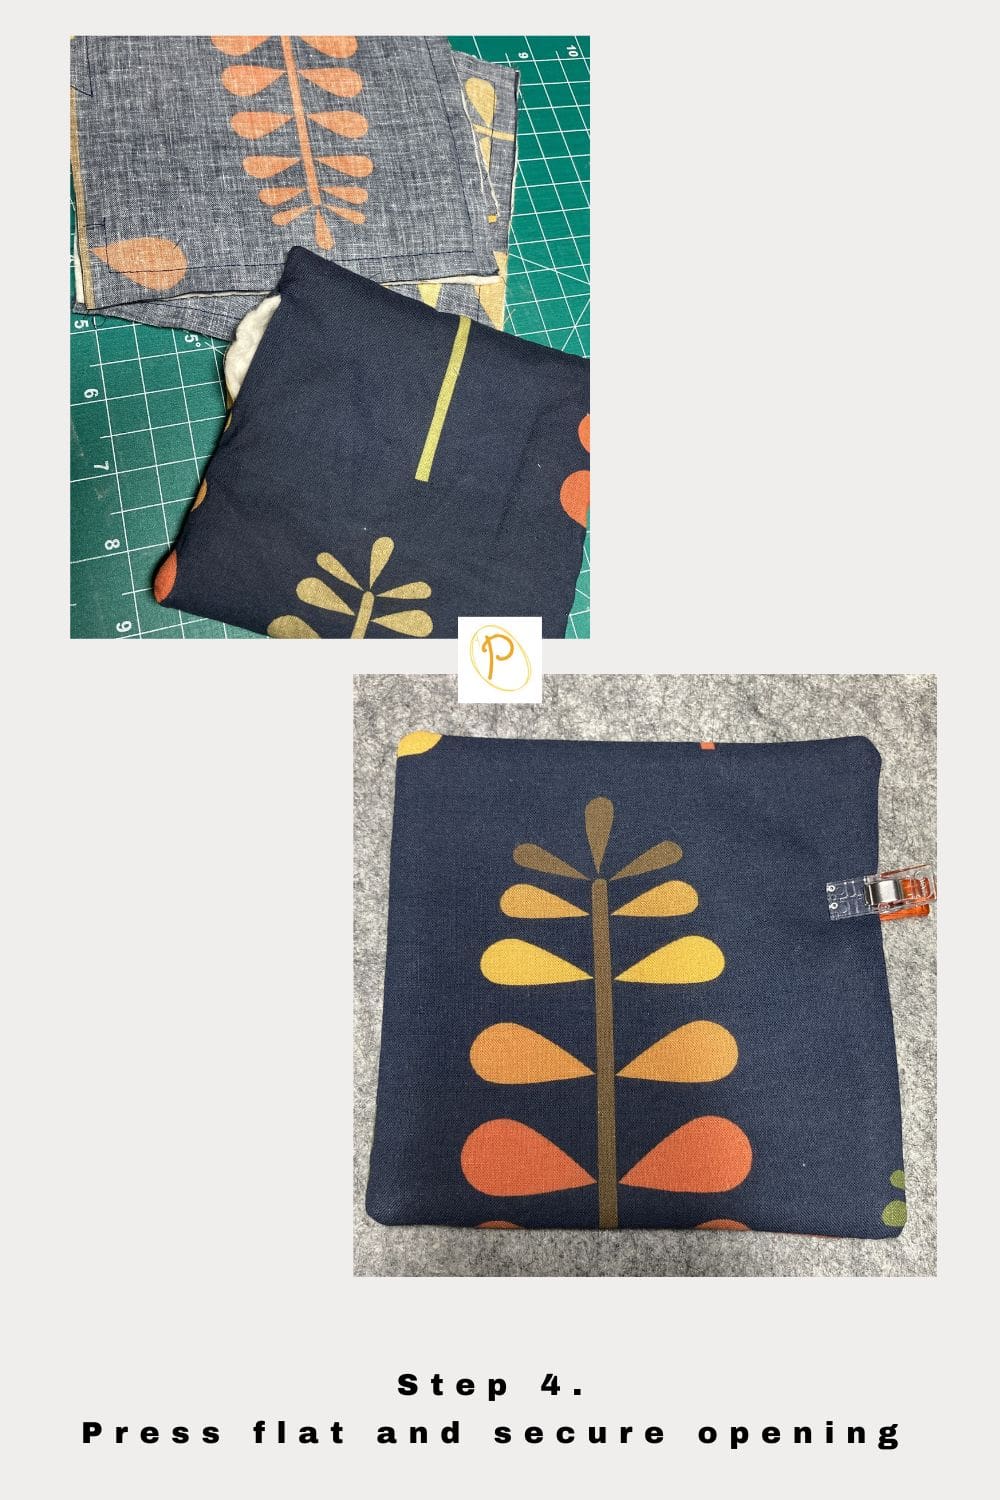
Step 4.
Press the coaster flat with the seam allowance of the open hole tucked inside. Place a few clips or pins to keep this seam in place.
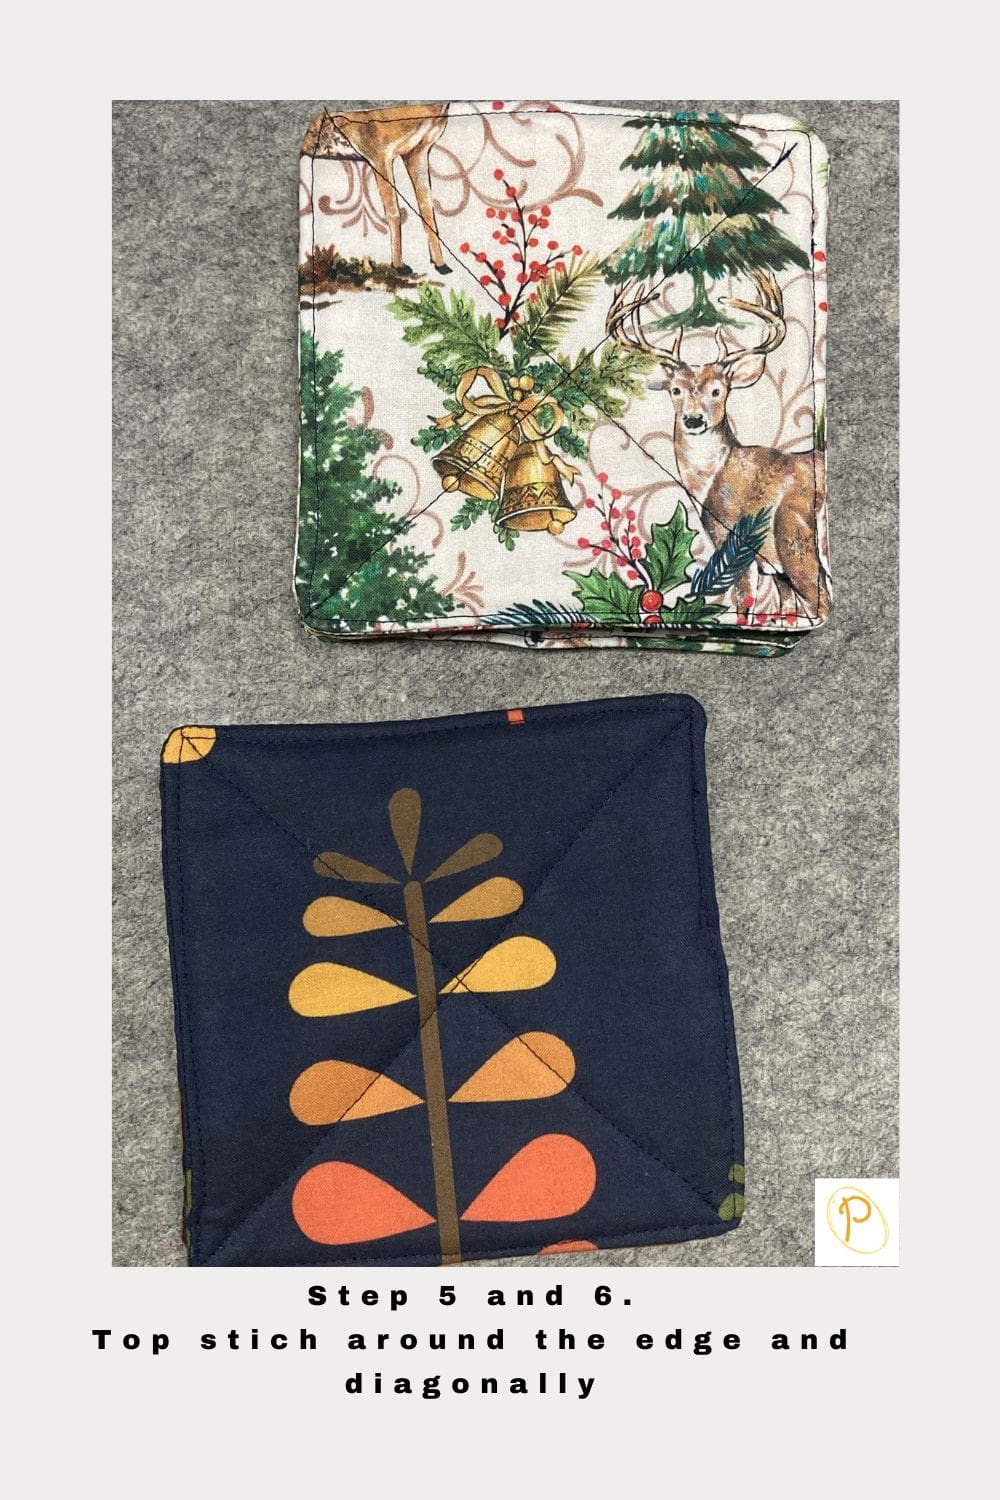
Step 5.
Topstitch around the square 1/8-inch from the edge. Make sure to sew over the turning hole to close it.
Step 6.
Secure the fabric layers and batting by topstitching from one corner to the other on the diagonal. Then repeat the topstitching sewing from one corner to the other diagonally. This will create an “X” sewing pattern on top of the coaster.
Trim the threads.
You have completed the Easy Beginner Quilted Coaster pattern!

You can find Victoria crocheting, quilting, and creating recipes. She has cooked in restaurants for over 20 years, including many larger parties. She learned to crochet when she was just 11 years old and has been crocheting ever since; over 50 years now. Over 40 years ago, she loved her first class in sewing and continues to hone her skills in quilting. Many have enjoyed the handmade gifts over the years. In her professional career, she has worked in management in a wide variety of businesses including higher education as a dean of a division. All the while attending college part-time to achieve her doctorate in higher education with an emphasis in e-learning.