Last updated on July 4th, 2024 at 11:28 pm
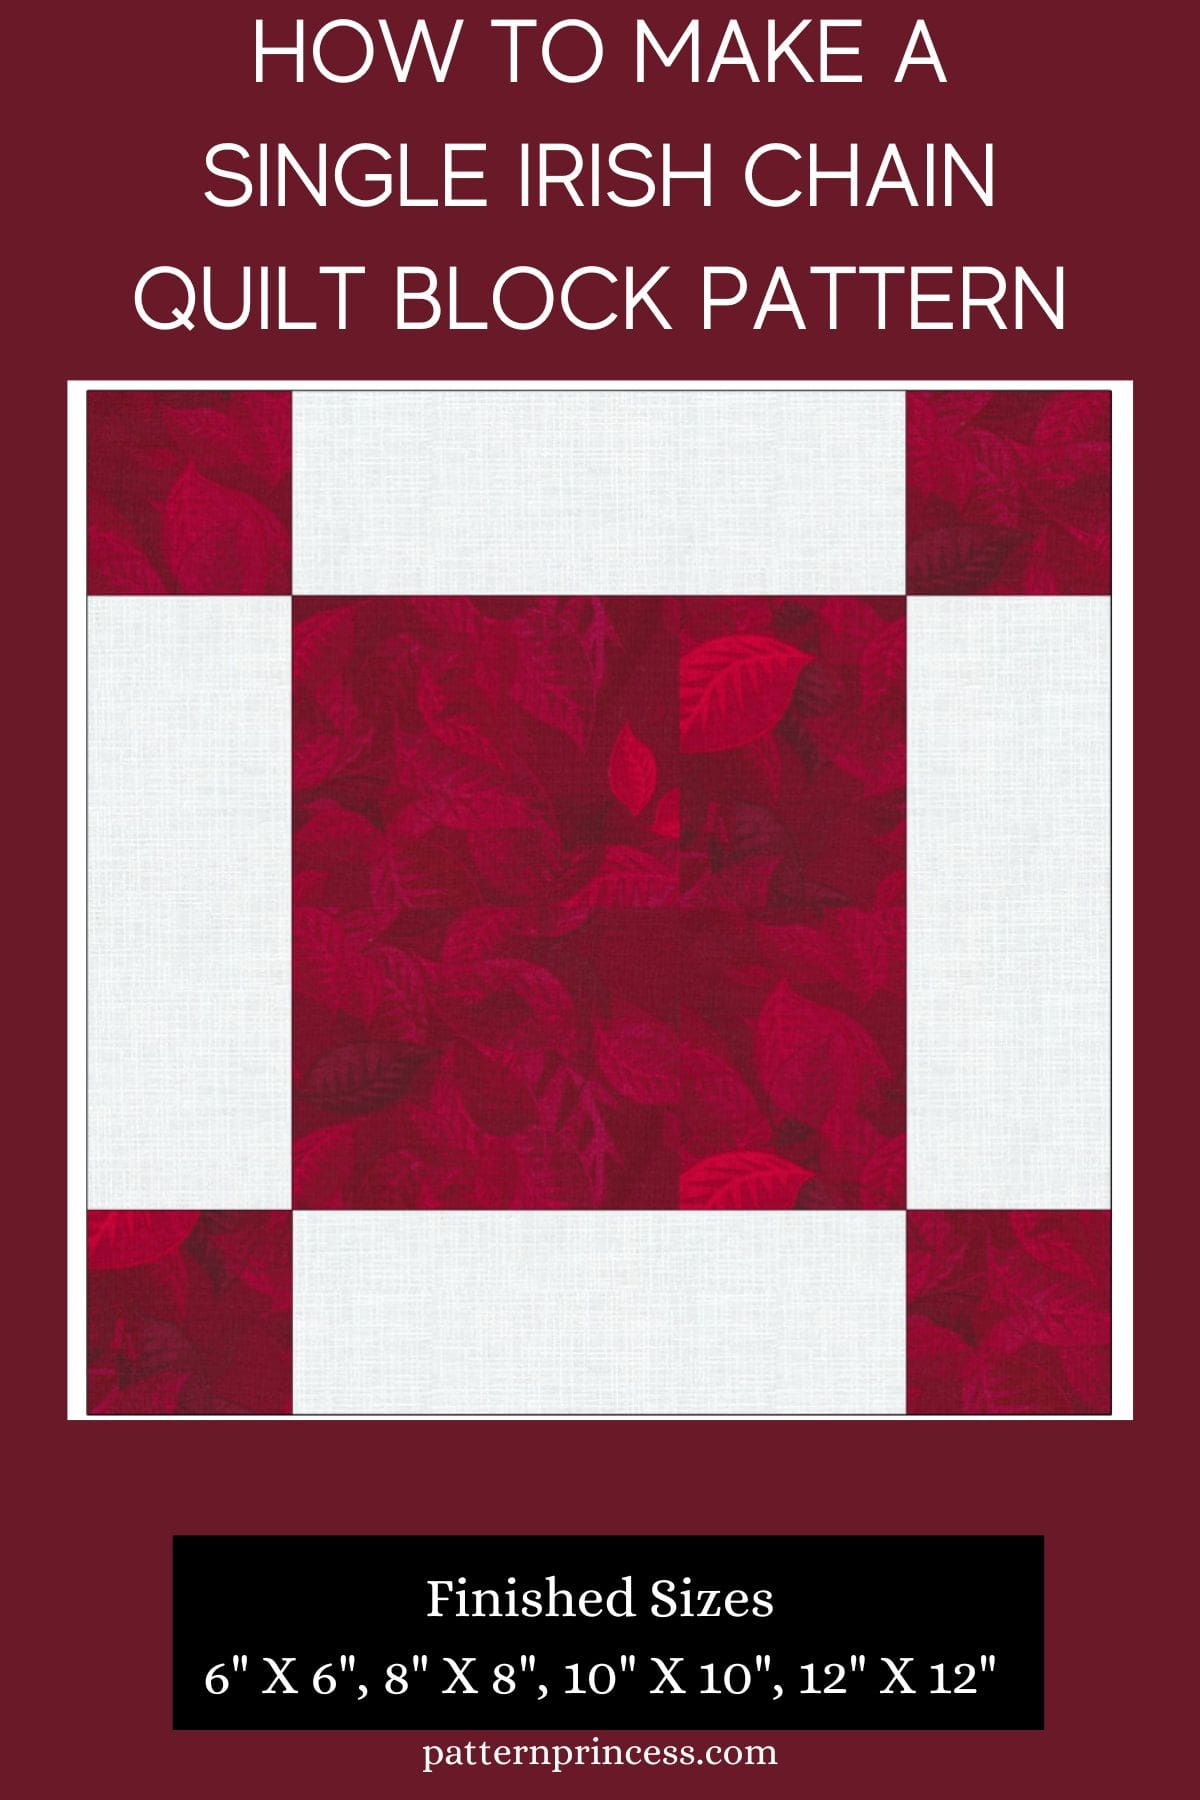
This beautiful Single Irish Chain Quilt Block Pattern is a classic design that will add a touch of traditional charm to your quilting project. Perfect for quilters of all skill levels, this pattern features instructions and diagrams to guide you through creating your own stunning quilt blocks.
The vintage pattern has been around for ages, and for good reason. It’s simple yet stunning, with a timeless appeal that just never gets old. Plus, it’s super versatile, you can play around with colors and fabrics to make it your own.
It’s perfect for a table runner, baby quilt or really any quilt size.
Easy Quilt Block
An easy and simple block to make. If you are a beginner quilter, you can make this block.
It’s one of the classic nine-patch blocks that have beautiful results on a quilt top. It may seem like a plain block; however, when they are connected, they seamlessly link to each other and create diagonals or an on-point layout throughout the project.
You can sew the fabric together one piece at a time for the square. However, I learned from Janet Wickell on The Spruce, that you can use a strip piece method for making multiple blocks quickly.
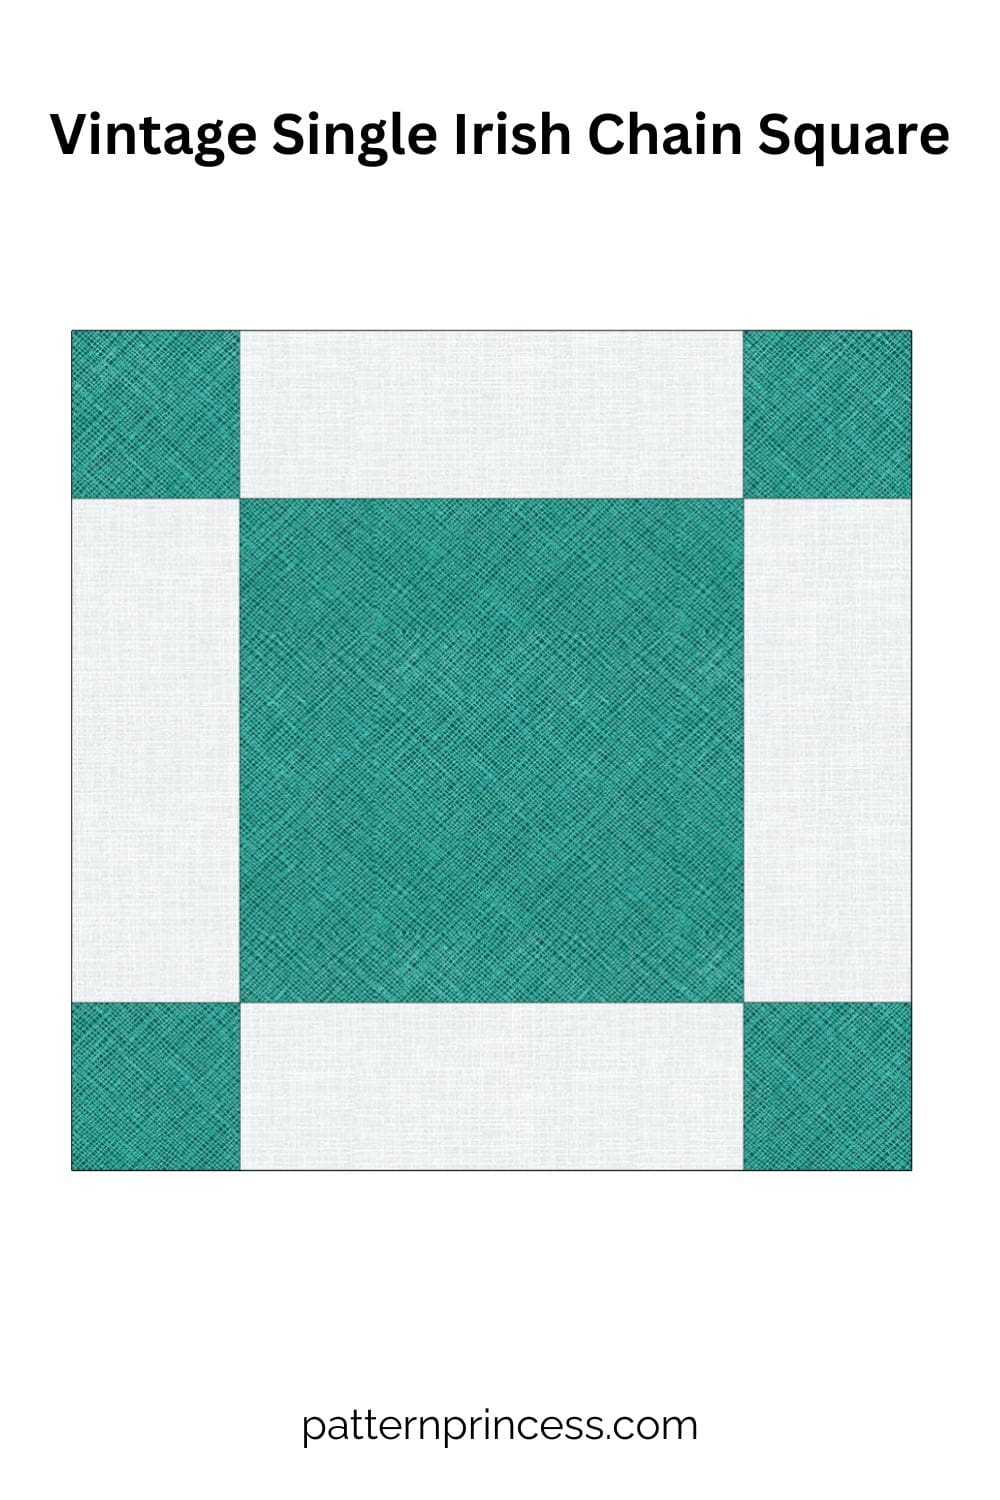
Single Chain or Double Irish Chain Block
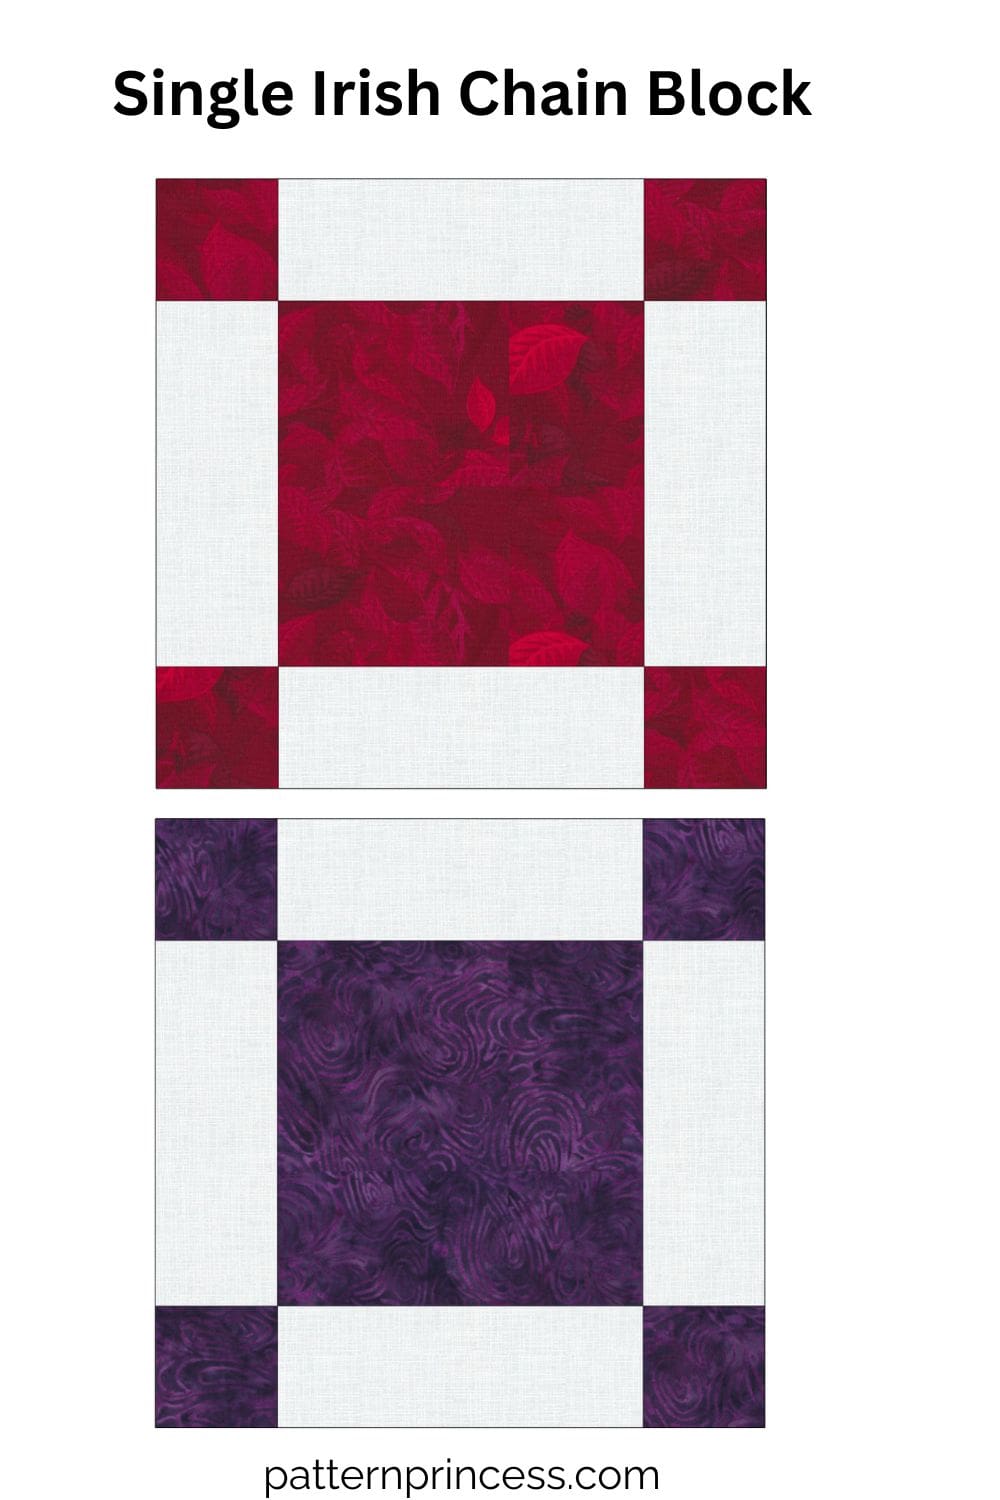
The directions and sizes for today are for what I have been calling the single Irish chain. However, in my quilting software and several patterns, this is referred to as the Double Irish Chain. Either way, here is the tutorial. I have a photo of the referenced quilt block for you so you can determine if this is the square you want to make.
Fabric Considerations
Use a contrasting background fabric to help the design stand out. Both print and solid fabric work well for this.
Get your Ad Free Printable PDF Pattern in our Etsy Shop
Directions: How to Make a Single Irish Chain Quilt Block Pattern
Skill Level
Easy
Finished Sizes
- 6” X 6”
- 8” X 8”
- 10” X 10”
- 12” X 12”
Equipment/Tools
- Thread
- Rotary Cutter
- Quilting Ruler
- Cutting Mat
- Rotating Cutting Mat
- Iron
- Ironing Board or Pressing Mat
- Pins
- Clips
- Sewing Machine
Pattern Notes
Sew fabrics together using ¼” seam allowances.
Sew fabric with the right sides together.
Fabric can be sewn together one piece at a time. However, If you need to make more than one block, assembly is faster when the quilt block is strip pieced from fabric strips sewn together, then cut apart. And sewn back together as shown in the chart.
Today, my square uses a solid quilt center. However, you can change this up and make a 9-patch center using a variety of fabrics.
WOF- Width of Fabric
Cutting Charts for Making Multiple Blocks out of fabric strips.
Four Different Sizes
6″ x 6″ Finished Blocks
Strip Set A:
- Dark: two 1 11/16″ x WOF strips
- Light: one 4 1/8″ x WOF strip
Strip Set B:
- Dark: one 4 1/8″ x WOF strip
- Light: two 1 11/16″ x WOF strips
8″ x 8″ Finished Blocks
Strip Set A:
- Dark: two 2 1/8″ x WOF strips
- Light: one 5 5/16″ x WOF strip
Strip Set B:
- Dark: one 5 5/16″ x WOF strip
- Light: two 2 1/8″ x WOF strips
10″ x 10″ Finished Blocks
Strip Set A:
- Dark: two 2 1/2″ x WOF strips
- Light: one 6 1/2″ x WOF strip
Strip Set B:
- Dark: one 6 1/2″ x WOF strip
- Light: two 2 1/2″ x WOF strips
12″ x 12″ Finished Blocks
Strip Set A:
- Dark: two 2 7/8” x WOF strips
- Light: one 7 11/16″ x WOF strip
Strip Set B:
- Dark: one 7 11/16″ x WOF strip
- Light: two 2 7/8” x WOF strips
Cut longer strips of fabric if you plan to make additional blocks. It’s a fun way to make quick quilts.
Make the Strip
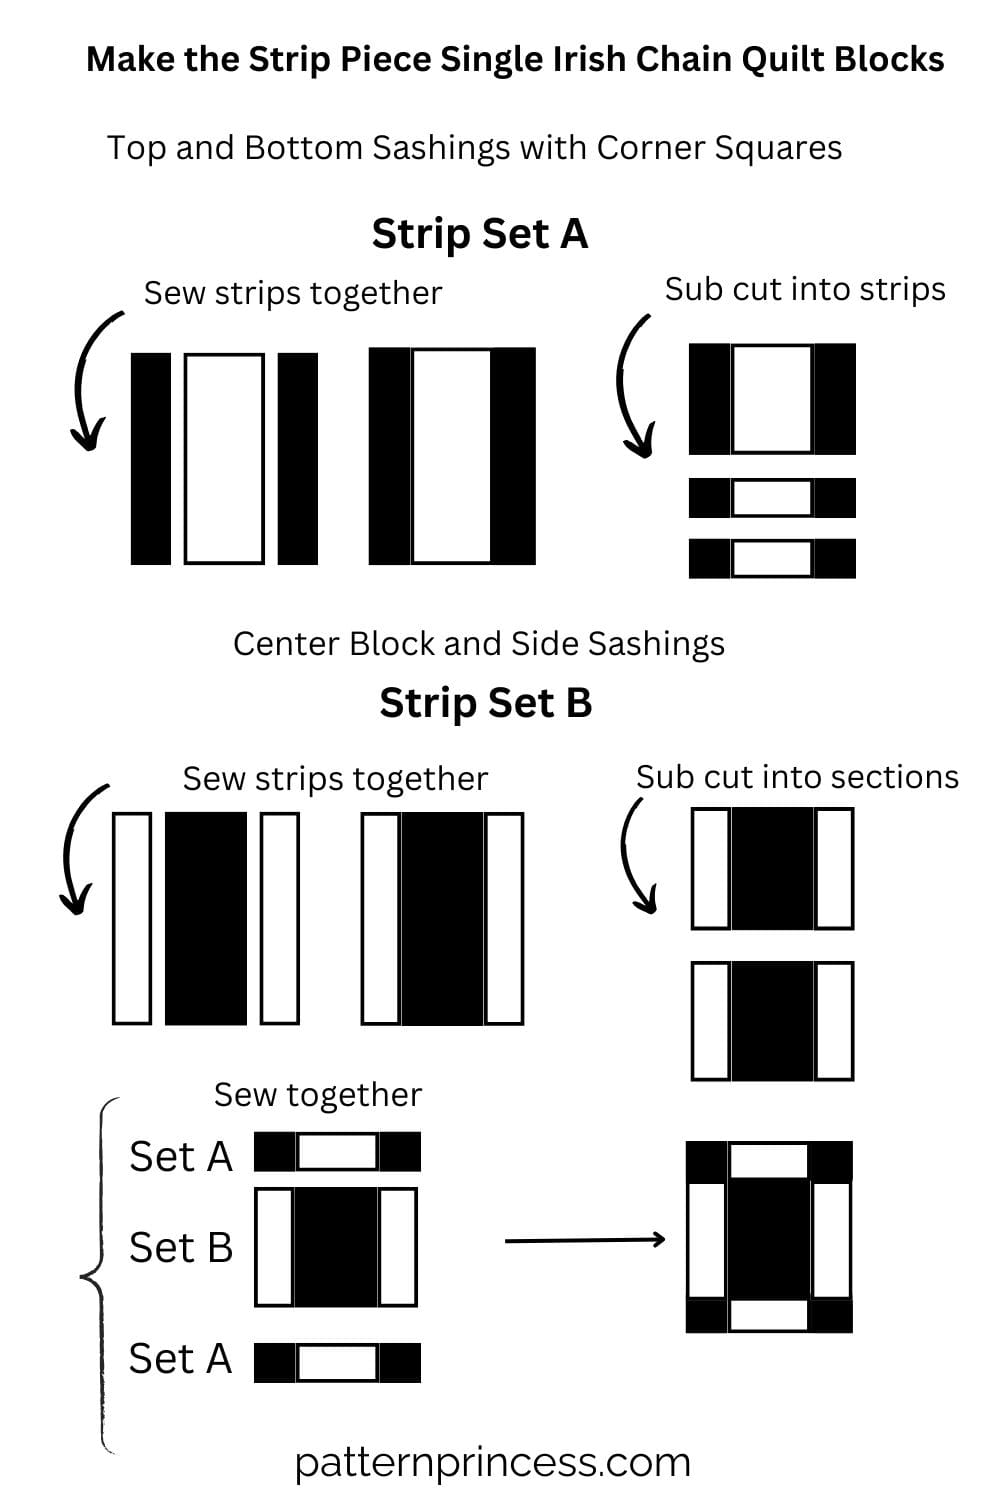
Make the Strip Sets for the Single Irish Chain
Strip Set A
With the right sides together, sew the darker fabric “A” strip lengthwise to the wider lighter fabric “A” strip. Repeat this process and add the second darker fabric strip on the other side.
Press the seams to the outside towards the dark strips.
Using a quilting ruler and rotary cutter, square up one end of the long strip. Then cut into segments using the following measurements, as shown in the diagram.
- 1 11/16″ long for the 6” block.
- 2 1/8″ long for the 8” block.
- 2 1/2″ long for the 10” block.
- 2 7/8” long for the 12” block.
Strip Set B
With the right sides together, sew the lighter fabric “B” strip lengthwise to the wider darker fabric “B” strip. Repeat this process and add the second lighter fabric strip on the other side.
Press the seams to the inside towards the dark strips.
Using a quilting ruler and rotary cutter, square up one end of the long strip. Then cut into segments using the following measurements, as shown in the diagram.
- 4 1/8″ long for the 6” block.
- 5 5/16″ long for the 8” block.
- 6 1/2″ long for the 10” block.
- 7 11/16″ long for the 12” block.
Assembling and Sewing the Single Irish Chain Quilt Block
With the right sides together and using ¼” inch seam allowance, sew an “A” section onto the top of a “B” section. Make sure to nest seams. Press the seam allowance toward the “B” section.
Sew another “A” section onto the bottom of a “B” section. Nesting the seams and using ¼ inch seam allowance. Press the seams towards the “B” section.
Trim the quilt block ½” inch taller and wider than the desired finished size.
Continue repeating this process until all your blocks are sewn together.
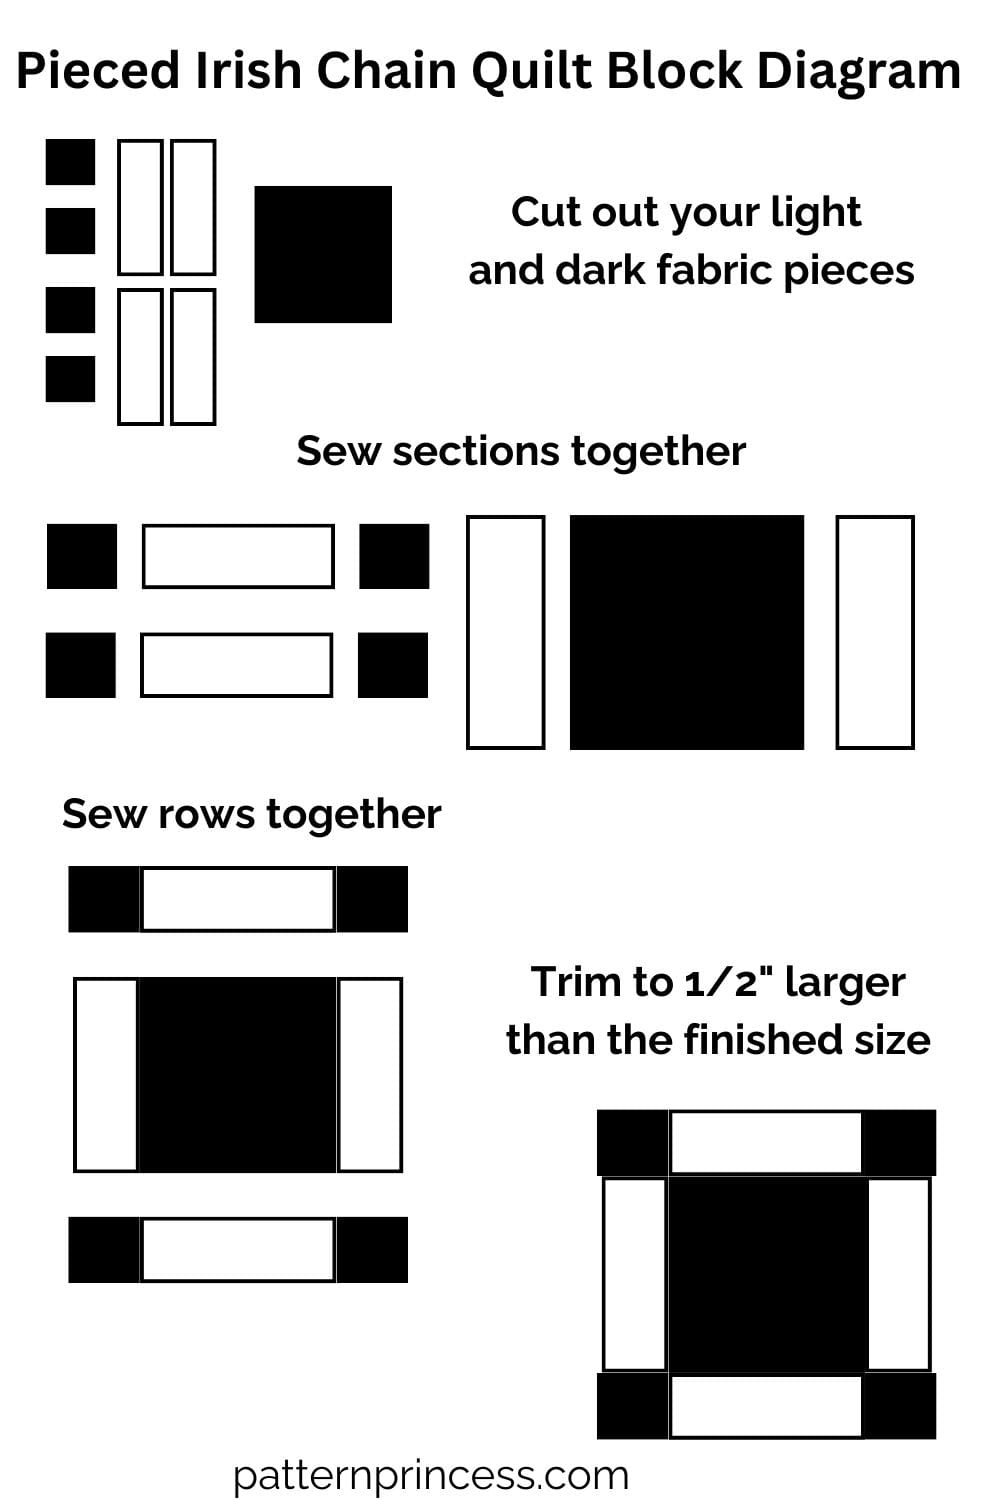
Pieced Irish Chain Quilt Block
If you just have one block to make or prefer not to use the strip piecing method, here are the directions for making just one block.
I will be using the 10” block as an example; however, use the sizes noted above when making a different size block.
Fabric Requirements
For the darker fabric, cut four little squares 2 ½” X 2 ½” and one square 6 ½” X 6 ½”.
Using the Lighter fabric, cut four rectangles 2 ½” X 6 ½”.
Begin by placing a 2 ½” X 6 ½” lighter rectangle on the left and right side of the darker fabric 6 ½” X 6 ½” square.
With right sides together and using ¼” seam allowance sew the rectangles to the left and right of the darker center square. Press seams to the darker fabric.
Next, you’ll be sewing the smaller squares onto the rectangles.
Layout the two remaining light fabric 2 ½” X 6 ½” rectangles. Place a 2 ½” X 2 ½” dark fabric square on the left and right end of each rectangle.
With right sides together and using ¼” seam allowance sew the squares to the left and right of the lighter rectangle. Press seams out to the darker fabric.
Assemble the Square
You now have three rows of fabric strips to sew together that match the Sections “A” and “B” described above.
With the right sides together and using ¼” inch seam allowance, sew an “A” section onto the top of a “B” section. Make sure to nest seams. Press the seam allowance toward the “B” section.
Sew another “A” section onto the bottom of a “B” section. Nesting the seams and using ¼ inch seam allowance. Press the seams towards the “B” section.
Trim the quilt block ½” inch taller and wider than the desired finished size.
Continue repeating this process until all your blocks are sewn together.
We hope you have enjoyed this free pattern. You’re welcome to explore our other projects we have for you.

You can find Victoria crocheting, quilting, and creating recipes. She has cooked in restaurants for over 20 years, including many larger parties. She learned to crochet when she was just 11 years old and has been crocheting ever since; over 50 years now. Over 40 years ago, she loved her first class in sewing and continues to hone her skills in quilting. Many have enjoyed the handmade gifts over the years. In her professional career, she has worked in management in a wide variety of businesses including higher education as a dean of a division. All the while attending college part-time to achieve her doctorate in higher education with an emphasis in e-learning.