Last updated on July 5th, 2024 at 12:30 am
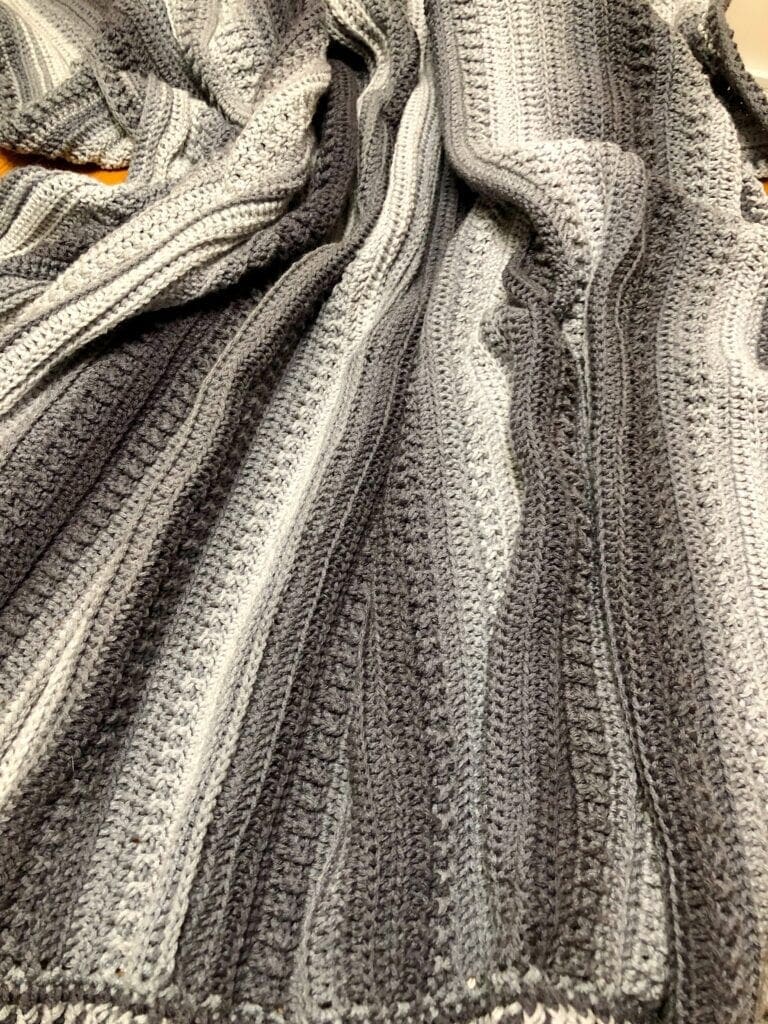
This Textured Ombre Crochet Blanket will be a beautiful addition to the décor at the farmhouse. If you can double crochet, you can create this lovely afghan.
*Post contains affiliate links* for more information please read the disclaimer on the About Us page.
Are you a crocheter looking for a new project to try? Have you been wanting to use those beautiful variegated yarns but don’t know what to do with them? Look no further!
This pattern is perfect for anyone who has an interest in textured crochet and wants something that will show off their skills. It’s easy enough that advanced beginners can make it, yet still interesting enough for more advanced crocheters.
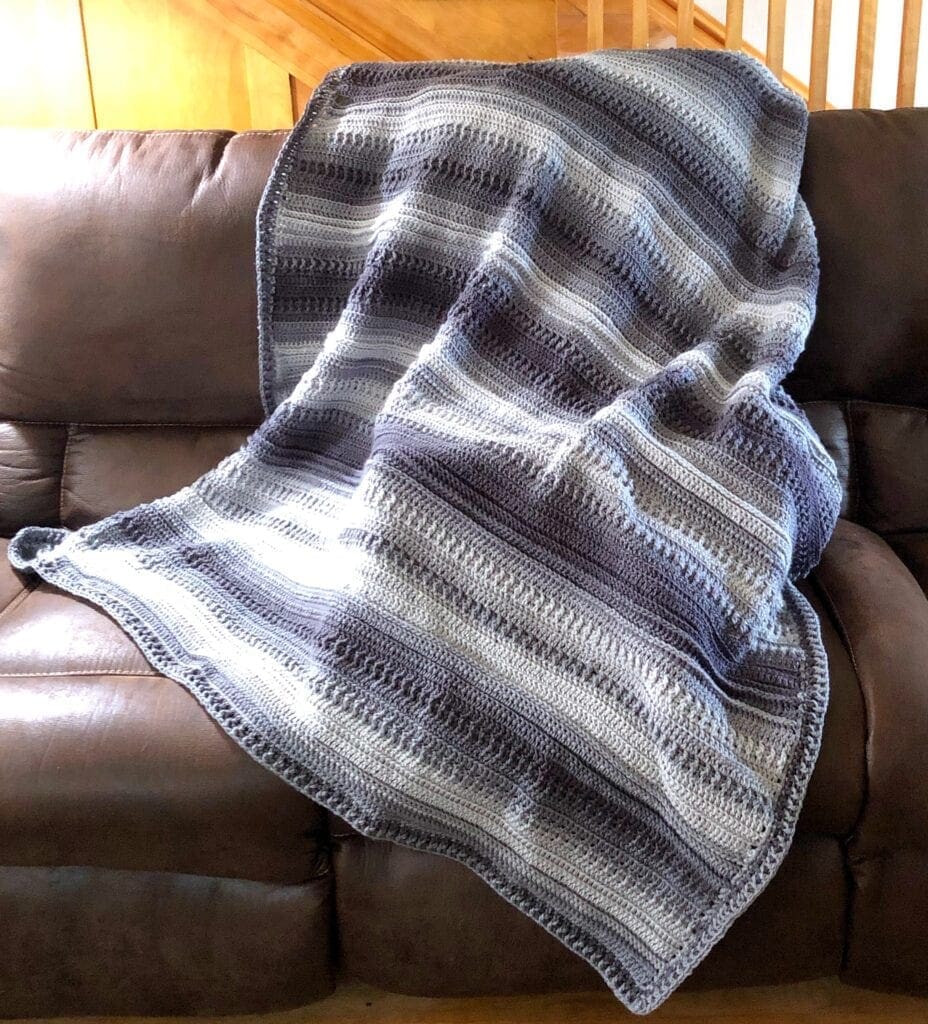
Are you looking for the perfect crochet blanket pattern?
This is one of those relaxing patterns that is easy to crochet with gorgeous results.
Red Heart Ombre Yarn
The colors of this ombre yarn are long. Therefore, this yarn lends itself to crocheting a large blanket like this one. I just love the hues of changing colors without the hassle of having to weave in tons of yarn ends. This was a very nice yarn to work with.
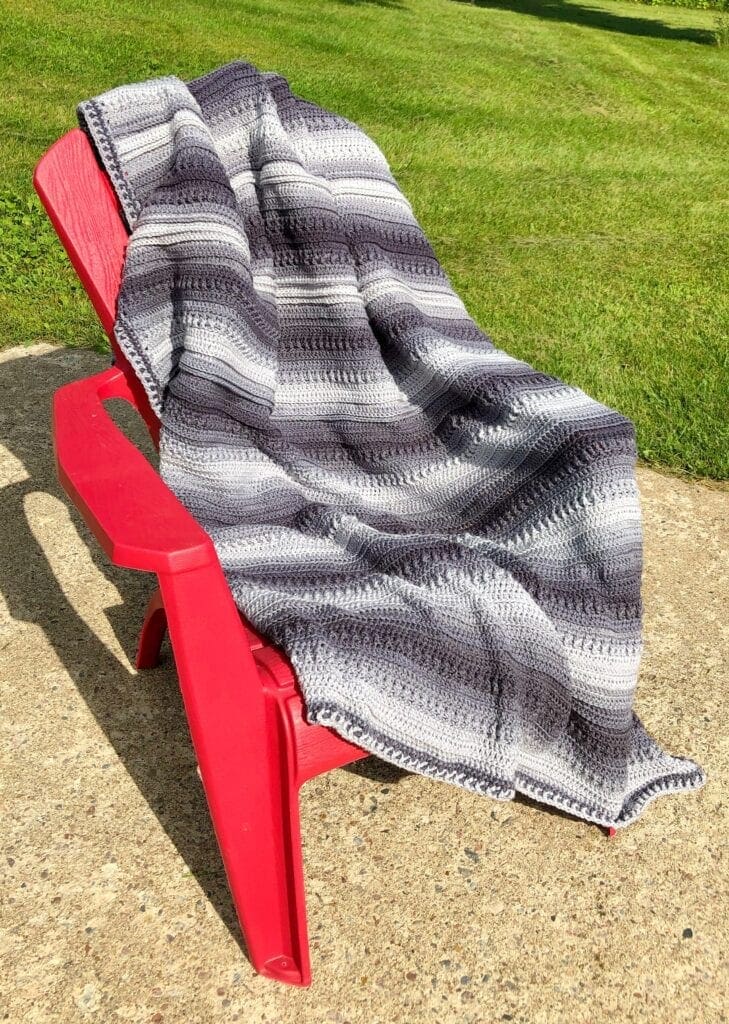
Study in Crochet Texture
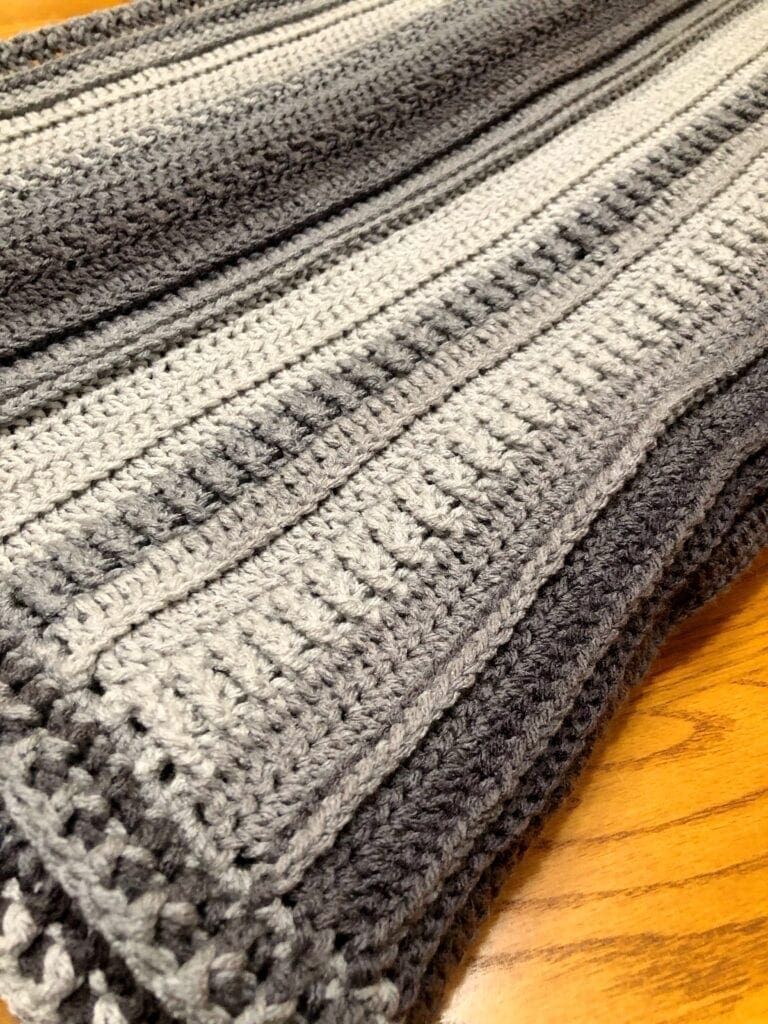
This crochet pattern uses double crochet to achieve this beautiful textured look. Repeat rows 2-16 throughout. However, due to the turning at the end of each row, some of the row directions are slightly different. That way, the texture will stay on the correct side of the afghan. If you are new to any of the stitches; front loop and back loop double crochet, front post and back post double crochet, no worries.
Crochet Video Tutorials to Help
There are video tutorials to help you along the way. Just enjoy the long rows, varied stitches, and blending of colors. I have posted those at the bottom.
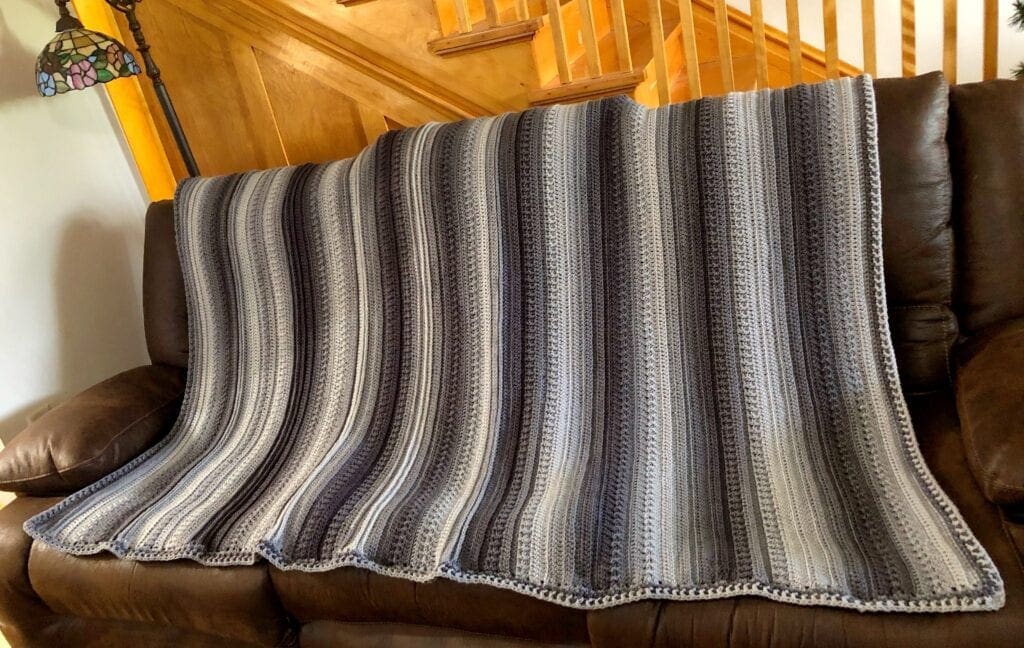
Large Crochet Afghan
This blanket is large enough to let you snuggle right in; covering your toes with enough extra to hug your neck. A nice size blanket like this lets you nestle in and get cozy while you are relaxing.
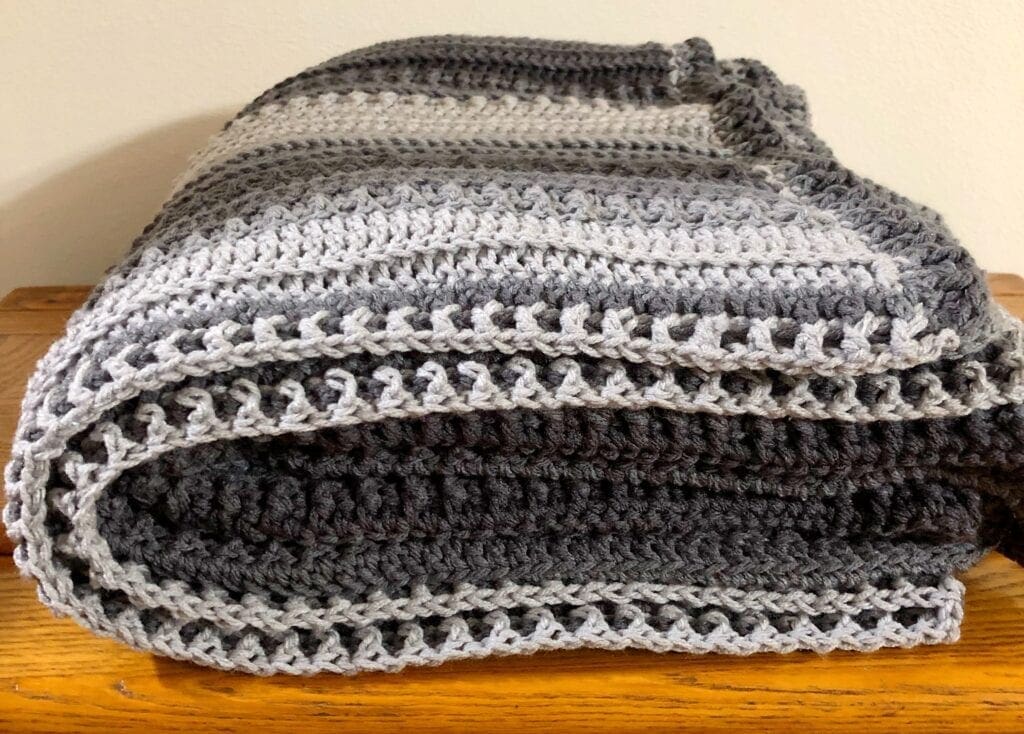
The front post double crochet and back post double crochet is also used to make the crochet border in this Snowy Field Crochet Blanket.
Printing This Crochet Pattern is Recommended
There are 136 rows of crochet stitches plus the edging. Therefore, this pattern lends itself well to printing off the directions and marking off the rows as you complete them. This will help keep the pattern fun, relaxing, and stress free. Marking the rows allows you to complete a row or two each evening while watching television. Pick up right where you left off.
Directions: Textured Ombre Crochet Blanket
Skill Level
Advanced Beginner to Intermediate.
Blanket Size
The size of this blanket with the border is 53 inches wide by 74 inches long. However, it is easy to change the size of this blanket. Just increase or decrease the rows and the first no chain double crochet row by 1 stitch. This would be a lovely baby blanket too.
Gauge
Four double crochet to 1 square inch.
Materials
Size I crochet Hook
7 Skeins of Red Heart Ombre Yarn Anthracite. Approximately 3,374 yards. I started a fresh skein for the border and did not use it all; so just a bit less than the full 7 skeins of yarn. If you are not able to find this yarn locally, you can find it here on Amazon.
Yarn needle
Scissors
Abbreviations
BLDC = Back Loop Double Crochet
BPDC = Back Post Double Crochet
CH = Chain
DC = Double Crochet
FPDC = Front Post Double Crochet
FLDC = Front Loop Double Crochet
SC = Single Crochet
SL ST = Slip Stitch
SP = Space
ST = Stitch
Pattern Notes
This is kind of a 16-row repeat. However, because I wanted the texture to show up on one side of the blanket, I had to swap the BLDC, and FLDC sometimes. That is detailed in the instructions below.
At the end of each row, turn.
The chain 3 at the beginning of the row counts as the first stitch.
The last stitch in each row should be a double crochet.
Crochet Stitch Tutorials
If you are unsure of the stitches used in this blanket, there are video tutorials showing how to work each stitch on my crochet tutorials page.
Crochet Pattern Directions
Begin
180 foundational no chain double crochet, Turn.
Row 2
Ch 3 (counts at first DC), DC in each ST across. End with a DC in the last ST.
Reminder, CH 3 counts as first stitch here and throughout. End with DC in last ST. Turn at the end of each row.
Row 3
CH 3, BPDC in each ST across
Row 4
CH 3, FPDC in each ST across
Row 5
CH 3, DC in each ST across
Row 6
CH 3, FLDC in each ST across
Row 7
CH 3, BLDC in each ST across
Row 8
CH 3, DC in each ST across
Row 9
CH 3, alternate FPDC and BPDC across
Row 10
CH 3, DC in each ST across
Row 11
CH 3, BLDC in each ST across
Row 12
CH 3, DC in each ST across
Row 13
CH 3, alternate FPDC and BPDC across
Row 14
CH 3, DC in each ST across
Row 15
CH 3, DC in each ST across
Row 16
CH 3, FPDC in each ST across
Achieve Crochet Texture with Ease
As previously mentioned, Rows 17and on repeat rows 2-16 with a slight variation on which loop or post is used for the DC Texture to show up on the correct side. The full row patterns continue below.
Row 17
CH 3, DC in each ST across (Turn at the end of each row).
Row 18
CH 3, FPDC in each ST across
Row 19
CH 3, BPDC in each ST across
Row 20
CH 3, DC in each ST across
Row 21
CH 3, BLDC in each ST across
Row 22
CH 3, FLDC in each ST across
Row 23
CH 3, DC in each ST across
Row 24
CH 3, alternate FPDC and BPDC across
Row 25
CH 3, DC in each ST across
Row 26
CH 3, FLDC in each ST across
Row 27
CH 3, DC in each ST across
Row 28
CH 3, alternate FPDC and BPDC across
Row 29
CH 3, DC in each ST across
Row 30
CH 3, DC in each ST across
Row 31
CH 3, BPDC in each ST across
Row 32
CH 3, DC in each ST across (Turn at the end of each row).
Row 33
CH 3, BPDC in each ST across
Row 34
CH 3, FPDC in each ST across
Row 35
CH 3, DC in each ST across
Row 36
CH 3, FLDC in each ST across
Row 37
CH 3, BLDC in each ST across
Row 38
CH 3, DC in each ST across
Row 39
CH 3, alternate FPDC and BPDC across
Row 40
CH 3, DC in each ST across
Row 41
CH 3, BLDC in each ST across
Row 42
CH 3, DC in each ST across
Row 43
CH 3, alternate FPDC and BPDC across
Row 44
CH 3, DC in each ST across
Row 45
CH 3, DC in each ST across
Row 46
CH 3, FPDC in each ST across
Row 47
CH 3, DC in each ST across
Row 48
CH 3, FPDC in each ST across
Row 49
CH 3, BPDC in each ST across
Row 50
CH 3, DC in each ST across
Row 51
CH 3, BLDC in each ST across
Row 52
CH 3, FLDC in each ST across
Row 53
CH 3, DC in each ST across
Row 54
CH 3, alternate FPDC and BPDC across
Row 55
CH 3, DC in each ST across
Row 56
CH 3, FLDC in each ST across
Row 57
CH 3, DC in each ST across
Row 58
CH 3, alternate FPDC and BPDC across
Row 59
CH 3, DC in each ST across
Row 60
CH 3, DC in each ST across
Row 61
CH 3, BPDC in each ST across
Row 62
CH 3, DC in each ST across
Row 63
CH 3, BPDC in each ST across
Row 64
CH 3, FPDC in each ST across
Row 65
CH 3, DC in each ST across
Row 66
CH 3, FLDC in each ST across
Row 67
CH 3, BLDC in each ST across
Row 68
CH 3, DC in each ST across
Row 69
CH 3, alternate FPDC and BPDC across
Row 70
CH 3, DC in each ST across
Row 71
CH 3, BLDC in each ST across
Row 72
CH 3, DC in each ST across
Row 73
CH 3, alternate FPDC and BPDC across
Row 74
CH 3, DC in each ST across
Row 75
CH 3, DC in each ST across
Row 76
CH 3, FPDC in each ST across
Row 77
CH 3, DC in each ST across
Row 78
CH 3, FPDC in each ST across
Row 79
CH 3, BPDC in each ST across
Row 80
CH 3, DC in each ST across
Row 81
CH 3, BLDC in each ST across
Row 82
CH 3, FLDC in each ST across
Row 83
CH 3, DC in each ST across
Row 84
CH 3, alternate FPDC and BPDC across
Row 85
CH 3, DC in each ST across
Row 86
CH 3, FLDC in each ST across
Row 87
CH 3, DC in each ST across
Row 88
CH 3, alternate FPDC and BPDC across
Row 89
CH 3, DC in each ST across
Row 90
CH 3, DC in each ST across
Row 91
CH 3, BPDC in each ST across
Row 92
CH 3, DC in each ST across
Row 93
CH 3, BPDC in each ST across
Row 94
CH 3, FPDC in each ST across
Row 95
CH 3, DC in each ST across
Row 96
CH 3, FLDC in each ST across
Row 97
CH 3, BLDC in each ST across
Row 98
CH 3, DC in each ST across
Row 99
CH 3, alternate FPDC and BPDC across
Row 100
CH 3, DC in each ST across
Row 101
CH 3, BLDC in each ST across
Row 102
CH 3, DC in each ST across
Row 103
CH 3, alternate FPDC and BPDC across
Row 104
CH 3, DC in each ST across
Row 105
CH 3, DC in each ST across
Row 106
CH 3, FPDC in each ST across
Row 107
CH 3, DC in each ST across
Row 108
CH 3, FPDC in each ST across
Row 109
CH 3, BPDC in each ST across
Row 110
CH 3, DC in each ST across
Row 111
CH 3, BLDC in each ST across
Row 112
CH 3, FLDC in each ST across
Row 113
CH 3, DC in each ST across
Row 114
CH 3, alternate FPDC and BPDC across
Row 115
CH 3, DC in each ST across
Row 116
CH 3, FLDC in each ST across
Row 117
CH 3, DC in each ST across
Row 118
CH 3, alternate FPDC and BPDC across
Row 119
CH 3, DC in each ST across
Row 120
CH 3, DC in each ST across
Row 121
CH 3, BPDC in each ST across
Row 122
CH 3, DC in each ST across
Row 123
CH 3, BPDC in each ST across
Row 124
CH 3, FPDC in each ST across
Row 125
CH 3, DC in each ST across
Row 126
CH 3, FLDC in each ST across
Row 127
CH 3, BLDC in each ST across
Row 128
CH 3, DC in each ST across
Row 129
CH 3, alternate FPDC and BPDC across
Row 130
CH 3, DC in each ST across
Row 131
CH 3, BLDC in each ST across
Row 132
CH 3, DC in each ST across
Row 133
CH 3, alternate FPDC and BPDC across
Row 134
CH 3, DC in each ST across
Row 135
CH 3, DC in each ST across
Row 136
CH 3, FPDC in each ST across
Do not cut off yarn. However, as yarn skein runs out, join another skein.
Begin border for Crochet Throw
Round 1
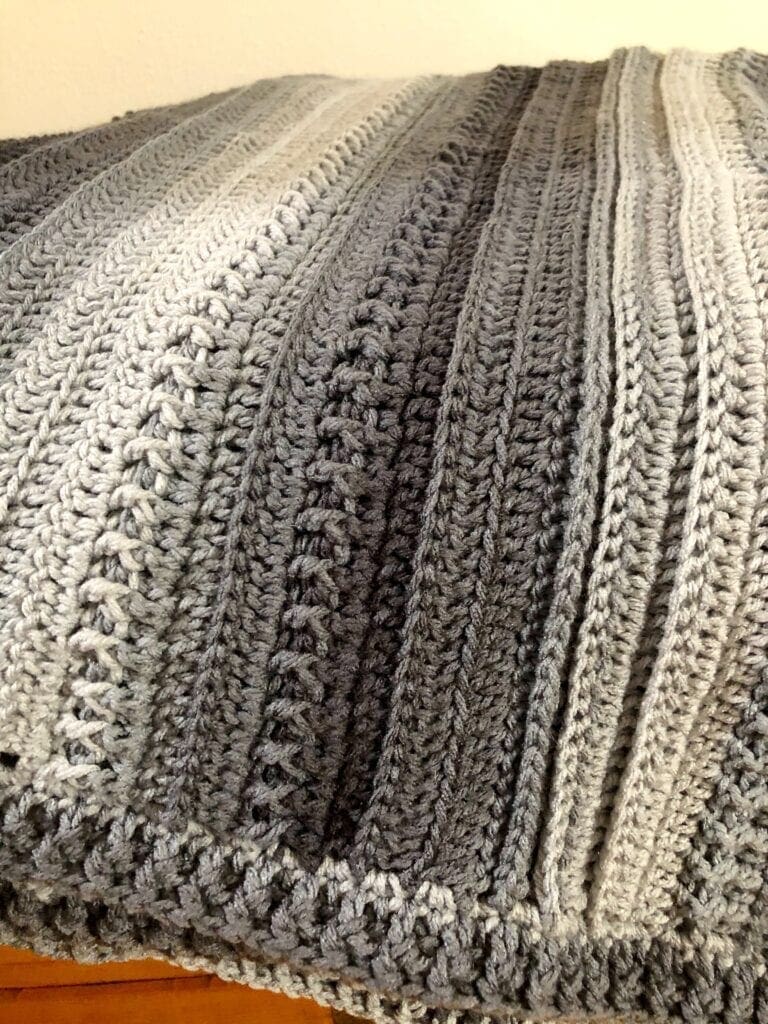
Continuing in the corner 3 SC. Then continue up the first side. Complete 2 SC in each CH 3 SP or DC SP. For each corner, complete 3 SC. For the ends, complete a SC in each ST. After you have completed a SC for each side, join with a SL ST to the first SC.
Round 2
CH 3, 3 DC in corner ST. DC in each SC around making sure to do 3 DC in each corner. SL ST into the top CH of initial CH 3.
Round 3
1 Slip stitch in the next ST so you can complete 3 DC in the corner ST. Then complete FPDC and BPDC alternating between the two with 3 DC in each corner. End with the last FPDC or BPDC and SL ST into the top of the first DC.
Weave in yarn ends and cut of the excess yarn.
Video Tutorials of Textured Ombre Crochet Blanket Pattern
Video 1 of 2
Video 2 of 2
If you loved this post, please share. It helps to show me that these types of posts are helpful – thank you!
I hope that you liked this pattern. If you are looking for more ideas for free crocheted blankets, here are a few other crochet patterns you may enjoy.
“I have made 3 of this pattern and am now working on the 4th. The amount of yarn required is on point, and it works up great in any of the yarn’s I’ve used so far. I am in the beginning of the 4th blanket. Every family member fell in love with the first one and then demanded a blanket for themselves. Personally I like the varying textures. It’s not a blanket for an absolute beginner, but a beginner can make it. Just be sure to go slow and read out the directions, more than once if necessary.”
Wendy, a Verified Etsy Buyer

You can find Victoria crocheting, quilting, and creating recipes. She has cooked in restaurants for over 20 years, including many larger parties. She learned to crochet when she was just 11 years old and has been crocheting ever since; over 50 years now. Over 40 years ago, she loved her first class in sewing and continues to hone her skills in quilting. Many have enjoyed the handmade gifts over the years. In her professional career, she has worked in management in a wide variety of businesses including higher education as a dean of a division. All the while attending college part-time to achieve her doctorate in higher education with an emphasis in e-learning.

How can I start this with a chain – instead of the chainless foundation start?
I haven’t learned the chainless foundation yet and I like starting the old way with a chain.
Your help will be greatly appreciated. It is a beautiful blanket.
Hi Tonya,
I would make a chain of 182, then in the third chain work a double crochet and all the way across in place of the no chain double crochet row instructions. Hope this helps.
Vicky
Hi
I really want to do this blanket but can you provide the colour changes of each row. It isn’t easy to tell from the picture. ????
Hi Sam,
Thanks for reaching out. This blanket is made with a variegated yarn, which means that the yarn changes color on its own. You could also use a variegated yarn or yarn colors every few rows.
Hope this helps.
Vicky
I am making this blanket. Since I crochet a little looser than other people the width is wider than the pattern calls for. I was too far into the pattern to rip it out and start over. I am going to make it longer so which 16 rows should I add on? Should I start over from the beginning till I get the right length?
So glad to hear you were inspired to make this lovely blanket. Once you work the blanket for a few rows, you will get the hang of making the textured stitches on one side. However, If I added on another 16 rows, I would follow rows 17-32. I believe that this will keep the texture on the one side of the blanket just like the other rows you worked.
@patternprincess1, hello I am just finishing this blanket and have TOTALLY enjoyed it, it’s the biggest blanket I have done. I couldn’t wait to start each row because it was a different stitch each time!! Thank you so much for letting everyone enjoy making it as well!!
You are very welcome. I am so glad you enjoyed this lovely pattern. Take care.
Vicky