Last updated on November 3rd, 2024 at 08:12 am
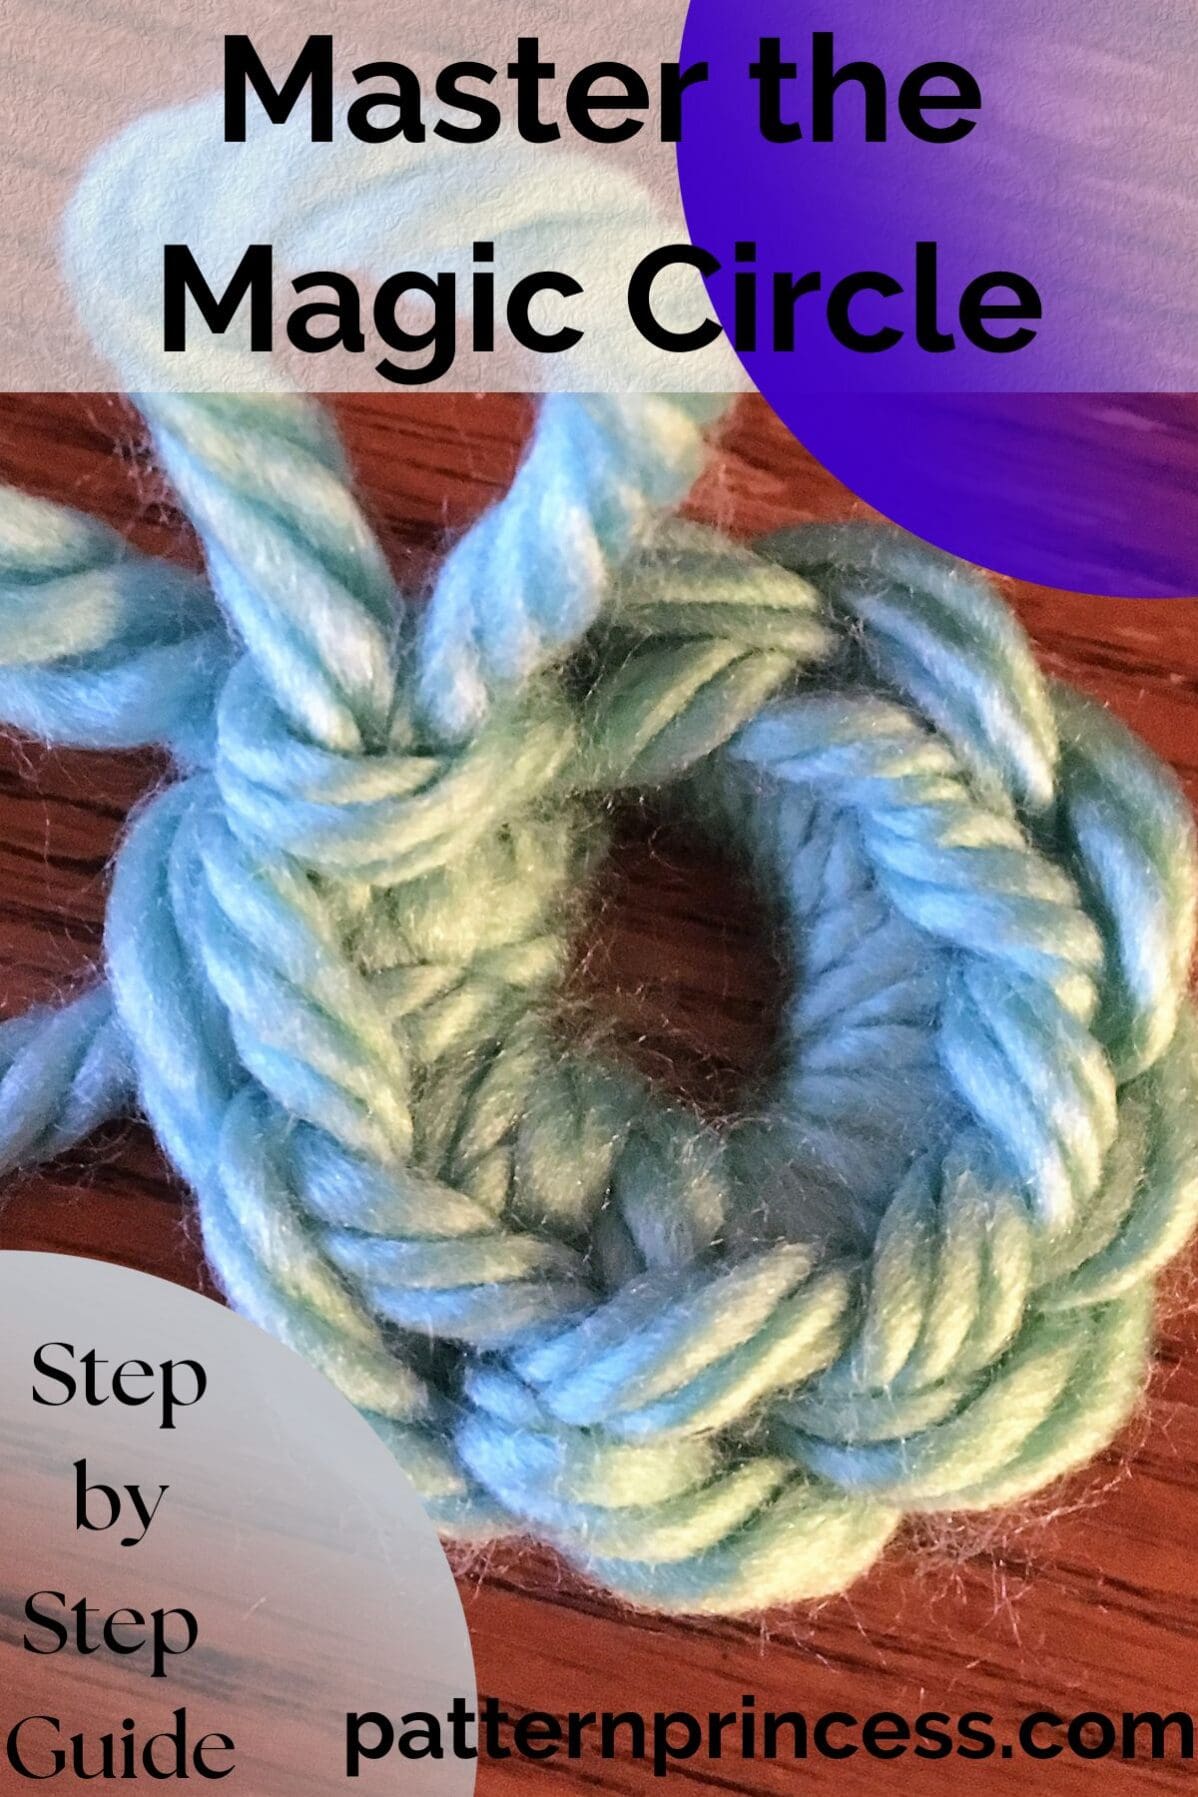
Step-by-step guide on how to master the magic circle; sometimes called the magic ring or magic loop. This magic loop creates and adjustable loop that can be loosened or tightened to make a small hole. Save the URL to this page and reference it often when you need to get your next crochet project started.
Crochet is a captivating and versatile craft that allows you to create beautiful and intricate designs using just a hook and yarn.
Among the numerous techniques in crochet, the magic circle, also known as the magic ring, is a fundamental skill that every crochet enthusiast should master. The magic circle is used to begin crocheting in the round, creating a seamless and tight center for projects like amigurumi, hats, and doilies.
Magic Circle, Magic Ring, Magic Loop
In this blog post, we’ll guide you through creating the magic circle, empowering you to unleash your creativity and embark on a crochet journey filled with enchanting creations.
Post contains affiliate links, and we earn commissions if you shop through the links on this page. For more information, please read the disclosure section under the About Us page.
How do you crochet a magic circle for absolute beginners?
I seem to continually forget how to do the magic circle. While I have watched videos on how to complete the beginning circle, I have to find videos again each time. Then I end up watching countless videos until I get a good one that I can understand. Therefore, I made this visual for me.
All I really need is a visual that will help me remember the steps involved in making this. It just shouldn’t be this difficult to master; right?
After a bit, I realized that this could also be a help to someone else.
Therefore, I decided to write up a step-by-step guide on how to master the magic circle. Since I think there are more people just like me, I hope that you save the URL to this page and reference it often when you need to get your next crochet project started.
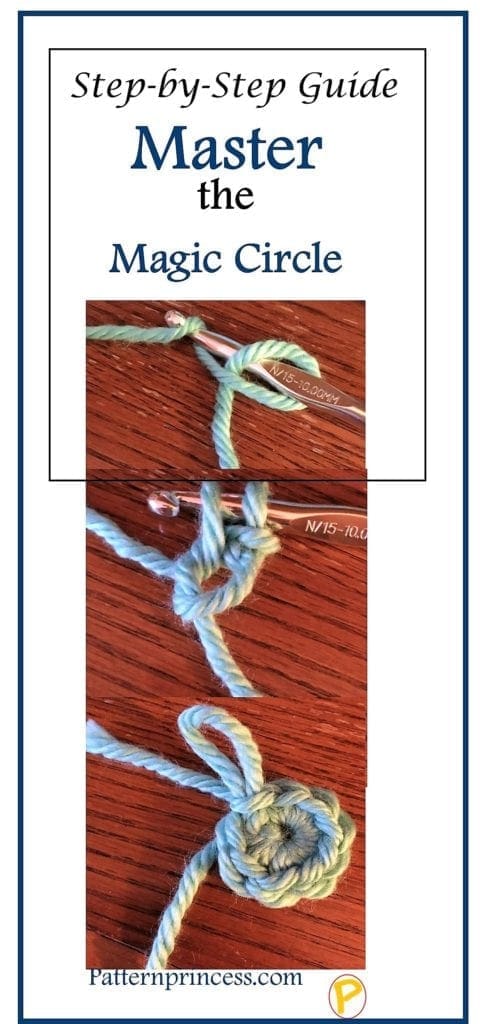
Step-by-step instructions and pictures to help demystify the magic circle, which is often called a magic ring too.
Thick Versus Thin Yarn – Consideration
This tutorial is done with a thick and chunky yarn to help show the process. However, you can also use a thin yarn to make the circle. If you use a really thin yarn, you may want to wrap the yarn around your finger a few times, as this will keep the yarn from breaking when you pull on the yarn to close the circle later on.
Uses for the Magic Ring Crochet Technique
Any circular crochet pattern that is circular would be a good choice for using this method to start the pattern like baskets, granny squares, and crochet amigurumi. Anytime you want to center of your work to be an adjustable slip ring that can be closed as needed after you have crocheted your required stitched in the center.
Sometimes a large unsightly hole in the center of your work just draws the eye to that and not he rest of the crochet stitches. That is the beauty of the magic ring.
However, I also enjoy making shawls and other items that are worked in the half round or semi-circle that use this method to start the pattern.
Additionally, some crochet patterns choose to use a beginning chain 4 closed with a slip stitch to start the crochet process for a circle. I have used both methods and they work just fine.
There are a few patterns that I have for free on the website that start with the magic circle. Please take a moment and look around. Here are links to a few though.
Easy Crochet Coasters for Beginners
You Will Find a How To Video after the photo tutorial further below.
Free Crochet Tutorials
Here you’ll some some great free crochet tutorials for beginners. Even if you have been crocheting for a bit, the list of intermediate crochet stitches continues to grow. These are blog posts on an entire crochet stitch tutorial we’ve used to make lots of crochet projects.
Directions on How to Master the Crochet Magic Circle Technique
Skill Level
Beginner
Materials
To begin, gather the following materials:
Yarn: Choose any yarn weight and color of your preference. However, if this is your first time, a medium-weight yarn is often recommended for beginners.
Crochet Hook: Use a crochet hook that corresponds to the recommended hook size for your yarn.
Scissors: For cutting the yarn when finishing the magic circle.
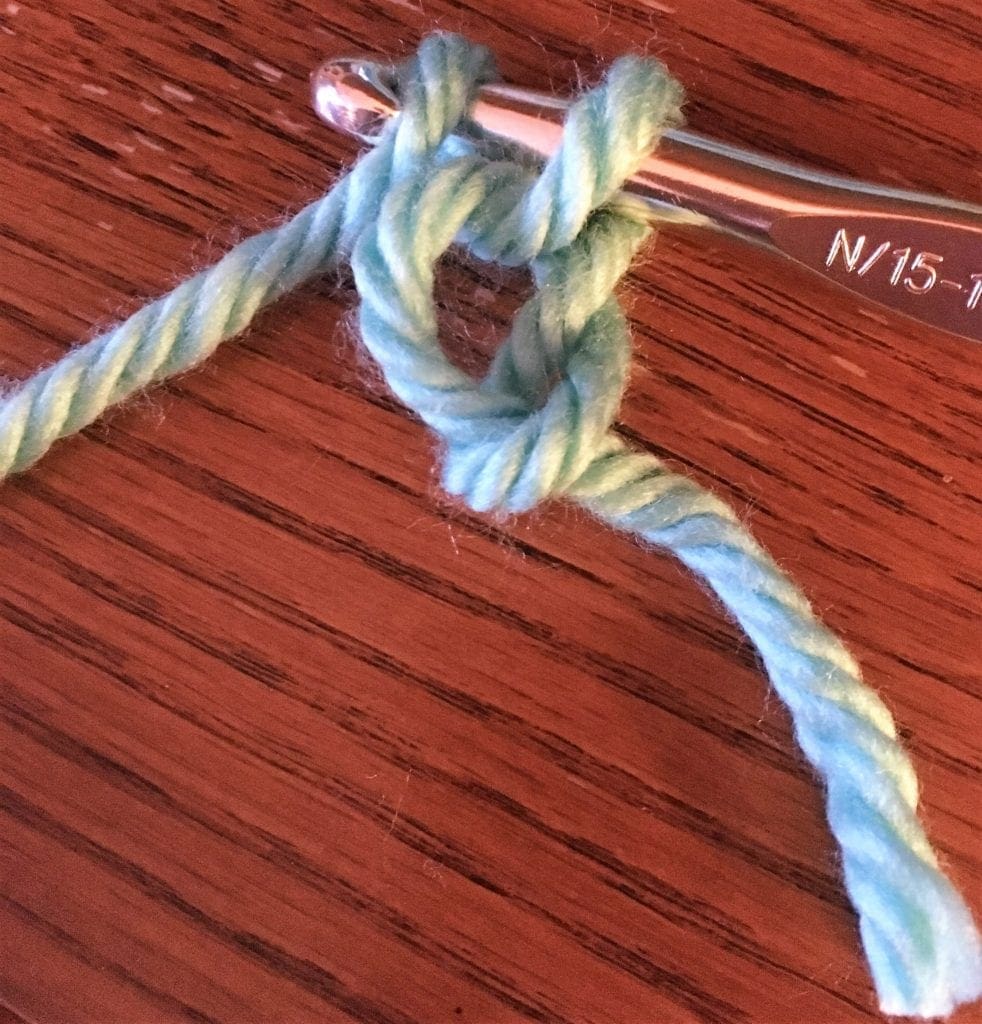
Step 1:
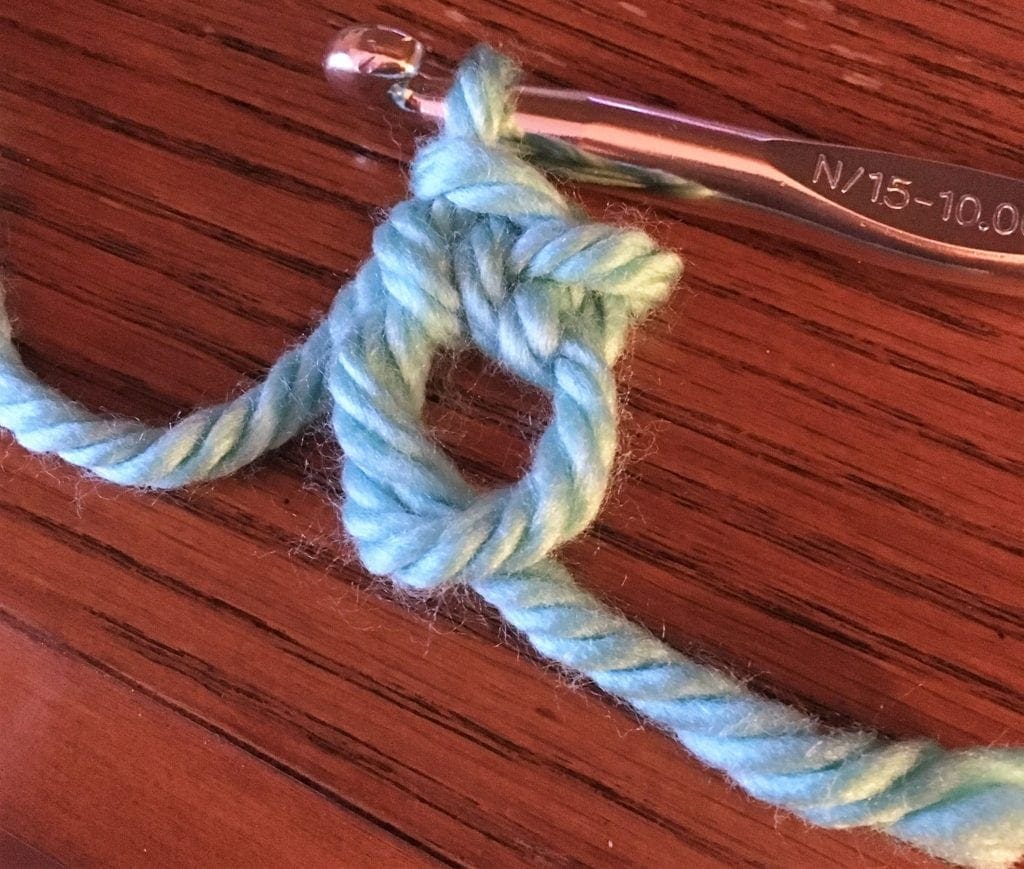
With your working yarn, make the starting loop formation by making a loop (circle) with the yarn.
Note: I am showing you how to magic circle loop on a flat surface today. If feel the best way is to loop the yarn around my three fingers on my left hand. It is a great help in holding the strand of yarn while I get the first stitch completed.

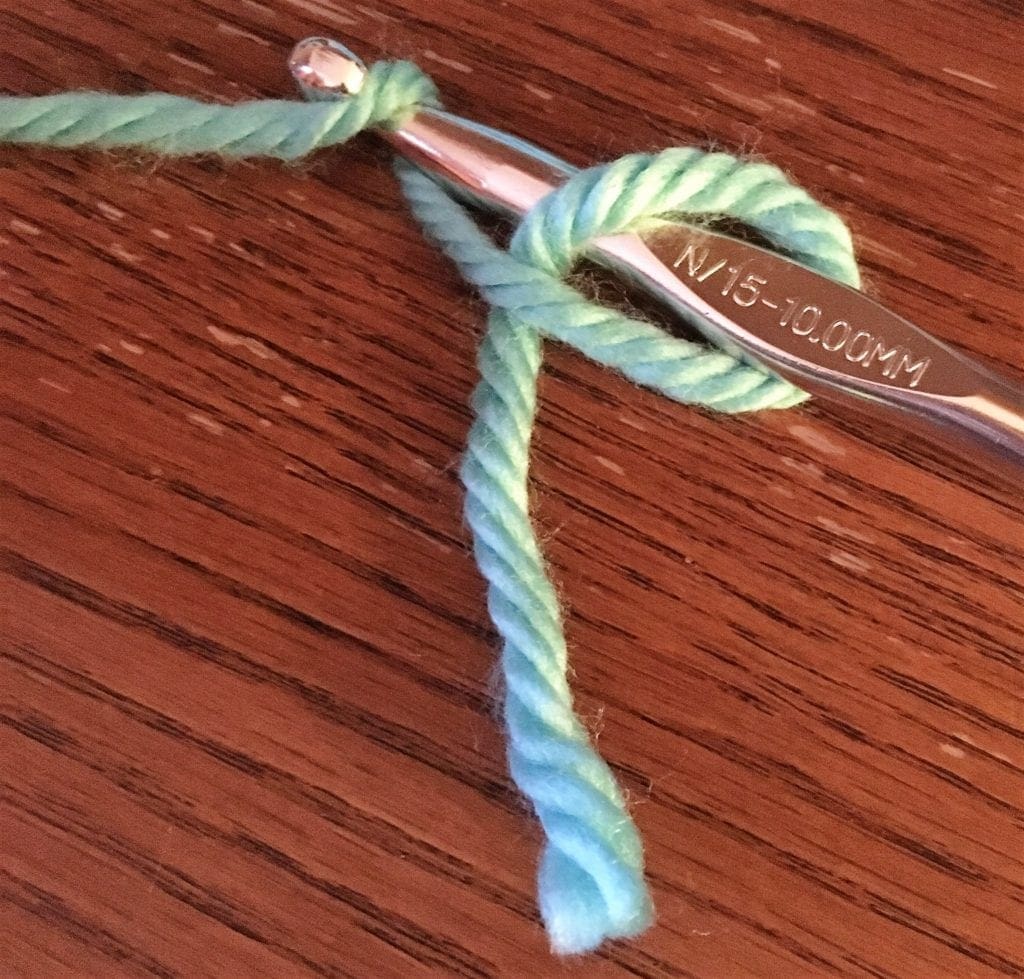
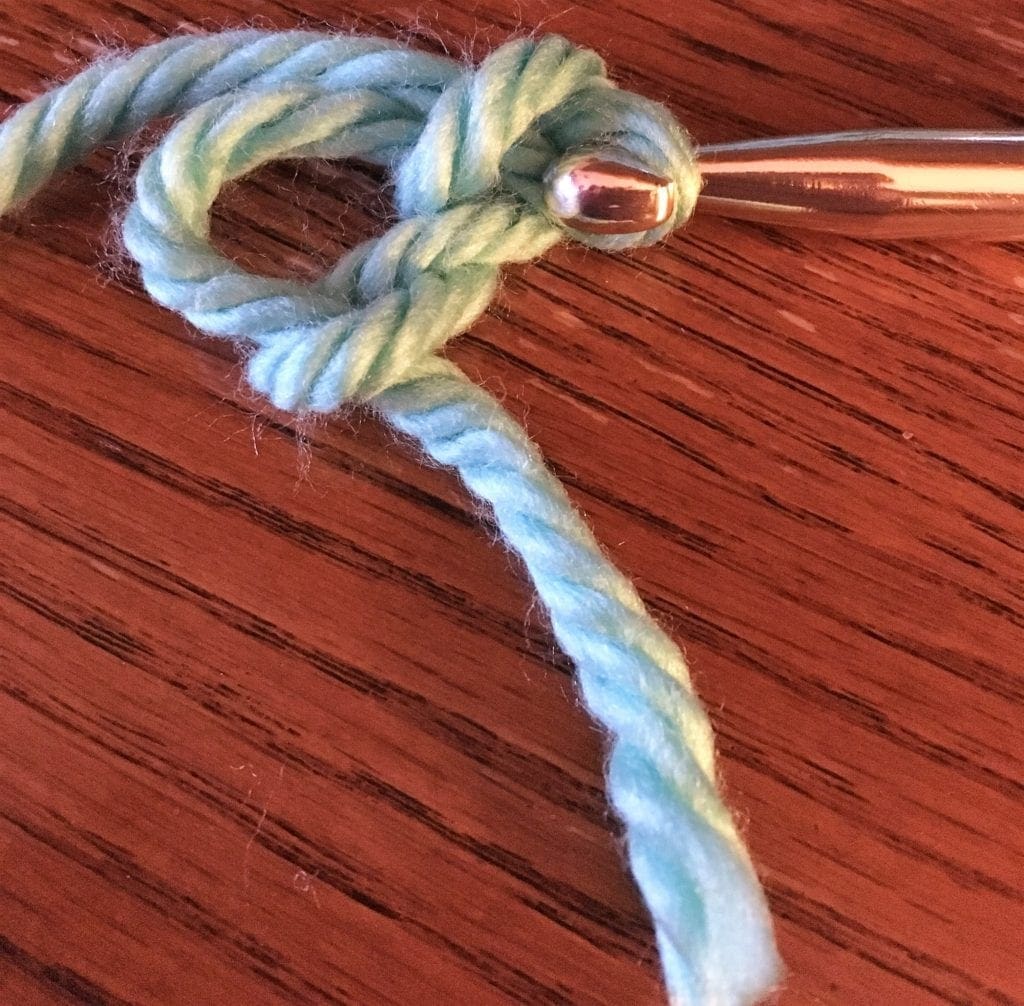
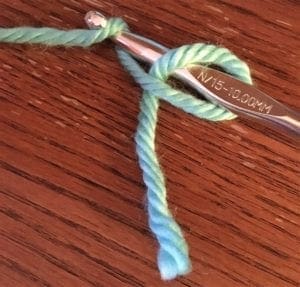
Step 2:
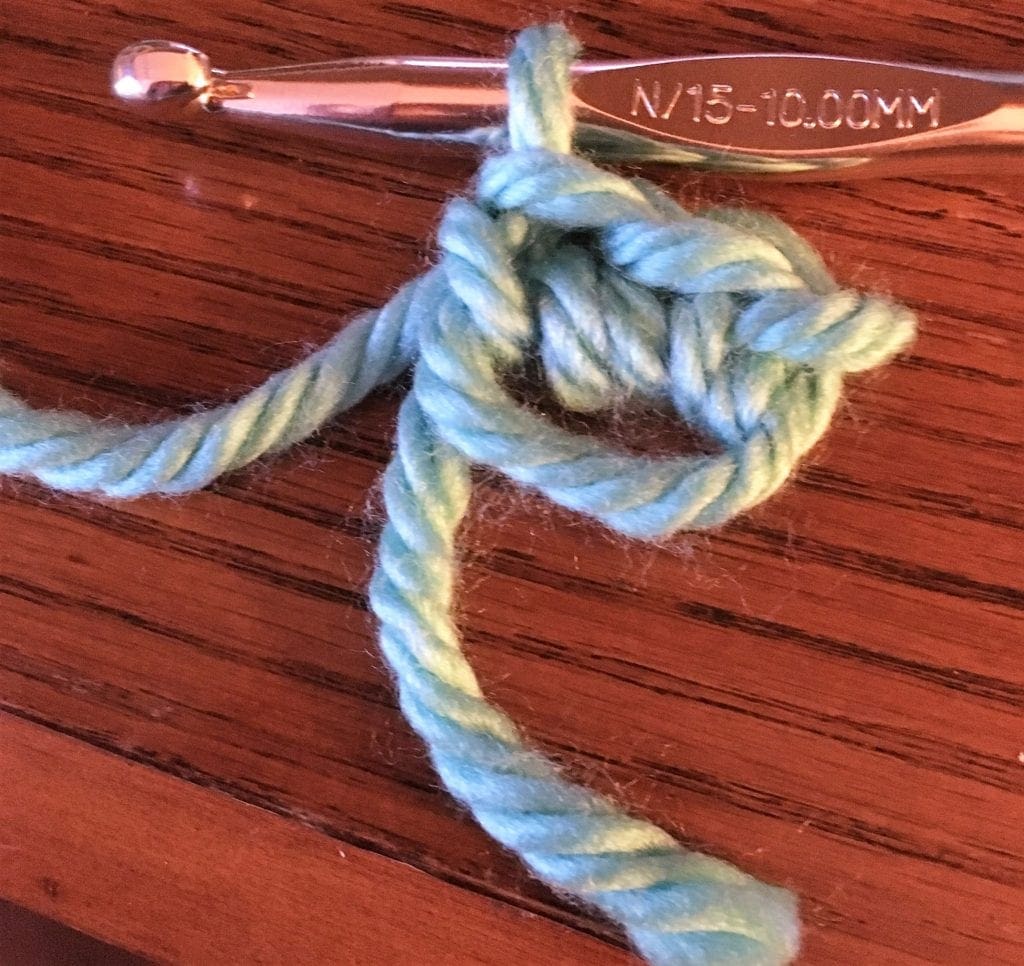
Put the crochet hook through the loop (circle) and pick up the yarn pulling through the loop from the back to the front.
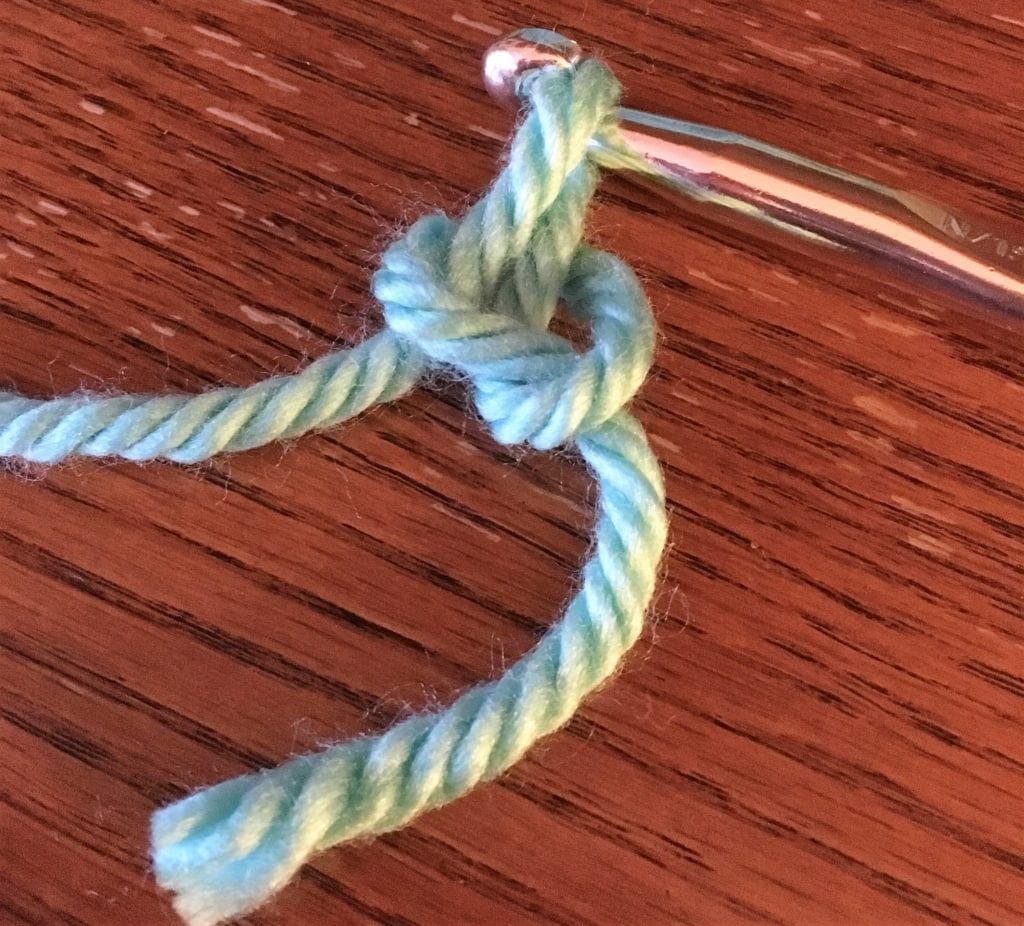
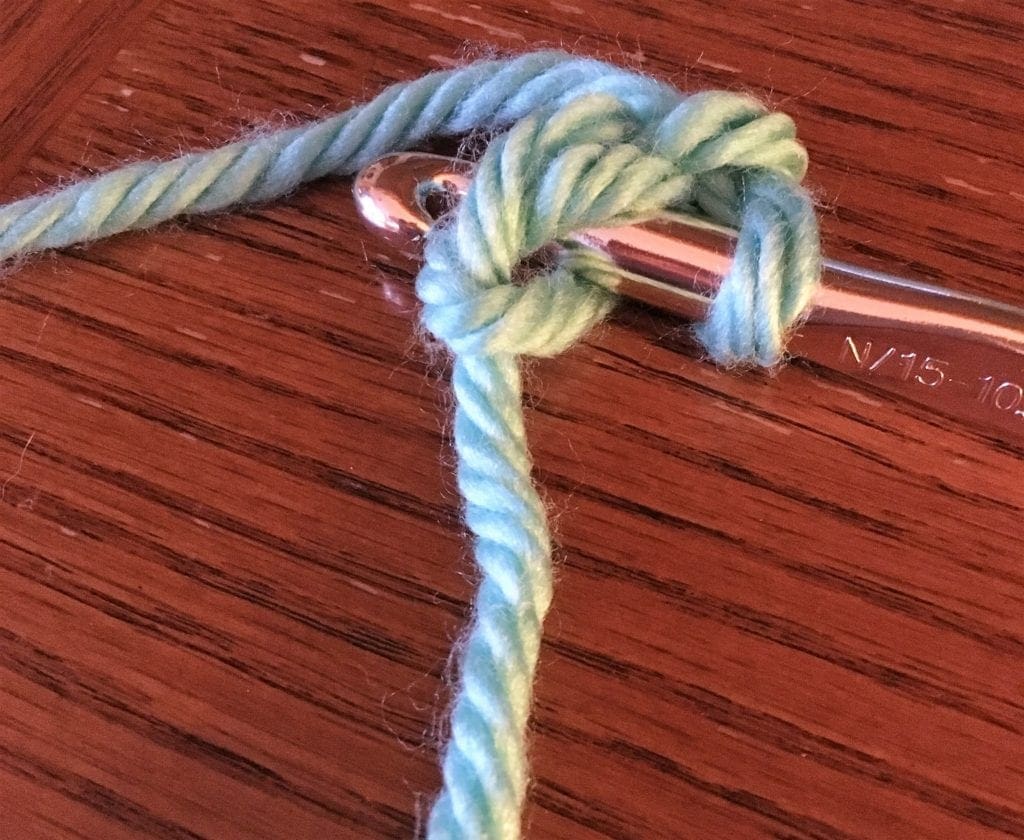
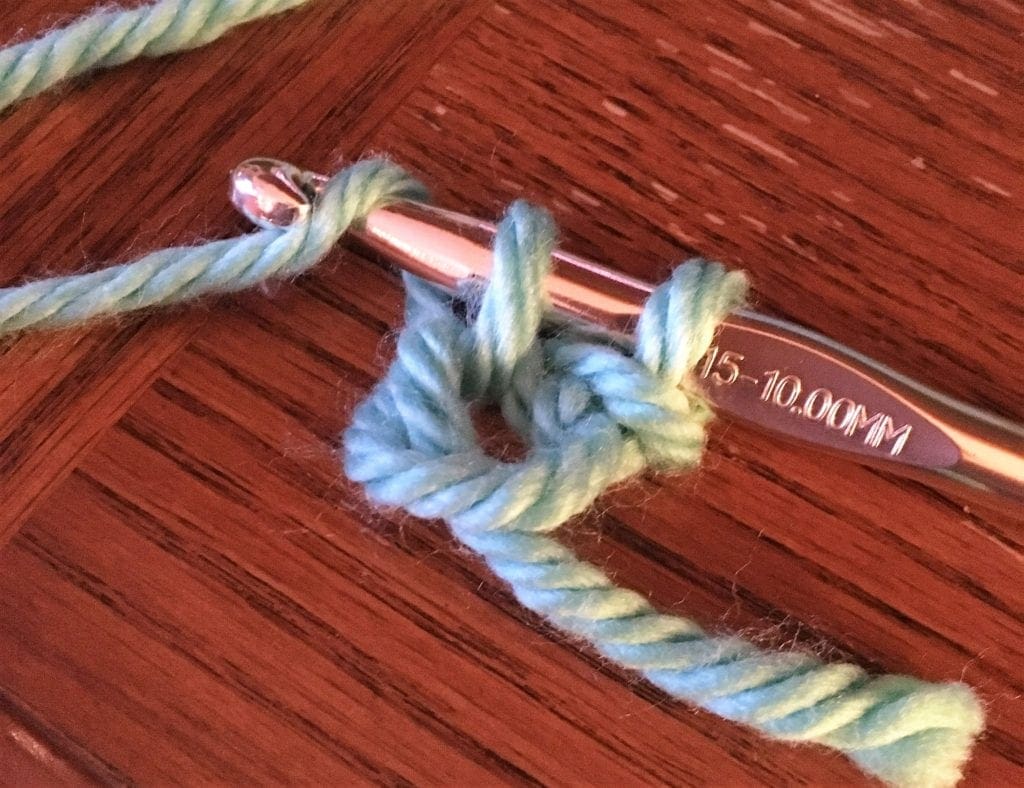
Step 3:
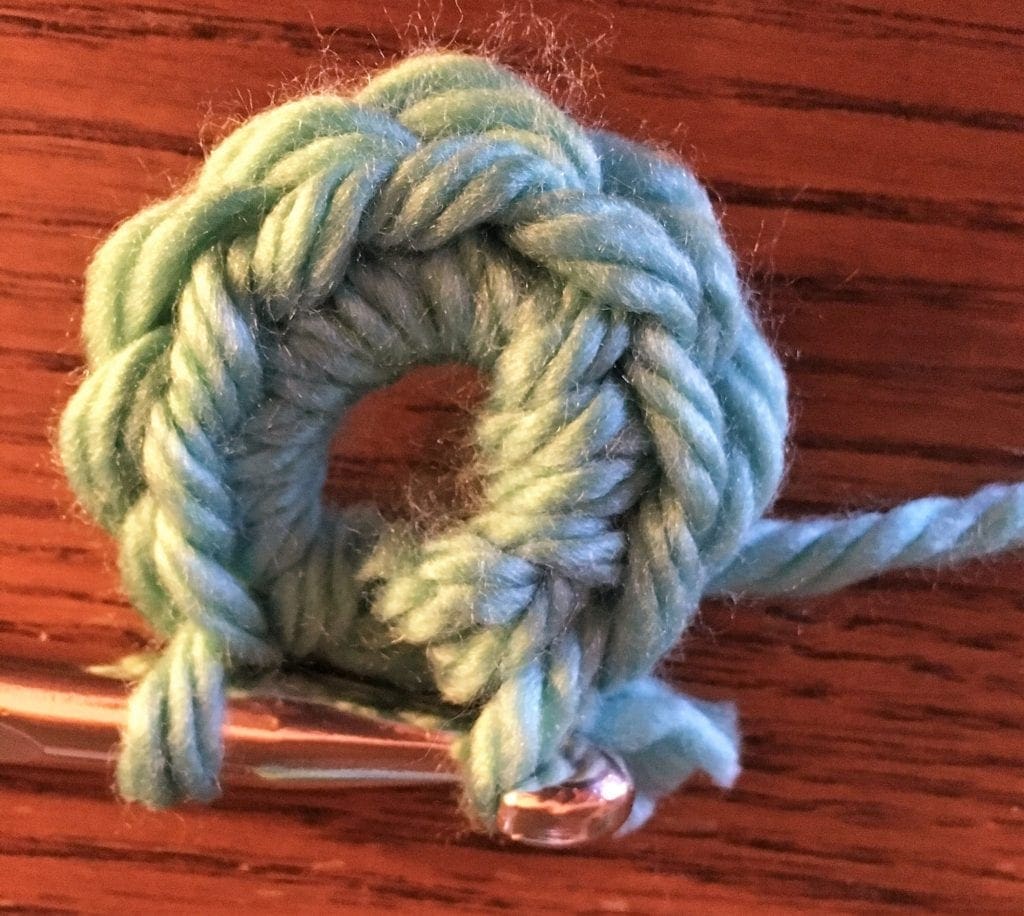
Insert the hook through the circle, yarn over and draw through. There should be two loops on the hook, as in the diagram below. Draw the loop that was just picked up through the first loop on the hook. You have created a chain one. However, this does not count as a chain one for your project.
This completes the magic ring.
That’s it! It is really that simple to make the adjustable ring. Now you are ready to add whatever crochet stitches your pattern uses, single crochet, double crochet, treble crochet, and so on.
In the continued example below, I have used the single crochet stitch to demonstrate how to work your stitches inside the ring and crochet over the yarn end too.
Continue with the Crochet Pattern Directions
Now you are set to continue to single crochet inside the circle.
It might sound funny; this will probably be the hardest part of the magic circle. Let’s add the first single crochet stitch, it is a great way to practice working in the center of the ring.
Step 1:
Insert hook through the circle, yarn over, and pull through the loop on the hook. You will have two loops on the hook.
The first picture shows the hook being inserted into the circle. The second picture shows putting the yarn over the hook. The last picture shows the completed first single crochet.
Recap: Yarn over and pull through both loops on the hook for the first single crochet.
Step 1:
Now, you can continue to add your first round of stitches as directed by your pattern instructions to the magic circle.
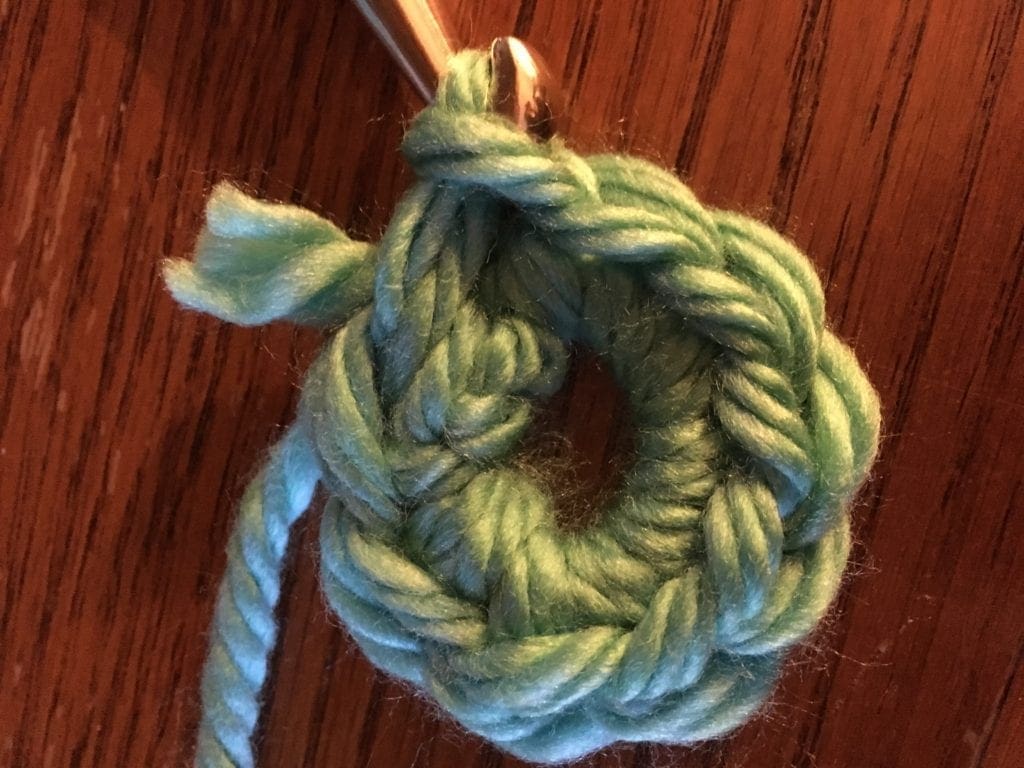
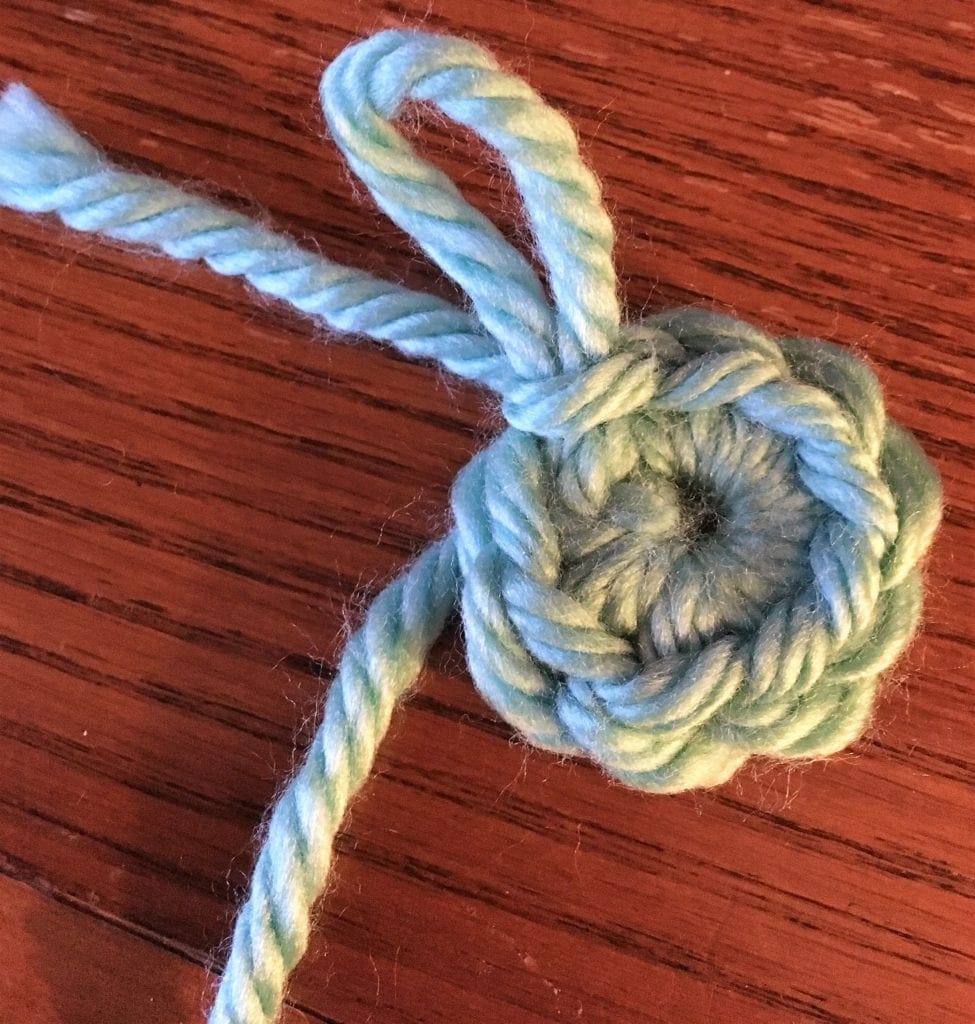
The pictures that follow show multiple single crochet stitches in the magic circle.
Step 3:
Complete the required number of single crochet stitches in the magic ring according to the pattern. Close the circle with a slip stitch. To complete the slip stitch, insert the hook into the first single crochet, yarn over and pull through that first single crochet and the loop on the hook.
Step 4:
Almost done!
At the end of the round of single crochet stitches, pull the short yarn piece to gather the circle closed. In the photo, you can see the small opening in the center after the yarn tail is pulled to close up the hole.
The magic circle is complete. Continue with pattern.
Note: The single crochet stitched is used in this tutorial. Once the magic circle is started, you can complete the required number of stitches with a half double crochet, double crochet, and so on…whatever the crochet pattern calls for.
Video Tutorial: How to Make the Magic Circle with 4 Ply and Chunky Yarn
Video Tutorial: How to Complete the Magic Circle Using Chunky Yarn
How to Crochet the Magic Circle Easy Tutorial
Equipment
- Crochet Hook: Use a crochet hook that corresponds to the recommended hook size for your yarn.
- Scissors: For cutting the yarn when finishing the magic circle.
Materials
- 1 yard Yarn: Choose any yarn weight and color of your preference. However, if this is your first time, a medium-weight yarn is often recommended for beginners.
Instructions
Step 1:
- With your working yarn, make the starting loop formation by making a loop (circle) with the yarn.

- Note: I am showing you how to magic circle loop on a flat surface today. If feel the best way is to loop the yarn around my three fingers on my left hand. It is a great help in holding the strand of yarn while I get the first stitch completed.

Step 2:
- Put the crochet hook through the loop (circle) and pick up the yarn pulling through the loop from the back to the front.
Step 3:
- Insert the hook through the circle, yarn over and draw through. There should be two loops on the hook, as in the diagram below. Draw the loop that was just picked up through the first loop on the hook. You have created a chain one. However, this does not count as a chain one for your project.
- This completes the magic ring.
- That’s it! It is really that simple to make the adjustable ring. Now you are ready to add whatever crochet stitches your pattern uses, single crochet, double crochet, treble crochet, and so on.


If you loved this post, share on your fave social media. This shows me that these types of posts are helpful – thank you!
I hope that you liked this pattern. If you are looking for more ideas for free crocheted projects, here are a few others you may enjoy.

You can find Victoria crocheting, quilting, and creating recipes. She has cooked in restaurants for over 20 years, including many larger parties. She learned to crochet when she was just 11 years old and has been crocheting ever since; over 50 years now. Over 40 years ago, she loved her first class in sewing and continues to hone her skills in quilting. Many have enjoyed the handmade gifts over the years. In her professional career, she has worked in management in a wide variety of businesses including higher education as a dean of a division. All the while attending college part-time to achieve her doctorate in higher education with an emphasis in e-learning.
Thank you for the visual tutorial, it helped a lot.
So glad to hear it helped. Have fun crocheting.
Vicky
Finally a Magic Circle that works !!! It truly is magic !!! I have tried SO many and could never get the hole to close all the way. Thank you ????
I am so glad this worked for you. Thanks for taking the time to let me know.
Vicky
Pingback: Ombre Crescent Moon Shawl - Pattern Princess
Pingback: Footprints in the Sand Beach Shawl - Pattern Princess
Thanks!! this magical circle is just what I needed to be able to make it! Thanks a million!
That is just wonderful news! Thank you so much for letting me know. Enjoy Crocheting.
Thank you! I was looking for some visual I could save for an offline reference. I have to look up a video Every. Single. Time. I don’t know why my mind refuses to remember how to do this! Magic ring dyslexia, I think.
This is perfect! I only wish your tutorial was available for a pdf download. Thank you!
I appreciate your feedback. I too like to have a paper copy that I can reference as needed. Based on your feedback, I have made this available as a PDF download through Etsy. I added two links in the blog post to the PDF. Enjoy making something beautiful.
Your way is easier than what I have been using! My only question is how to cope with such a short end….not enough to weave in. Doesn’t it come loose?
Thank you for taking the time to leave a comment. I am so glad that you find this method useful. I am all about easy. Once I pull the magic circle closed, since I did the crochet over the tail, it is nicely secured for me. I have not had it come out yet. However, if you would feel more comfortable having a longer tail that would be woven in, that would be a good idea too. Have a wonderful time making your next project.
Thank you for this easy to follow magic circle tutorial. I have watched numerous videos, and found them difficult to keep up with, but your written instructions and pictures are great ?
Oh my gosh! what a compliment. You are too kind. I am trying to share with others to help you enjoy crocheting as much as I do. Glad it is helping. Please make sure to come visit again. I hope you are inspired to make something beautiful too.
Finally! A magic circle tutorial that actually makes sense! I’m going to break out my yarn now and give it a whirl. Thank you
Thank you so much! please do. If you have any questions, please let me know. Enjoy making your next project!