Last updated on January 19th, 2026 at 10:13 pm
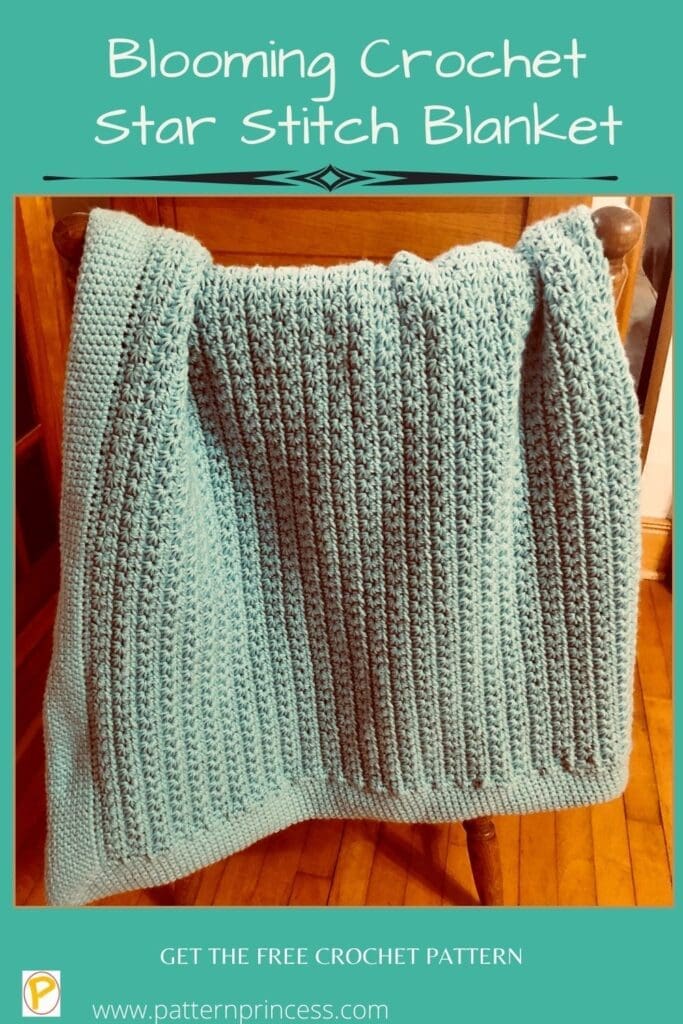
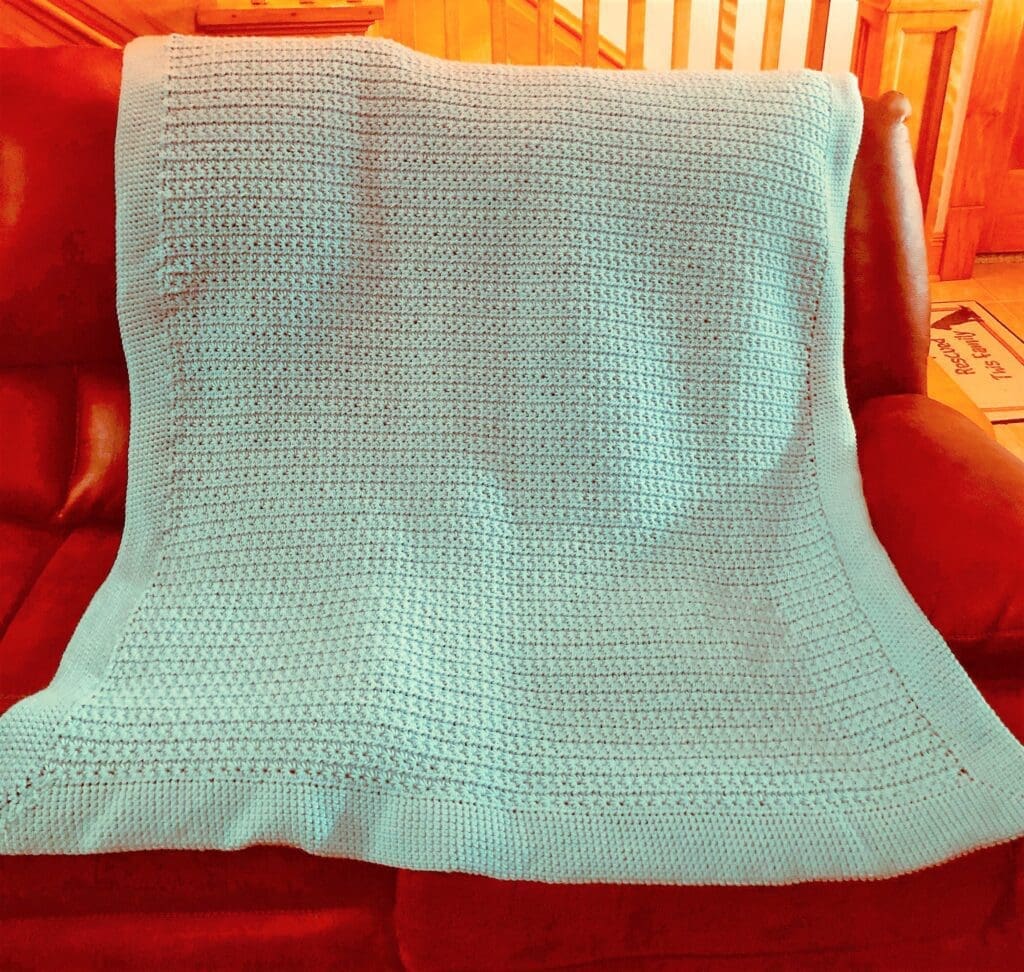
I am in love with this blooming crochet star stitch blanket. If you can crochet basic stitches like the single crochet and half double crochet, you can make this beautiful crochet pattern too.
This pattern comes with a link to my step-by-step photo tutorial, written tutorial, and a video tutorial from my YouTube channel on how to crochet the star stitch.
Chunky Easy Crochet Blanket Pattern
This stitch is a bit of a yarn eater, which can be a good thing if you are trying to use up your yarn stash. However, when completed, it creates a rather chunky blanket, and I just used a Caron One Pound yarn for this project. If you used an even thicker yarn, I could just imagine the thick luxurious results you would have. I think I will have to add that to my bucket list.
Post contains affiliate links, and we earn commissions if you shop through the links on this page. For more information, please read the disclosure section under the About Us page.
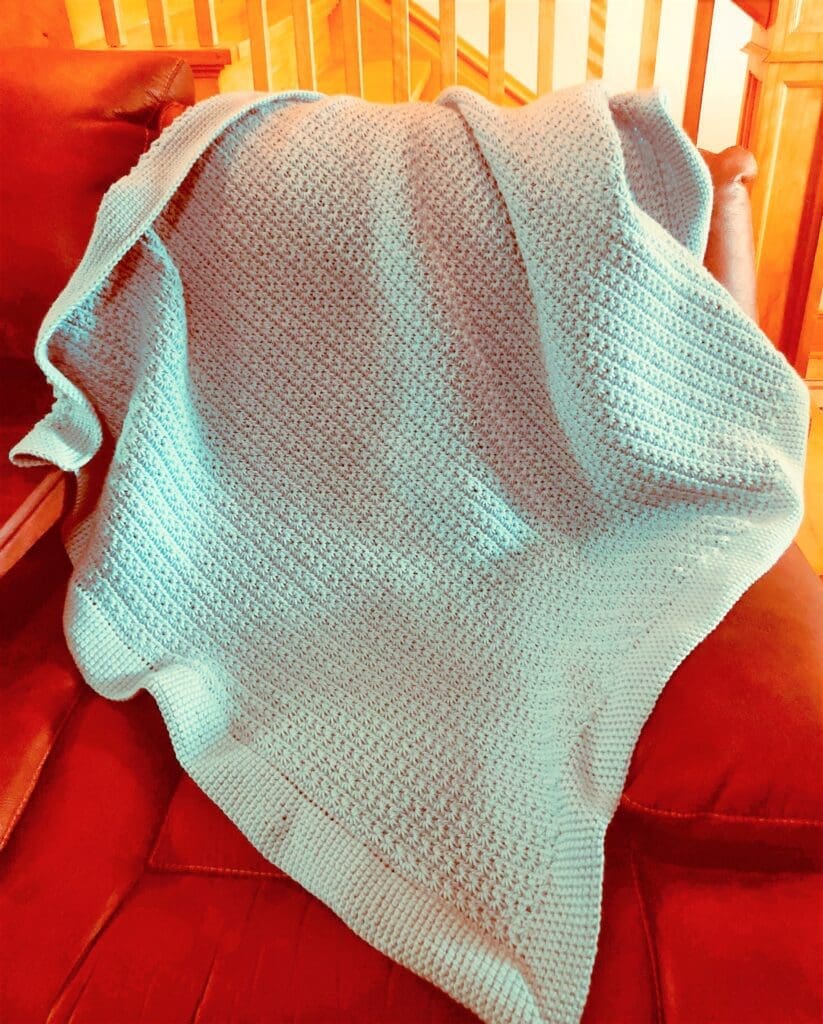
The size of this crochet blanket is perfect for covering up while sitting up. You can decrease the initial chain stitches to make a crochet baby blanket or add to them to make a blanket large enough to cover you from head to toe.
Solid Color of Yarn
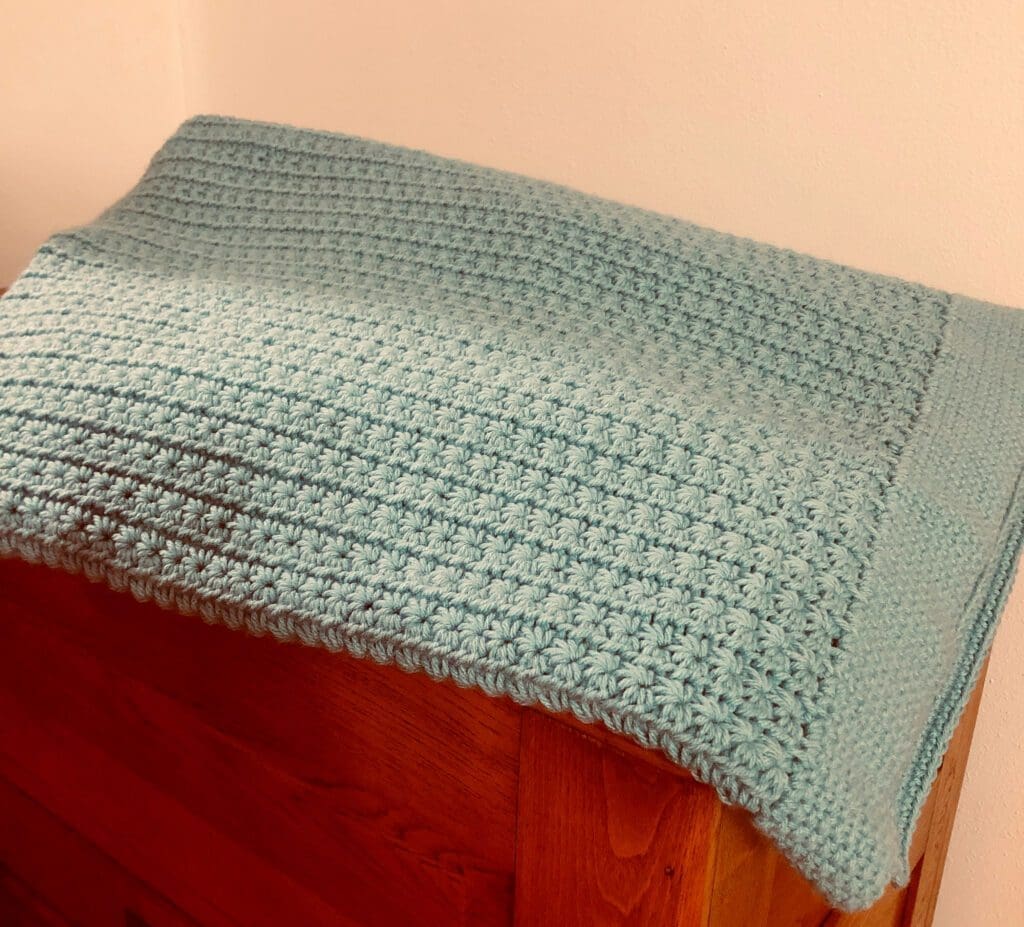
Today I made this Afghan out of one solid color of yarn. The soft sage is supposed to look a bit like a green teal; however, when I was trying to take photos, it was like a chameleon and the yarn hue would change color slightly. No matter, the real thing is a nice size, full of beautiful texture, and perfect for covering up with on a chilly evening.
This would be a lovely crochet pattern to change colors every few rows for additional visual appeal.
What is the Star Stitch?
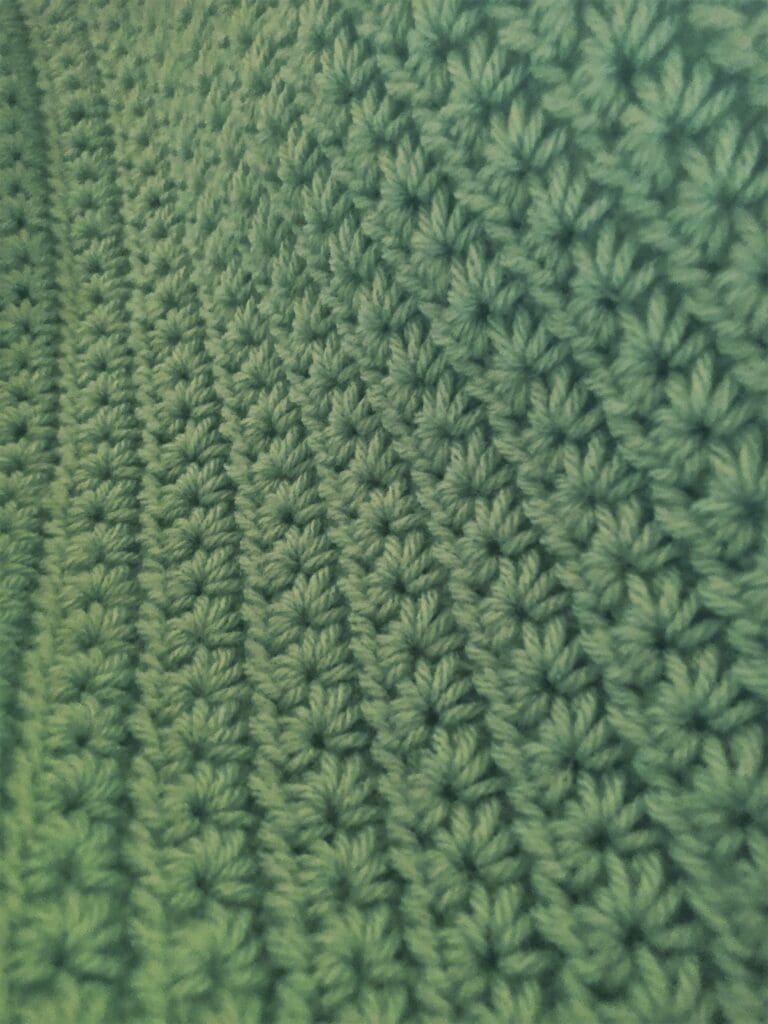
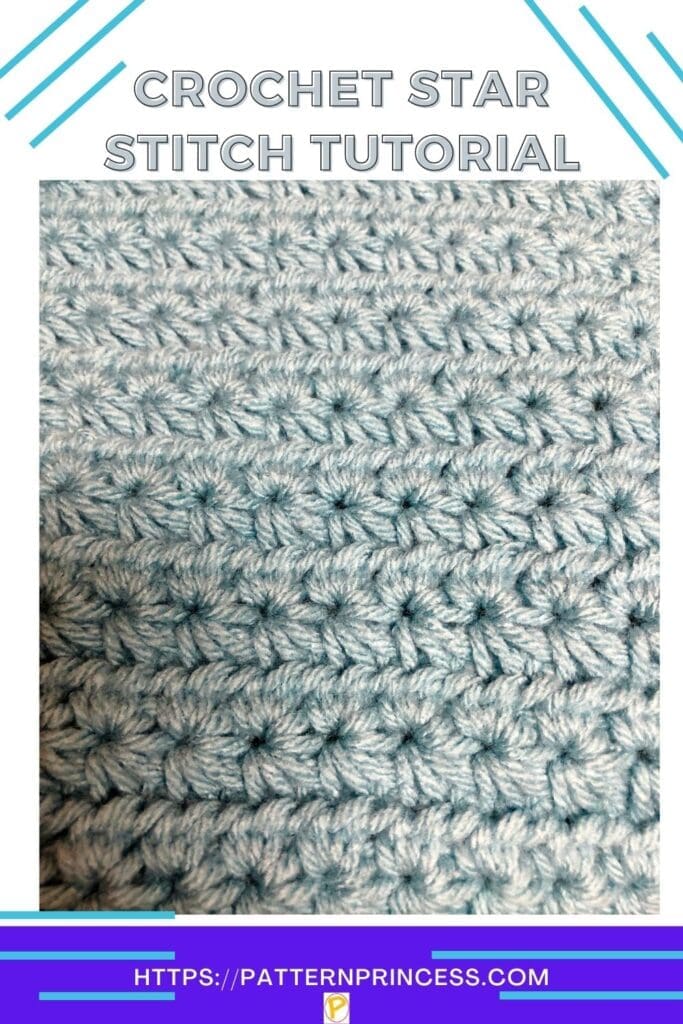
The star stitch is made using a two-row repeat of stitches. One row is a single crochet row and the other is a half double crochet row. The result is a gorgeous flower-like pattern across the entire row. The stitch is simple and looks amazing.
For a few years now, I have been longing to learn how to crochet this beautiful stitch. A few months ago, I finally made it a goal and I am so glad I did.
It is so much easier than it looks. If you are an advanced beginner, I am confident that you too can master this stitch. It is just a two-row repeat and the hardest part is first figuring out exactly where to put the crochet hook. Once you get the stitch placement down pat, you will be sailing along.
When I was learning how to work this star stitch though, I found that there were a few variations on beginning and ending rows and the stitches used in the second row. After watching countless hours of video and browsing through photo tutorials and written patterns, I finally landed on the one that I think looks the best.
What Else is the Star Stitch Called?
You might see different names for this stitch because it resembles a flower or a spiked style stitch. Therefore, I have found that these other names are often interchanged with the star stitch, daisy stitch, Marguerite stitch, or spiked cluster.
Further, I wondered what Marguerite had to do with this and I found out that it is a term used for Argyranthemum, a genus of plants in the daisy family. Now that makes sense why this name would coincide.
How do you crochet a star stitch step by step?
Learn how to work the crochet star stitch with this tutorial, which includes a free video tutorial and step-by-step photos with written instructions. Additionally, I will include links to the star stich crochet tutorial on my Youtube channel for both right hand and left hand crocheters below the written pattern.
How many chains do you need for a star stitch?
Star Stitch patterns generally require an odd number of stitches. You should have enough chains to be able to complete a single crochet 5 together for each star stitch.
Directions: Blooming Crochet Star Stitch Blanket
Skill Level
I would put this skill level at Advanced Beginner. You should be able to crochet the single crochet and half double crochet stitches.
Size
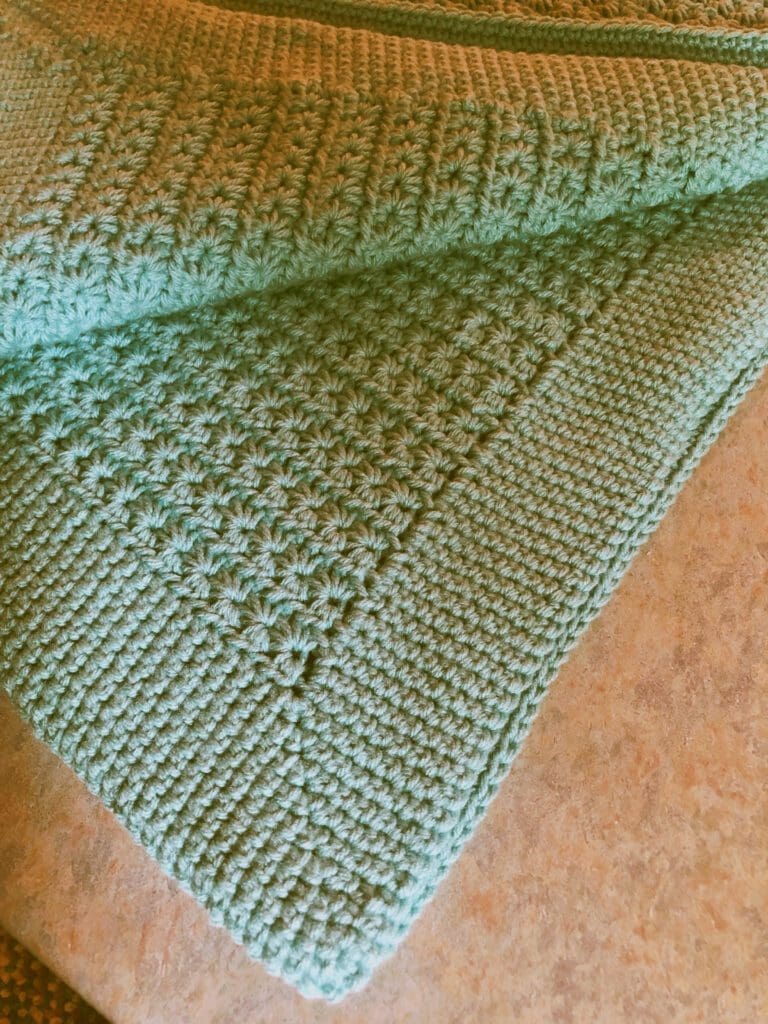
58-inches long X 43-inches wide with the crochet border. The width of the border itself is 2 ½-inches wide.
Make this wider or narrower by using multiples of 2 + 1.
Make this longer or shorter by adding or subtracting the rows worked in the pattern.
Gauge
12 single crochet for every 4 inches.
Materials
Soft Sage Caron One Pound (3 Jumbo Skeins of Yarn) 812 yards each for a total of 2,300 yards. There was about 1/3 of the last skein left. If you are not able to find the yarn locally, you can find it here.
Crochet Hook Size I 5.5mm
Tapestry Needle
Scissors
Abbreviations
CH = Chain
HDC = Half Double Crochet
SC = Single Crochet
SC5Tog = Single Crochet 5 Together
SL ST = Slip Stitch
ST = Stitch
STs = Stitches
YO = Yarn Over
[ ] Repeat Across
Special Stitches
Single Crochet 5 Together (SC5Tog)
Insert hook in next ST and draw up a loop. Repeat these 4 more times. Yarn over and draw the yarn through all 6 loops on the hook.
You can find other crochet stitch tutorials.
Pattern Notes
This pattern requires an uneven number of chains, my starting chain is 141.
The star stitch pattern is quite easy to crochet once you understand where to insert the hook to make your sc5tog.
Row 1 is not necessary for working the star stitch; however, I added the row of single crochet stitches across to have a nice foundation row of stitches for adding the crochet border.
Chain 1 at the end of each row does not count.
Work with loose even tension. This helps the star stitch form nicely and have a bit more symmetrical look.
Crochet Pattern Directions
Begin
Chain 141
Row 1
In the 2nd CH from the hook, work a SC and in each ST across. Turn
Row 2
CH 3, insert the hook in the 2nd CH from the hook, YO and pull up a loop. Insert the hook in the next CH, YO and pull up a loop. There should be 3 loops on the hook. Insert the hook in the next ST, YO and pull up a loop. There should be 4 loops on the hook. Insert the hook in the next ST, YO and pull up a loop. You should have 5 loops on the hook. Insert the hook in the next ST, YO and pull up a loop. There should now be 6 loops on the hook. YO and pull through all 6 loops on the hook. CH 1 to complete the star. (Note: that was a SC5 Tog).
Begin working the next star stitch.
[In the eye or center hole that was just made, insert your hook, YO and draw up a loop. Insert the hook into the space between the last two STs from the first star. YO and draw up a loop. There will now be three loops on the hook. Next, insert the hook into the same stitch where the last stitch was worked for the previous star stitch. YO and draw up a loop.
There are now four loops on the hook. Insert the hook in the next ST, YO draw up a loop for five loops on the hook. Insert the hook in the next ST, YO draw up a loop for six loops on the hook. YO and draw the yarn through all six loops on the hook. Finish the star with a CH 1 to close the second star.] Repeat between the [ ] across the row to continue making star stitches. When you get to the end, make one HDC in the last stitch. CH 1, turn.
Row 3
In the eye of the star stitch from the row below, crochet two HDC stitches. Continue working 2 HDC in each star stitch eye across. End with a HDC in the last ST. Turn
Rows 4 -111
Repeat rows 2-3 until your desired length is reached.
NOTE: I made sure to end on the half double crochet stitch row so the last star stitch would be complete before adding the border.
Finishing
Weave in yarn ends and remove excess before proceeding onto the crochet border
Crochet Border Directions
Round 1
CH 1 (Does not count as a ST). SC in each ST around with 3 SC in each corner ST, join with a SL ST into the first SC. Hint: When working in the SC STs on the sides, I eased the stitches around by crocheting about 3 SC for every 2 rows). This helped ensure that there were not too many stitches causing the sides to ripple or too few causing a sparce look.
Round 2
CH 1 (Does not count as a ST). SC in the next ST and in each ST around with 3 SC in each corner ST. Join with a SL ST into the first SC.
Rounds 3 – 10
Repeat Round 2
Finishing
Weave in the yarn ends and remove any excess yarn.
Step-By-Step Star Stitch Tutorial
Youtube Video Tutorial Links
Right Hand Video Tutorial
Left Hand Video Tutorial
Make sure to check out other free crochet patterns on my site. Hope you find another one to create.

You can find Victoria crocheting, quilting, and creating recipes. She has cooked in restaurants for over 20 years, including many larger parties. She learned to crochet when she was just 11 years old and has been crocheting ever since; over 50 years now. Over 40 years ago, she loved her first class in sewing and continues to hone her skills in quilting. Many have enjoyed the handmade gifts over the years. In her professional career, she has worked in management in a wide variety of businesses including higher education as a dean of a division. All the while attending college part-time to achieve her doctorate in higher education with an emphasis in e-learning.
