Last updated on January 19th, 2026 at 10:04 pm
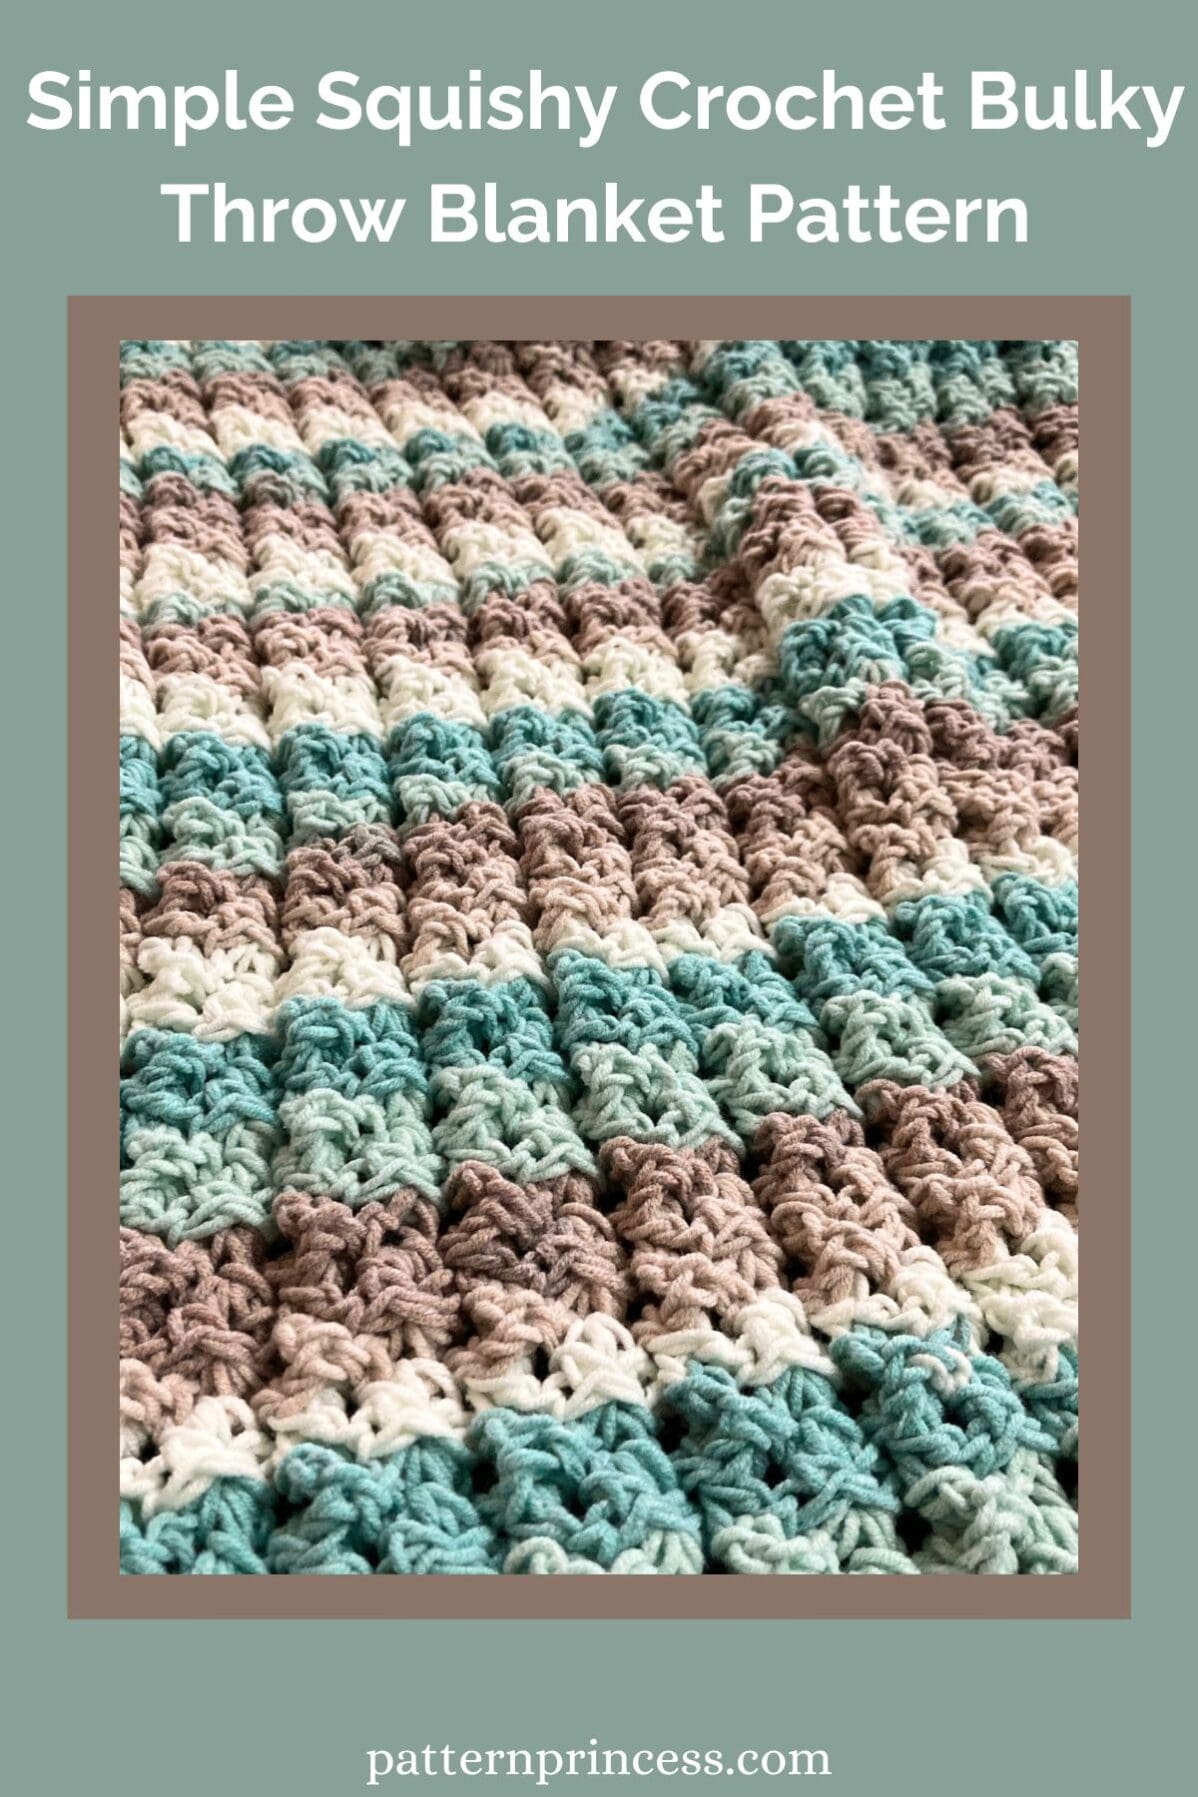
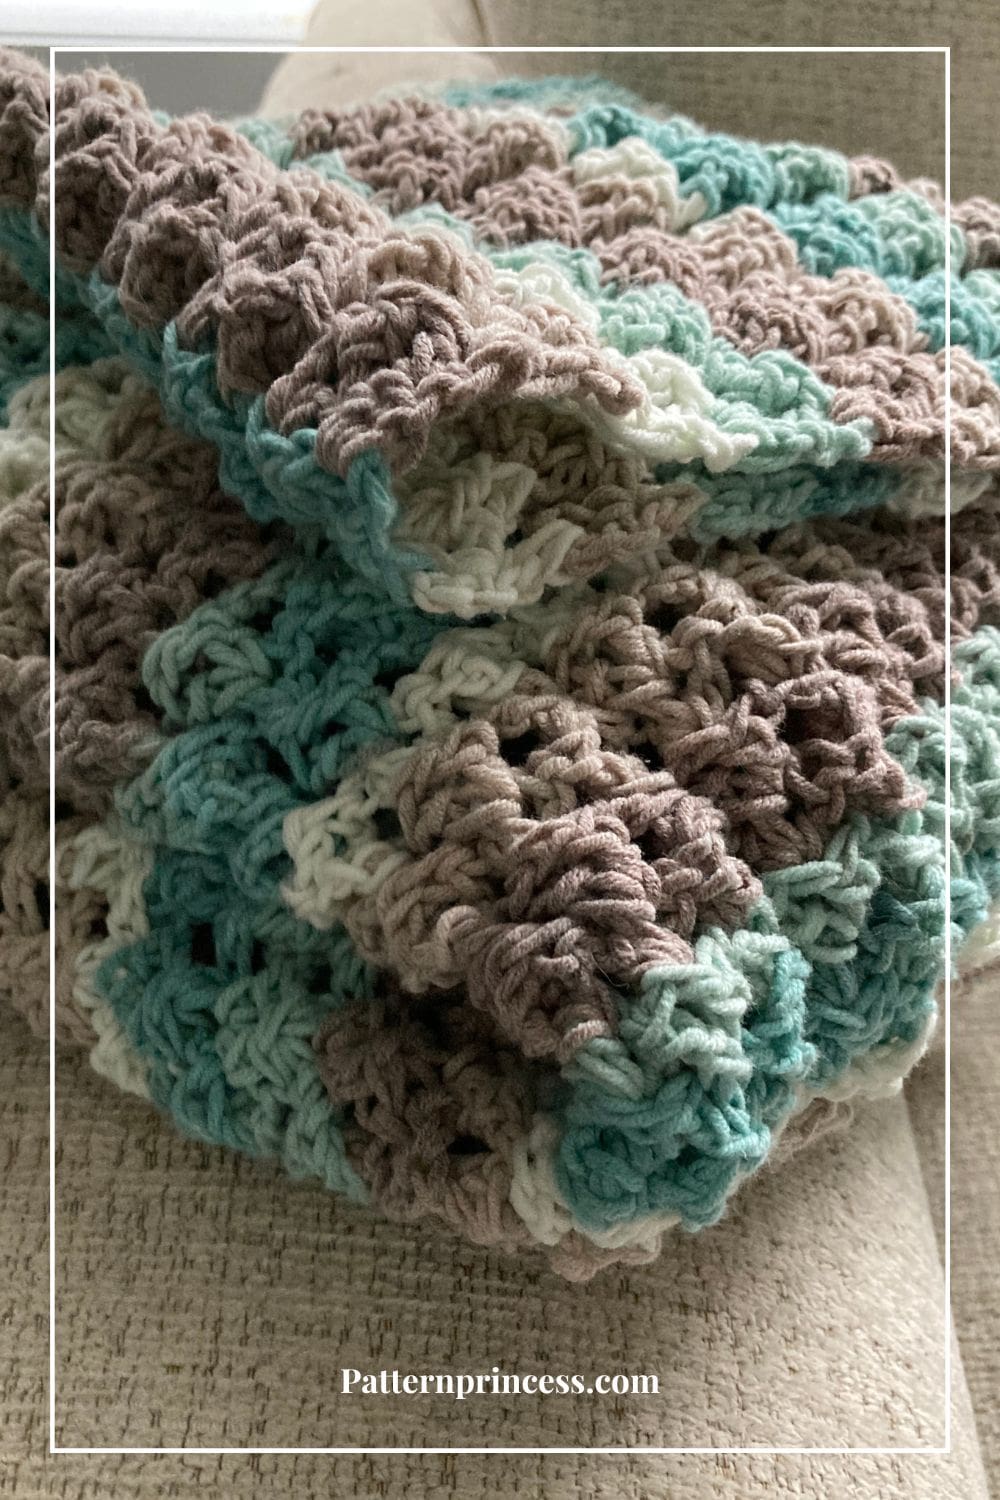
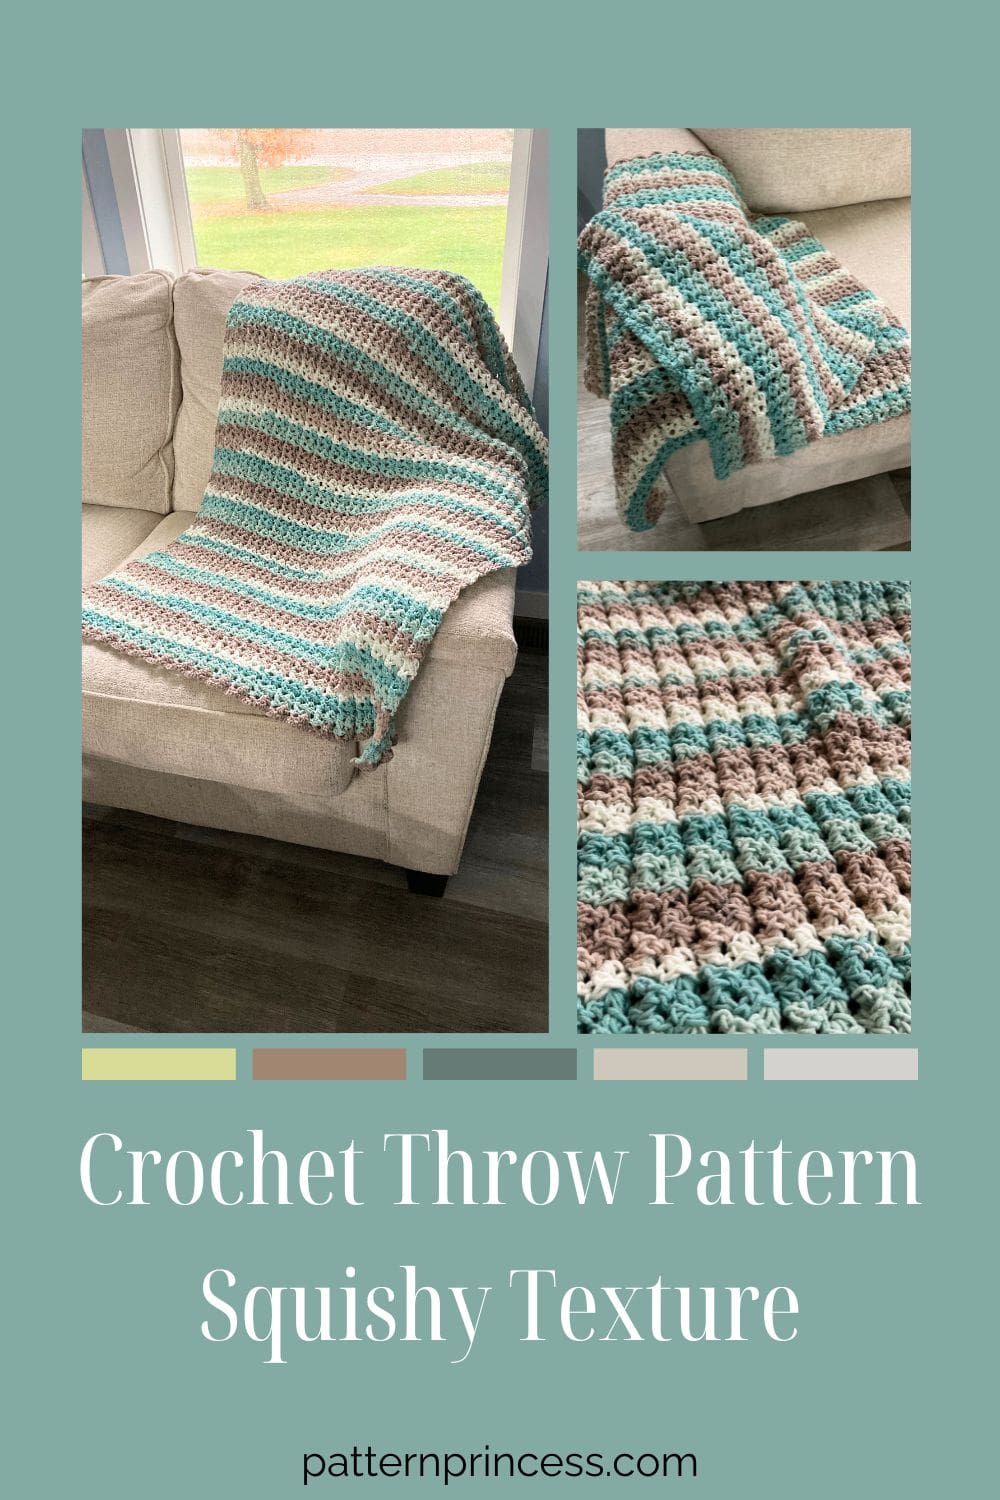
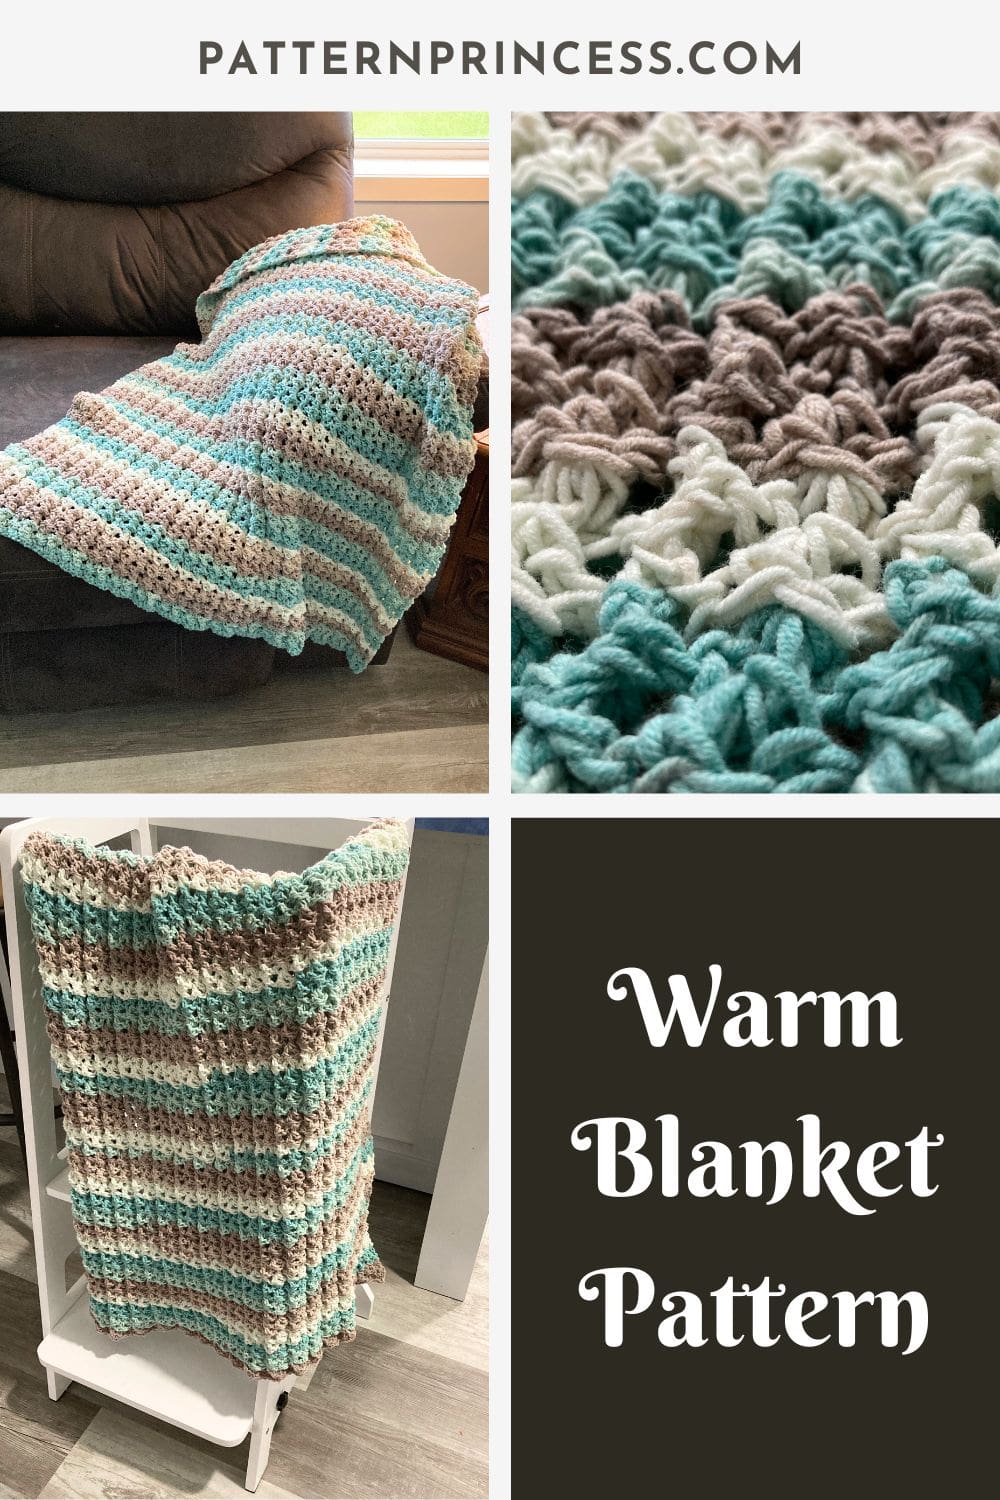
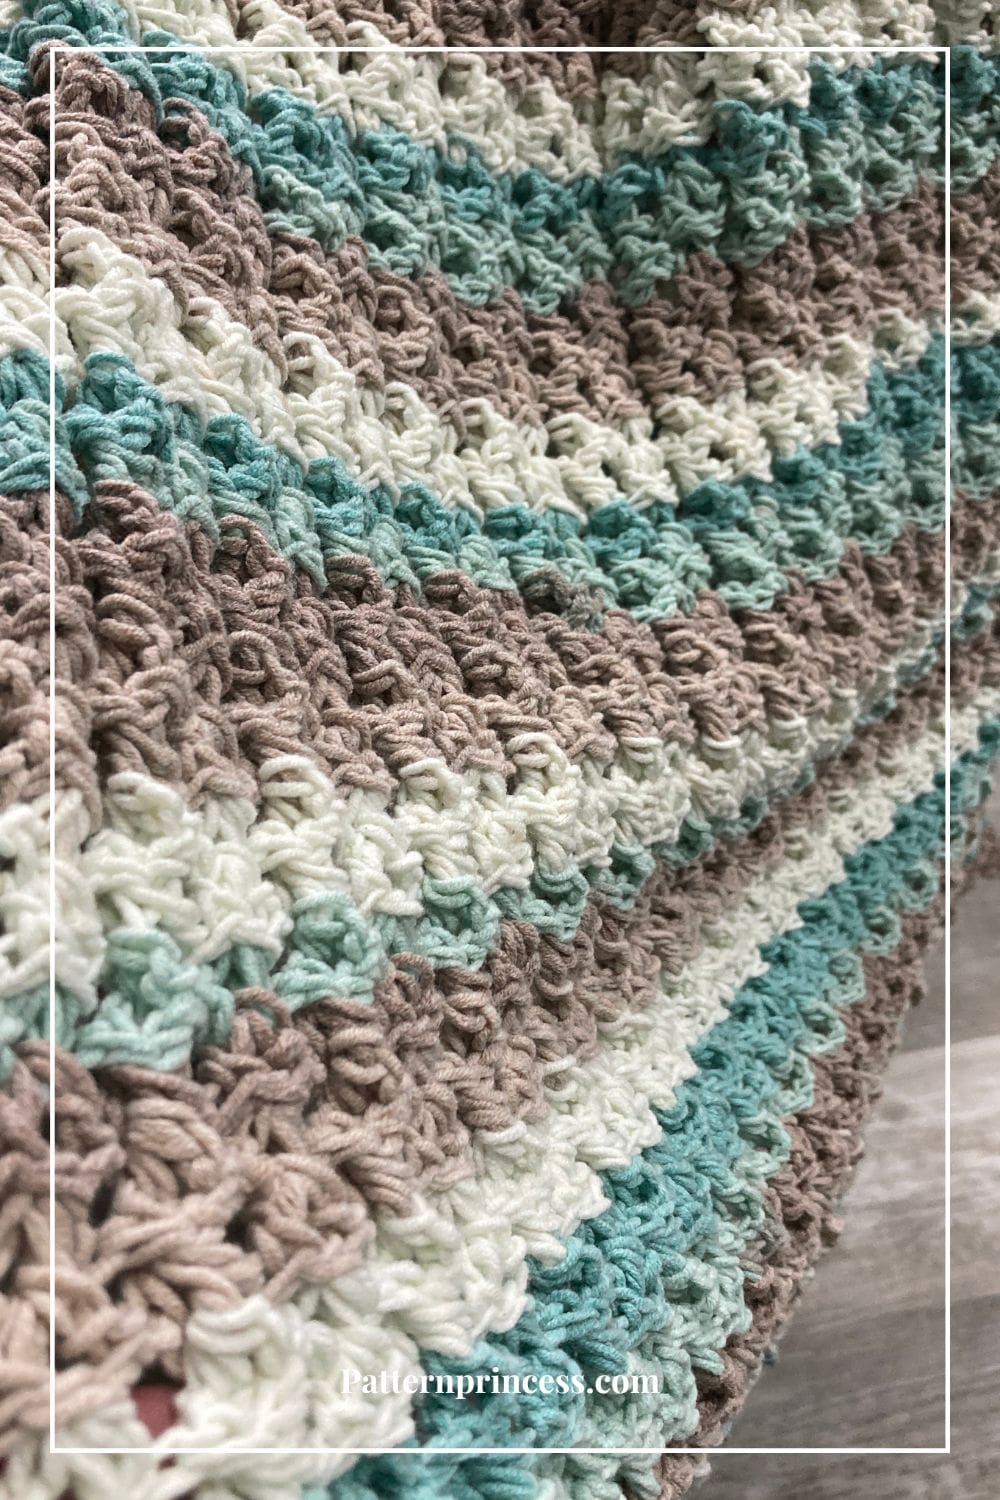
Say hello to the “Simple Squishy Crochet Bulky Throw Blanket Pattern.” What sets this blanket apart is its exceptional squishiness. Created using only a few basic crochet stitches. It results in a fabric that’s incredibly textured and reversible. It has the same look and texture on both sides.
When the temperatures drop, there’s nothing quite like snuggling up under a warm, handmade blanket. If you’re looking for a crochet project that’s not only easy to master but also promises a relatively fast finish, then you’re in the right place.
This delightful creation is all about simplicity, with just a two-row repeat that’s a breeze to memorize.
Inspiration for the Crochet Stitch Pattern
Full disclosure. When I first started this crochet stitch, my daughter was not a fan. For me, the throw was turning out just as I envisioned it in my head. With just a few rows done, it really doesn’t look like much. So, give it a chance as it takes a few rows before you begin to see the texture develop. Once I was about ten rows in, we both loved the look.
A few years ago, I developed a few crochet projects using similar stitch techniques.
One is a free pattern for a semi-circular Blue Lace Agate scarf. This pattern uses a thread-like fingering yarn and to give it texture, I worked two front post double crochet stitches into the stitches of the row below. This created a lovely texture.
Then I crocheted two blanket patterns using the Alpine Stitch, which consists of alternating the front post double crochet and back post double crochet.
I decided to combine the two methods and dreamed up this pattern. Once you get through row four, this pattern is an easy repeat of rows three and four. The front post and back post double crochet stitches alternate in sequence, but they are worked only in the center double crochet stitch of each cluster in the row below.
The result was a squishy blanket that has a chunky blanket feel from a medium worsted weight yarn.
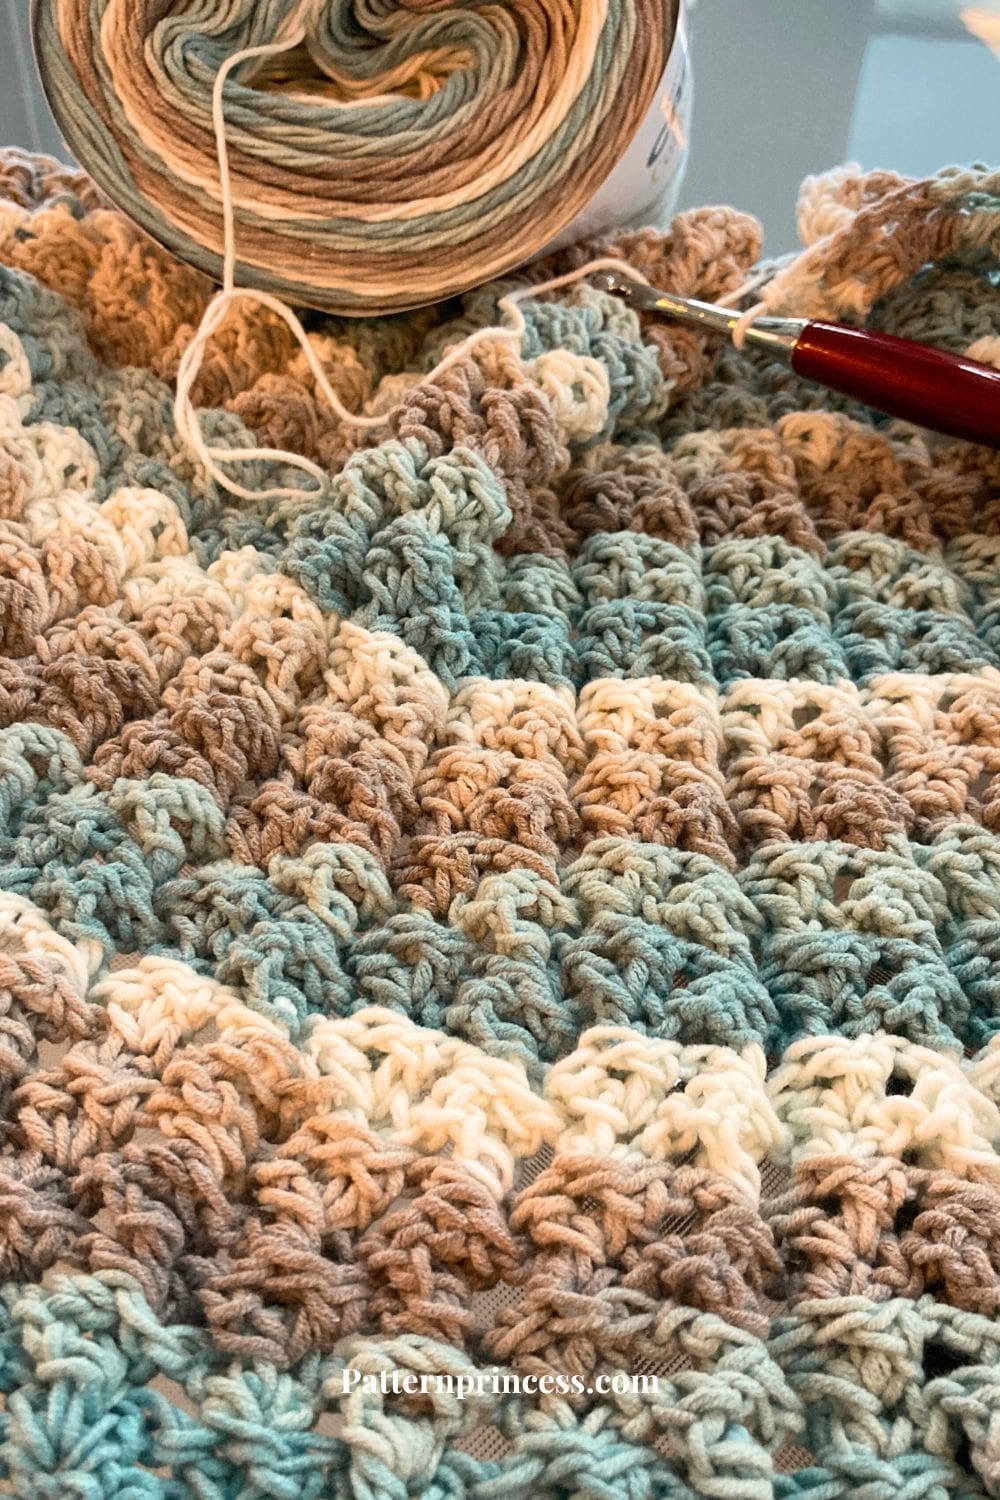
Visual Assistance to Help with Understanding the Pattern
You can find a Photo Tutorial to help with the stitches. After the written pattern, you will find YouTube video tutorials for right hand crocheters and left hand crocheters.
Perfect Pattern for Solid Color Yarn or Multi-Color Yarns
This free crochet pattern isn’t limited to a single color scheme. Whether you opt for a vibrant, multi-colored yarn or a classic solid shade, this pattern promises to deliver a stunning result that’s bound to impress.
If you love chunky looking blankets full of texture, then this crochet project is for you.
I fell in love with the variegated colors of the Caron Cotton Cakes yarn from Yarnspirations. This medium weight yarn has such beautiful colorways. If you love these colors too, you should check out these other free blanket patterns.
The Easy Ripple Baby Blanket Crochet Pattern and the Easy Crochet Modern Granny Blanket Pattern both patterns use the same type of yarn in the color Beach View. Should I just admit to you now that I also made a Snood Infinity Scarf using this same yarn?
Of course, I purchased six skeins of the same Caron Cotton Cakes yarn in the Beach Glass color. I used four for this squishy blanket. What I like about this yarn is of course the color changes and the rather simple stitches used to create this beautiful crochet blanket.
I had ordered the six cakes as I thought this would use a lot of yarn. It does use a fair amount but is not a huge yarn eater like a waffle stitch would be.
I’ll have to figure out another pretty pattern using these color combinations for the last two skeins.
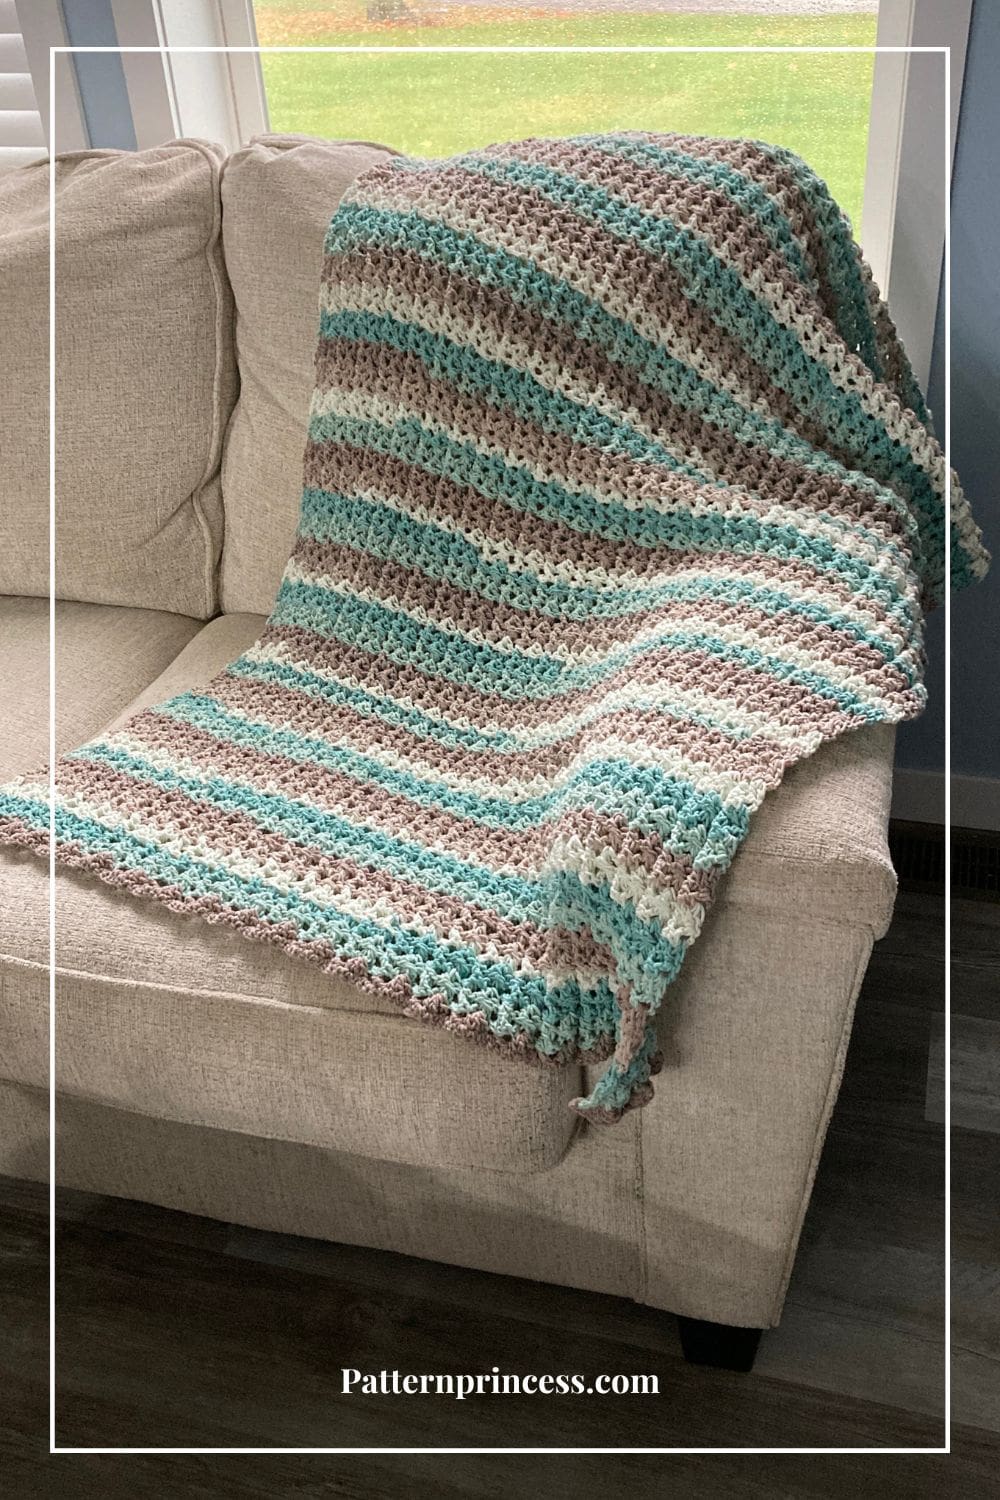
Directions: Simple Squishy Crochet Bulky Blanket Pattern
Skill Level
Intermediate
You should be able to work the double crochet stitch and work it around the posts of the stitches below. Once you have mastered this method, you are ready for this pattern.
Finished Size
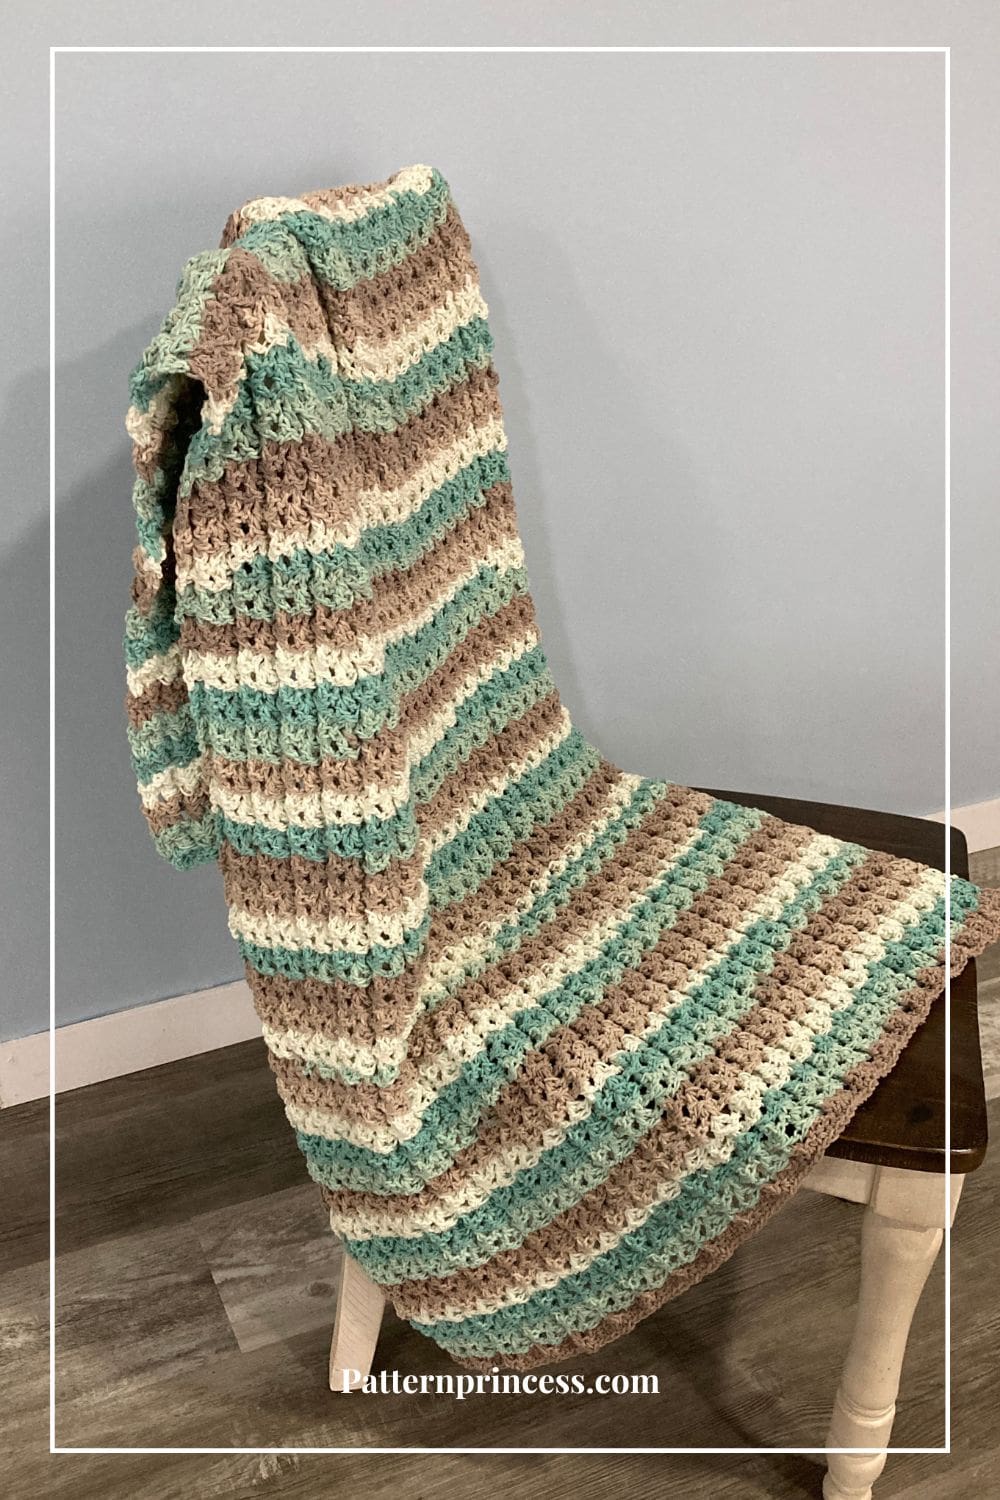
31 inches Wide X 51 Inches Long
You may make this blanket to any dimensions using multiples of 3 for the beginning chain.
Gauge
15 double crochet stitches across every 4 inches. 8 rows of double crochet every 4 inches.
Materials
Caron Cotton Cakes yarn in the Beach Glass color. 4 skeins or 2,120 yards.
Post contains affiliate links, and we earn commissions if you shop through the links on this page. For more information, please read the disclosure section under the About Us page.
If you are not able to the yarn locally, you can find it on Amazon or on Yarnspirations.
Crochet Hook Size J, 6.0 mm hook
Yarn Needle
Scissors
Abbreviations
CH = Chain
DC = Double Crochet
FPDC = Front Post Double Crochet
BPDC = Back Post Double Crochet
SC = Single Crochet
SK = Skip
SP = Space
ST = Stitch
STs = Stitches
[ ] = Repeat Between
Other Crochet Blanket Sizes
Squishy Baby Blanket Size Chain 135 and work approximately 60 – 70 number of rows. This should make a blanket about 31 X 31 inches. 3 skeins or 1,590 yards.
Larger Throw Blanket Size Chain 180 and work approximately 115 – 120 number of rows. This should make a blanket about 48 x 60 inches. 6 skeins or 3,180 yards.
Looking for ideas on different sizes to make your blanket? This Crochet Guidelines for Standard Bed and Blanket Sizes may help.
Pattern Notes
Written in US Terms
Beginning chain is worked using a stitch count in multiples of 3.
The row of single crochet stitches provides a nice foundation row to work the clusters of double crochet stitches without leaving large gaps in the first row.
Turn at the end of each row.
The Chain 3 at the beginning of each row counts as a double crochet.
When working the BPDC and FPDC in each row, they will be worked in the middle ST of the previous row 3 DC clusters. Also, if the row below ended with a BPDC, you would work BPDC STs in the first cluster center stitch. Then the next stitch will be FPDC STs. The effect you are looking for is to push the DC clusters in the opposite direction with each row.
The final row consists of single crochet stitches, so it mirrors the beginning of the throw. When changing skeins of yarn, I tried to change it on the end of a row. However, occasionally, I changed skeins in the middle of a row or the yarn itself had a knot from the manufacturer. When this happens, I use the yarn knot join, which is one of many invisible join methods. I’ve included a link to the video on how to work the yarn knot join.
It’s nice and secure. I’ve never had it come apart.
If you are using a new color, be sure to change the yarn at the ends of the row.
Special Stitches Used
Double Crochet (DC)
Yarn over, insert the hook through both loops and pull up a loop. Next, yarn over and pull through two loops on the hook. Lastly, yarn over again and pull through the last two loops on the hook.
HOW TO CROCHET THE DOUBLE CROCHET STITCH video tutorial
Back Post Double Crochet (BPDC)
The back post stitches appear to recede on the side of the crocheted fabric that is facing you. Note: Because a post stitch is shorter than a normal stitch, you make the turning chain with one chain stitch less than the normal turning chain requires.
Yarn over, insert the hook from back to front between the posts of the first and second double crochet of the row below. Then insert the hook from the front to the back front between the posts of the second and third stitches. (The hook should now be positioned horizontally in front of the double crochet that you are working around).
Yarn over, pull the yarn around the post of the stitch. There should now be 3 loops on the hook.
Now you’ll be working on the loops on the hook. Yarn over, pull the yarn through 2 loops on the hook. Lastly, yarn over again and pull through the last two loops on the hook.
HOW TO CROCHET THE BACK POST DOUBLE CROCHET video tutorial
Front Post Double Crochet (FPDC)
Front post stitches are raised crochet stitches on the surface of the fabric facing you. Note: Because a post stitch is shorter than a normal stitch, you make the turning chain with one chain stitch less than the normal turning chain requires.
Yarn over, insert the hook from front to back between the posts of the first and second double crochet of the row below. Then insert the hook from the back to the front between the posts of the second and third stitches. (The hook should now be positioned horizontally behind the double crochet that you are working around).
Yarn over, pull the yarn around the post of the stitch. There should now be 3 loops on the hook.
Now you’ll be working on the loops on the hook. Yarn over, pull the yarn through 2 loops on the hook. Lastly, yarn over again and pull through the last two loops on the hook.
HOW TO CROCHET THE FRONT POST DOUBLE CROCHET video tutorial
Begin
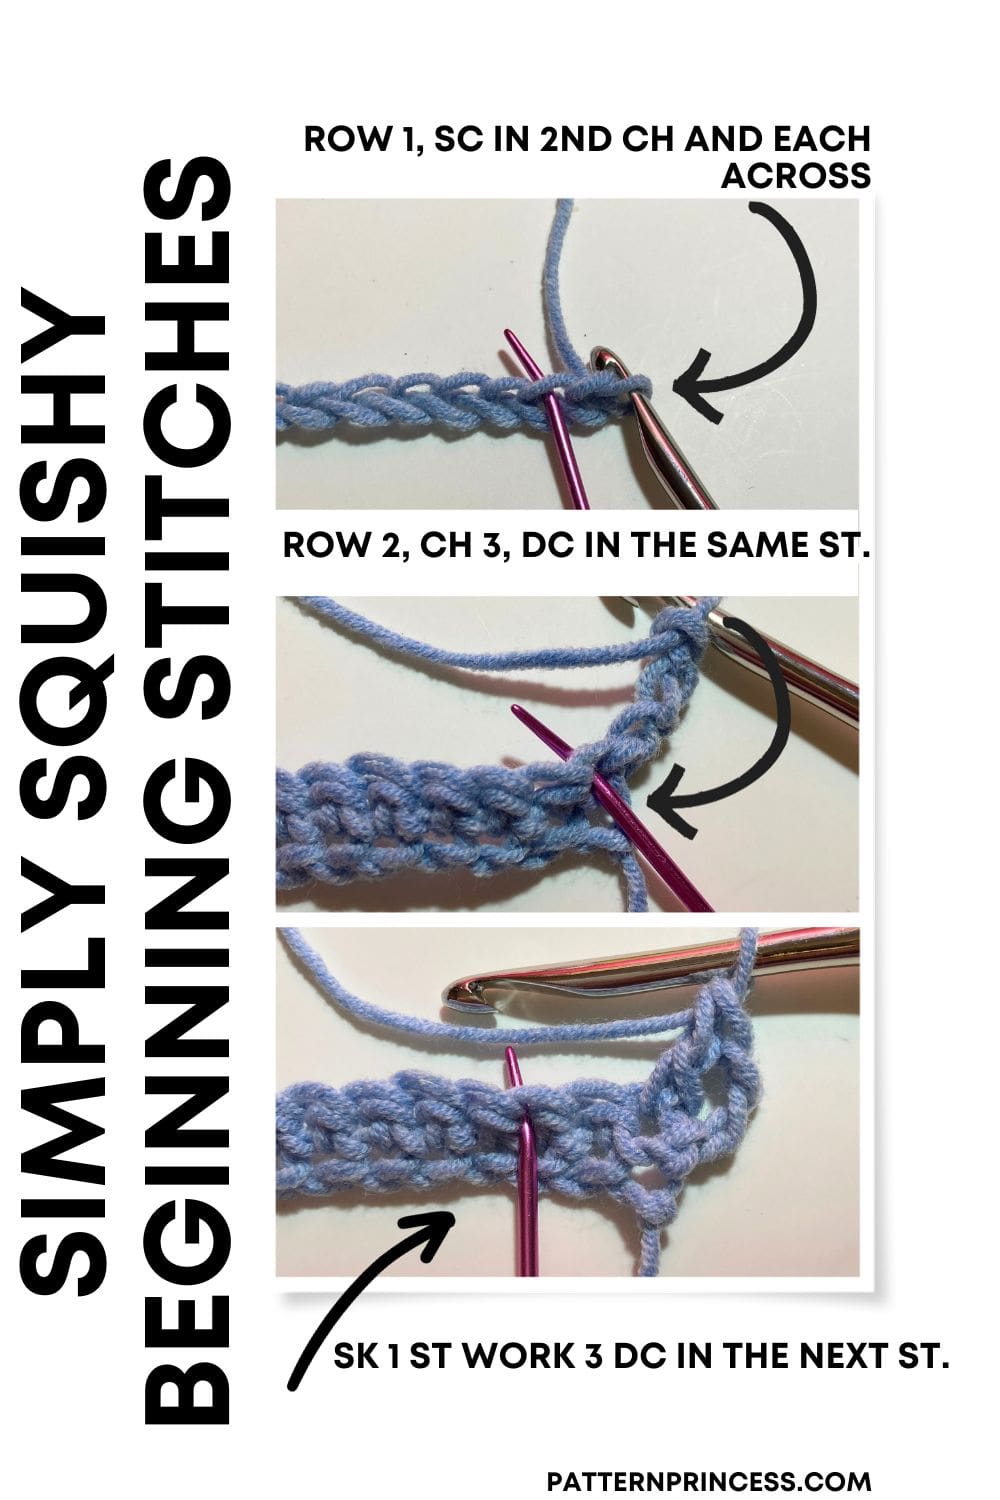
Work a foundation chain of 135 stitches.
Row 1
In the 2nd CH from the hook work a SC and in each ST across. Turn
Row 2
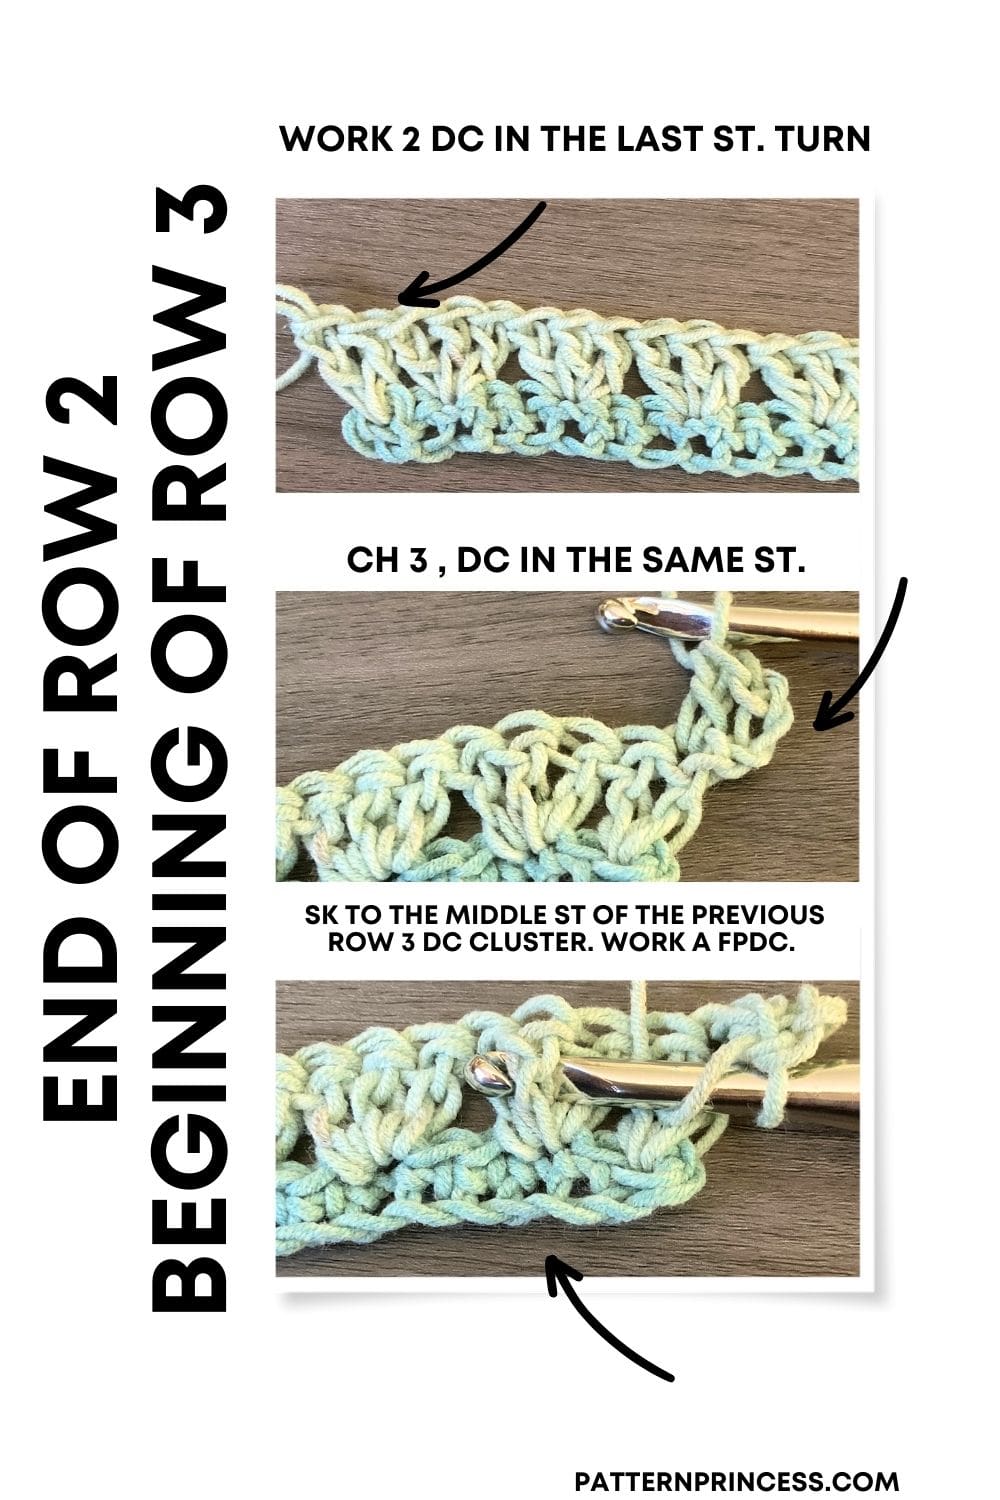
CH 3 (Counts as DC). DC in the same ST. SK 1 ST work 3 DC in the next ST. [SK 2 STS, work 3 DC in the next ST]. Repeat across. When there are two stitches left, SK 1 ST, work 2 DC in the last ST. Turn
Row 3
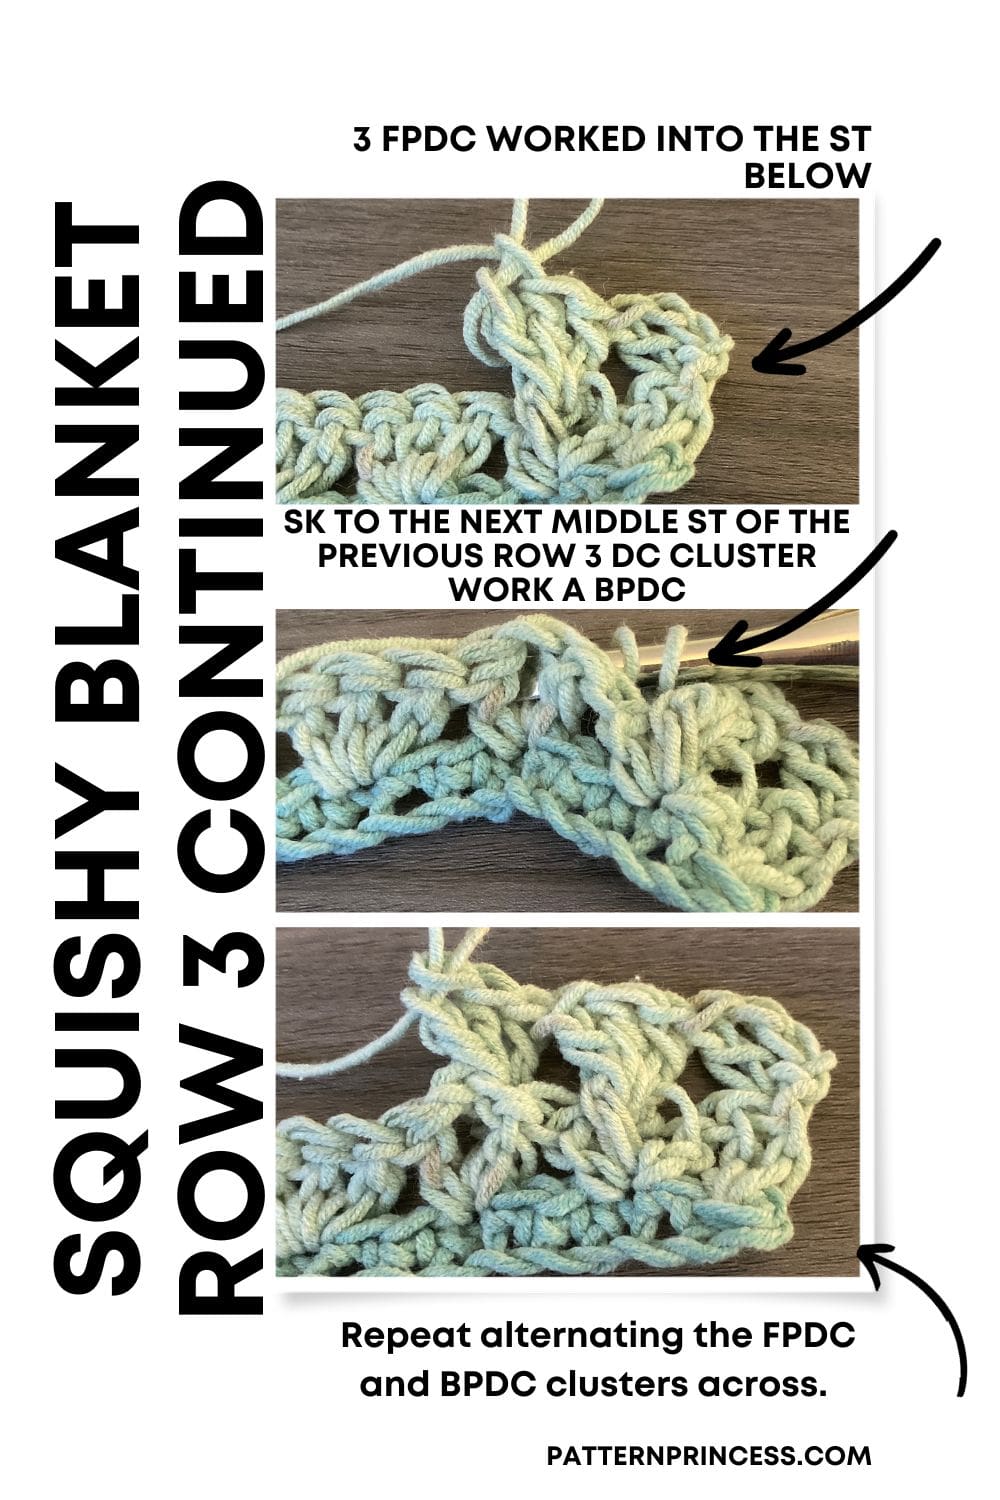
CH 3 (Counts as DC). DC in the same ST. [SK to the middle ST of the previous row 3 DC cluster. Work 3 FPDC. SK to the next middle ST of the previous row 3 DC cluster work 3 BPDC]. Repeat between [ ] across. End with 2 DC in the SP between the first two DC STs. Turn
Note: When working the BPDC and FPDC in each row, they will be worked in the middle ST of the previous row 3 DC clusters. Also, if the row below ended with a BPDC, you would work BPDC STs in the first cluster center stitch. Then the next stitch will be FPDC STs. The effect you are looking for is to push the DC clusters in the opposite direction with each row.
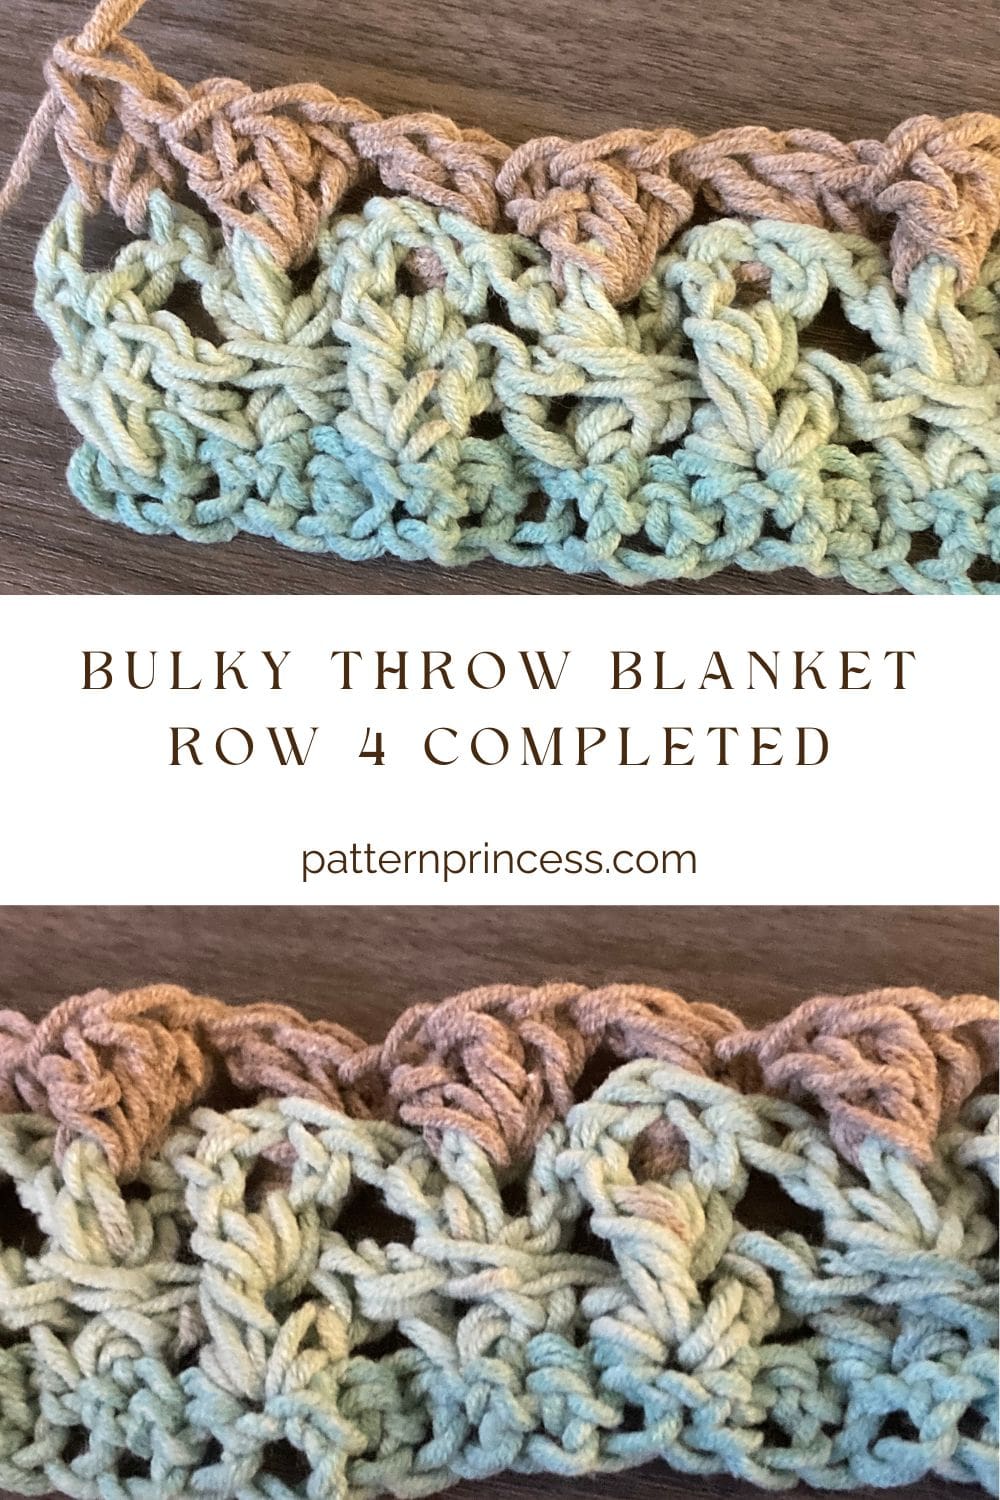
Therefore, if you ended with a FPDC in the 3rd row, then you would start the 4th row with a FPDC as it should push the middle stitch in the opposite directions.
My row 3 ended with a BPDC; therefore, I started with a BPDC in row 4.
Row 4
CH 3 (Counts as DC). DC in the same ST. [SK to the middle ST of the previous row 3 DC cluster. Work 3 BPDC. SK to the next middle ST of the previous row 3 DC cluster work 3 FPDC]. Repeat between [ ] across. End with 2 DC between the first two DC STs. Turn
Rows 5 through 107
Repeat rows 3 and 4.
Row 108
CH 1, SC in the first ST and in each ST across.
Finishing
After you work the last SC ST, cut off the yarn leaving about a 12-inch long tail. Pull the yarn tail through the last loop on the hook.
Thread the yarn needle with the yarn tails and weave them through the crochet stitches back and forth until the yarn feels secure. Snip off the excess yarn.
If you are a beginner crocheter, you can find more detail on finishing your crochet project on the website.
Crochet Video Tutorial of the Simple Squishy Crochet Bulky Throw Blanket Pattern
We hope you enjoyed this project; it is just one of the best stitches yet to mimic a bulky weight yarn with loads of squish and texture.
Here are other free crochet blankets to inspire your next project.

You can find Victoria crocheting, quilting, and creating recipes. She has cooked in restaurants for over 20 years, including many larger parties. She learned to crochet when she was just 11 years old and has been crocheting ever since; over 50 years now. Over 40 years ago, she loved her first class in sewing and continues to hone her skills in quilting. Many have enjoyed the handmade gifts over the years. In her professional career, she has worked in management in a wide variety of businesses including higher education as a dean of a division. All the while attending college part-time to achieve her doctorate in higher education with an emphasis in e-learning.
